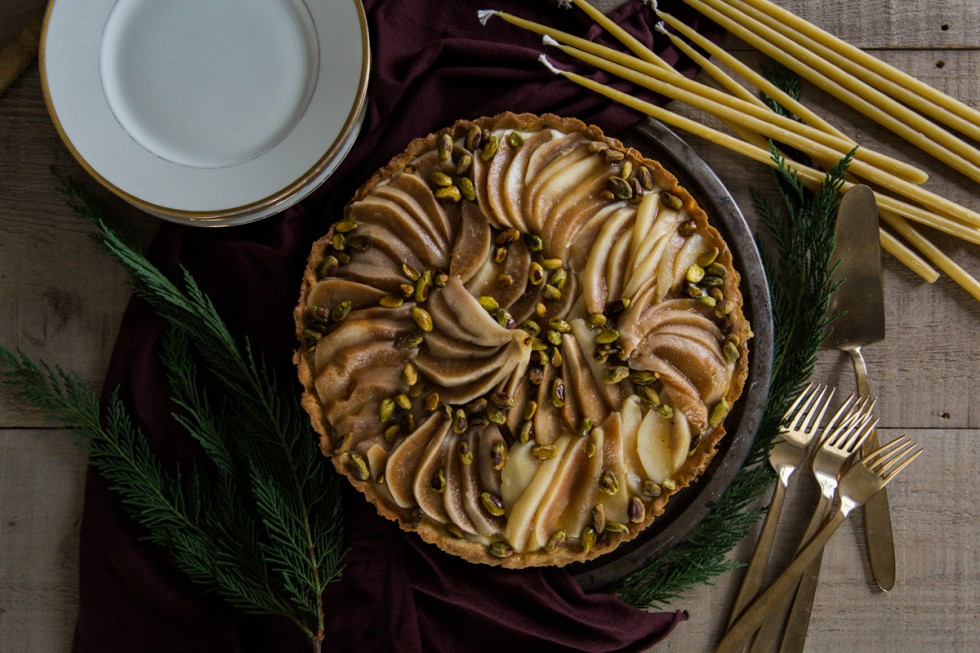
Holiday Poached Pear Tart

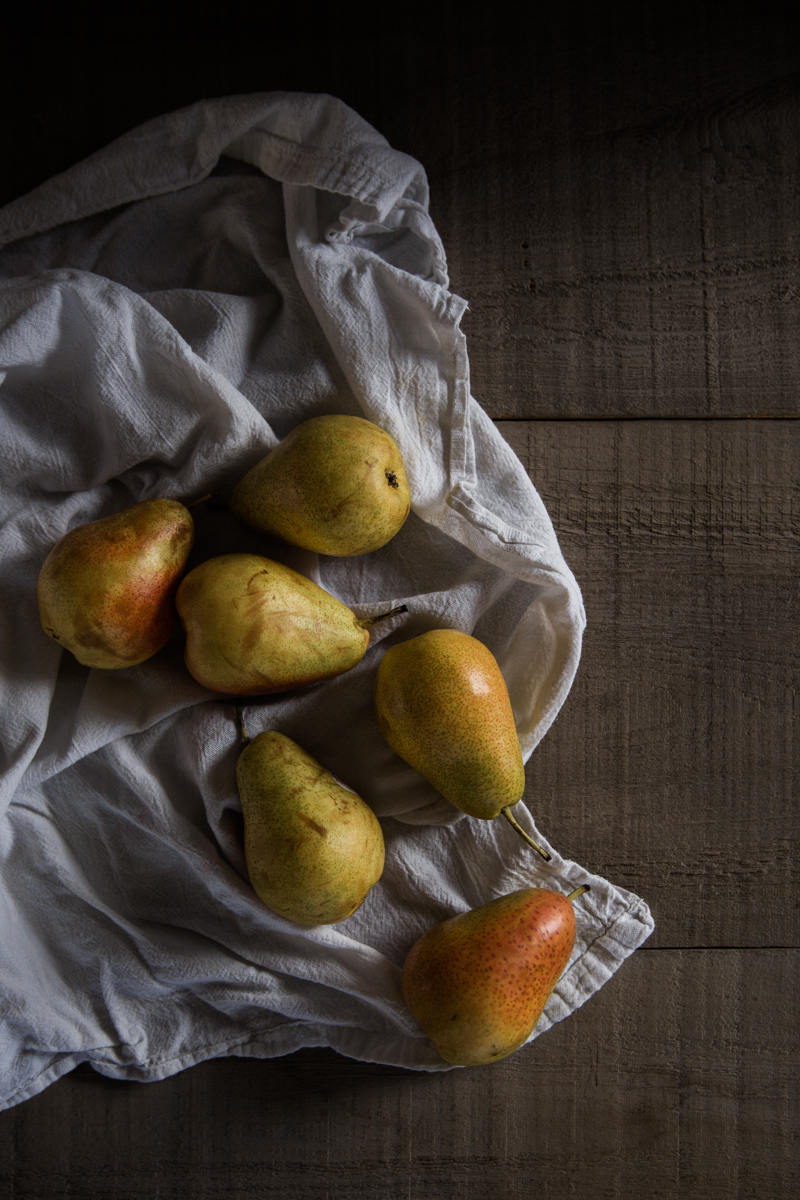
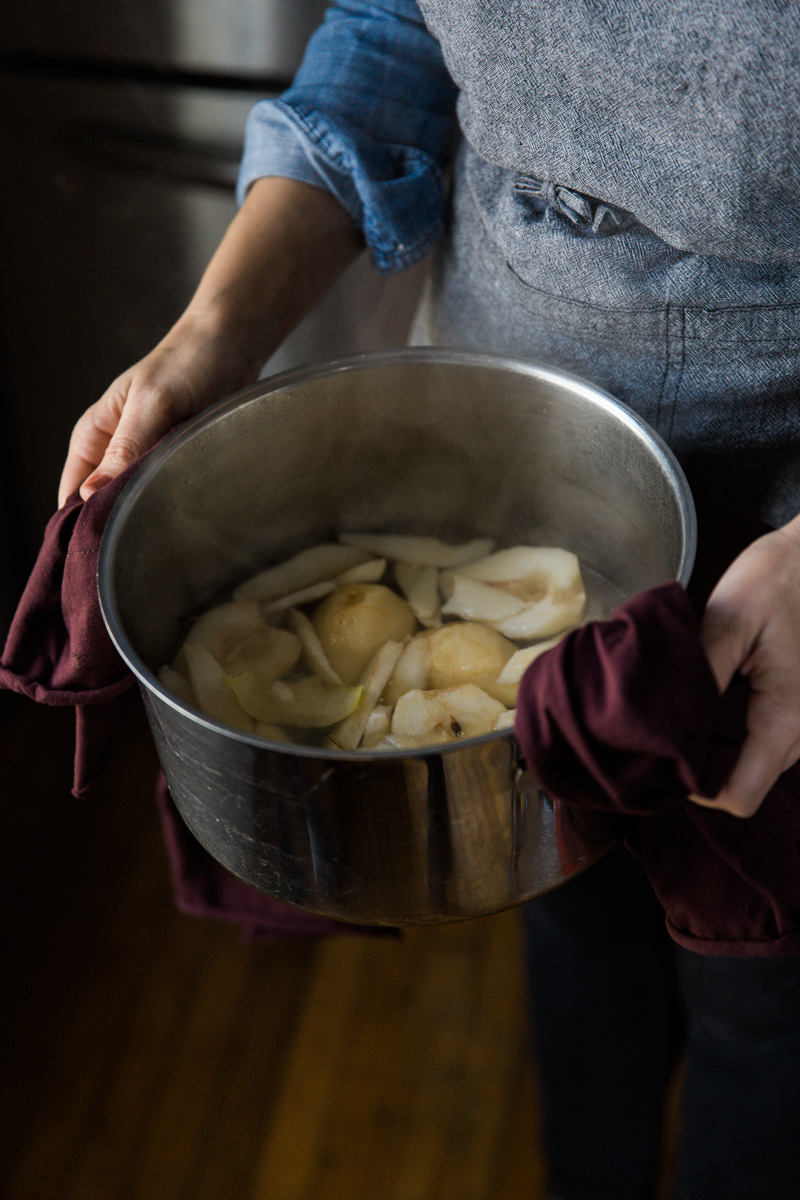
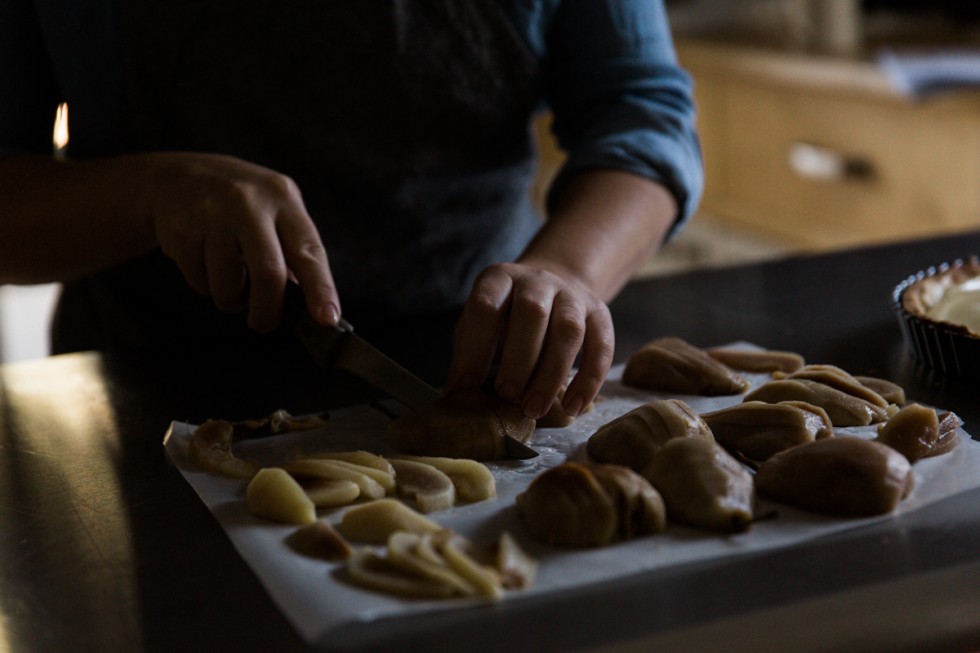
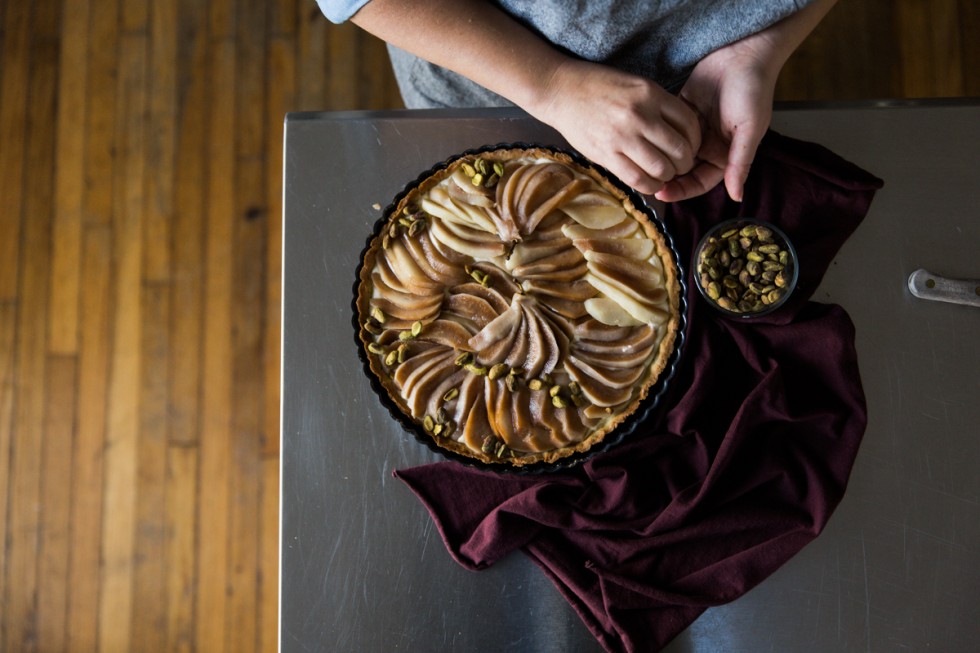
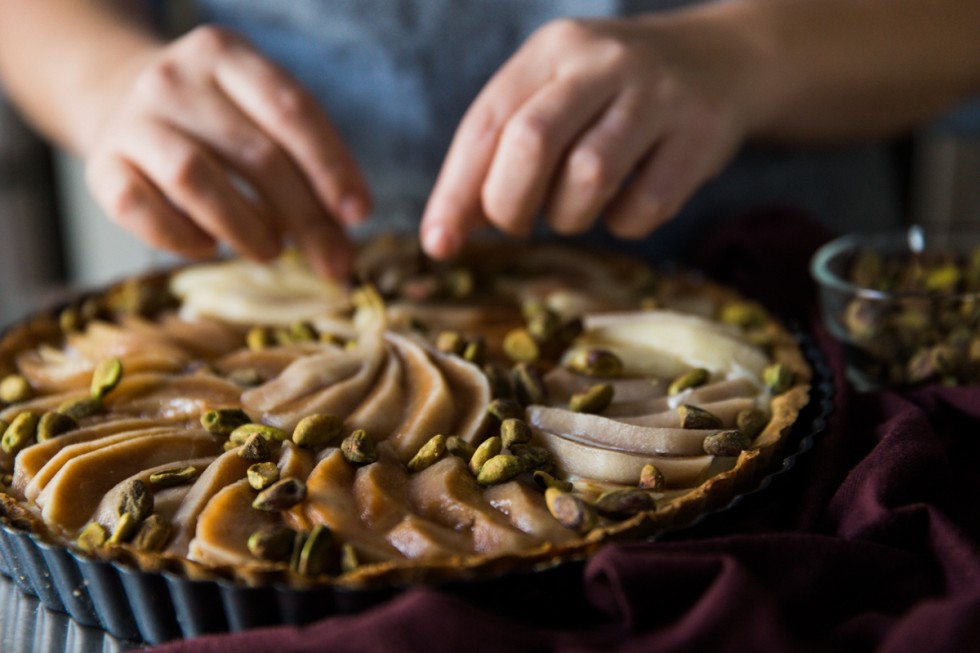
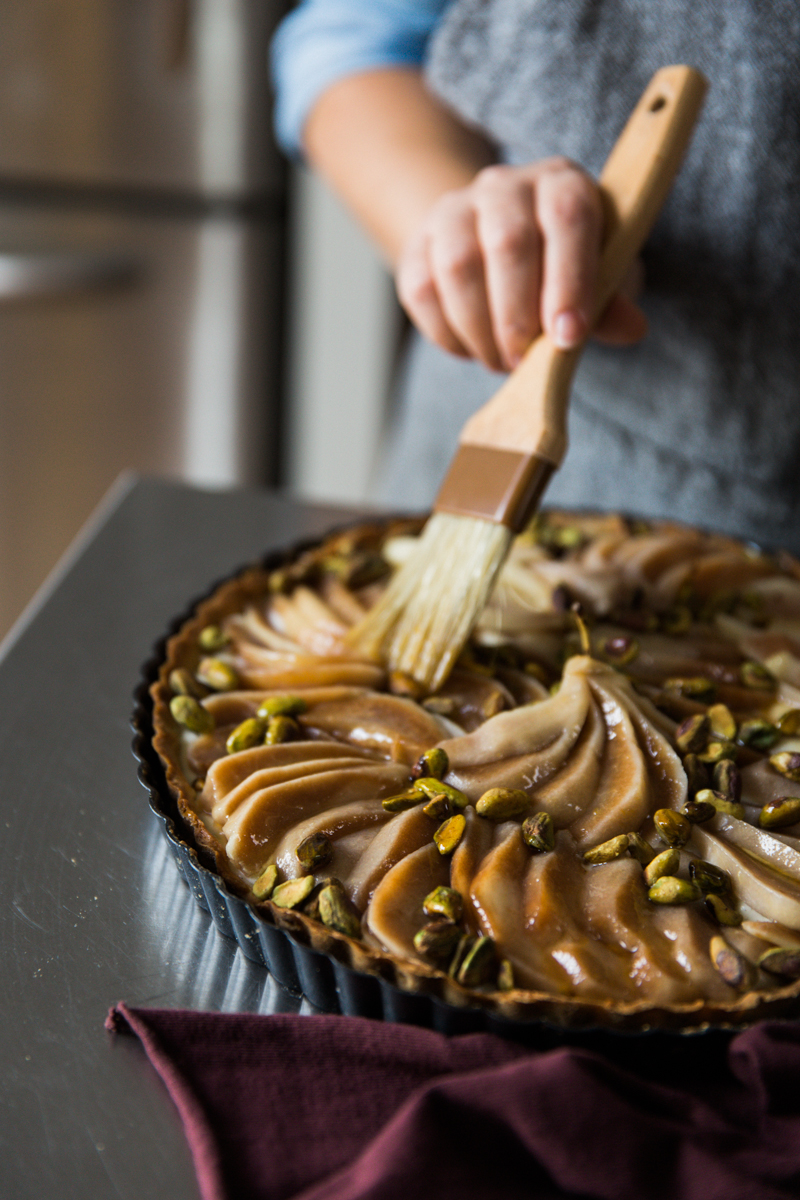
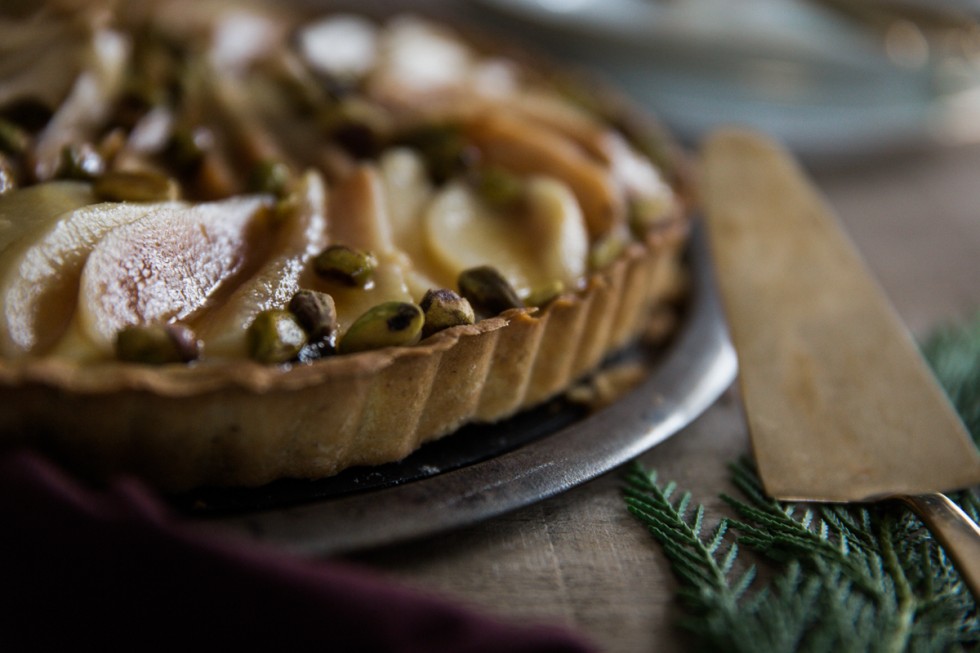
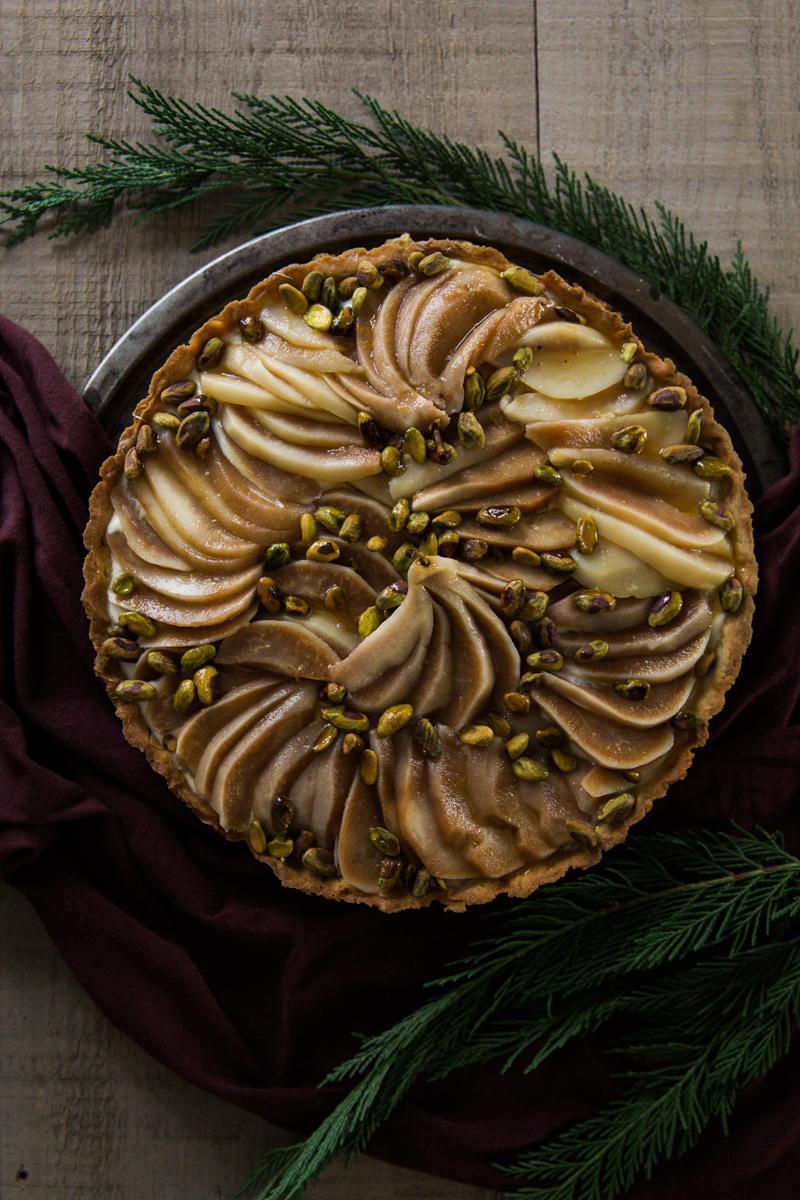
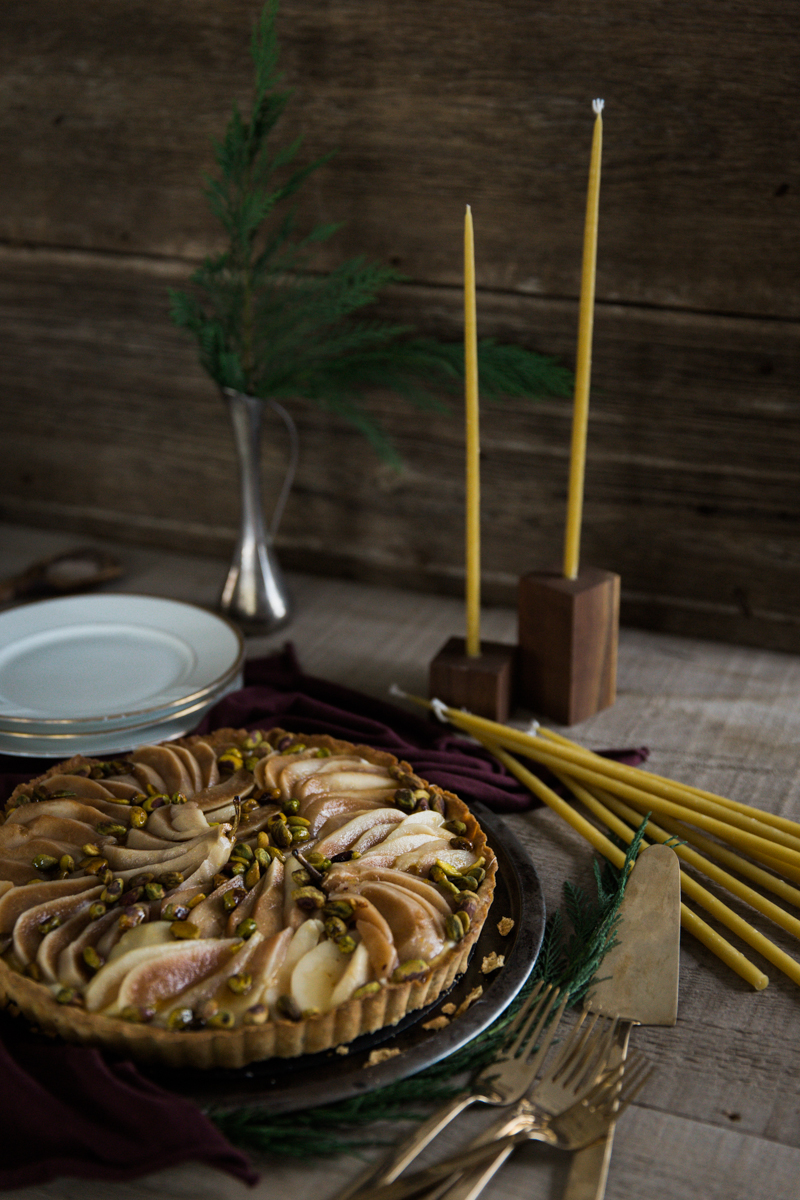
peartart(blog)-18Sometimes the holidays can be a very stressful time. One way I like to combat this is by getting in the kitchen and working out a new recipe. I saw this recipe in Fine Cooking magazine and I knew I just had to try it. I made a few of my own tweaks and it was amazing! The pears I got were super ripe so we didn’t poach them as the recipe recommend, we just let them sit in the spiced wine for while. A bonus for not actually poaching the pears was that we were able to save the wine and turn it into a sort of spiced wine cocktail. This tart turned out so beautiful, I think it would make an amazing addition to your holiday table. – Susan

Styling Elements:

Tea Towels: Alabama Chanin

Apron: Idyllwilde

Candles: Silk & Willow
peartart(blog)-1 peartart(blog)-2peartart(blog)-5 peartart(blog)-3 peartart(blog)-4 peartart(blog)-6 peartart(blog)-7 peartart(blog)-8 peartart(blog)-9 peartart(blog)-10 peartart(blog)-11 peartart(blog)-12 peartart(blog)-13 peartart(blog)-14 peartart(blog)-15 peartart(blog)-16 peartart(blog)-17 peartart(blog)-19

For the crust
  • 8-3/4 oz. (scant 2 cups) all-purpose flour;  more for dusting
  • 3-1/2 oz. (3/4 cup plus 2 Tbs.) confectioners’ sugar
  • 1-3/4 oz. (7 Tbs.) pistachio meal (finely ground pistachios)
  • 6 oz. (12 Tbs.) cold unsalted butter, cut into 1/2-inch pieces
  • 1/4 tsp. kosher salt
  • 2 large eggs, 1 separated
  • Cooking spray
  • 1 oz. melted white chocolate
TIP:

This recipe makes enough dough for two tart crusts; use one now and freeze the other for a delicious tart in your future.

For the filling
  • 1 cup whole milk
  • 1/4 cup granulated sugar
  • 1/2 vanilla bean or 1/2 tsp. pure vanilla extract or paste
  • 1 large egg
  • 1 large egg yolk
  • 1-1/2 Tbs. cornstarch
  • 1 Tbs. unsalted butter, cut into 1/2-inch pieces
  • 1/4 to 1/2 tsp. ground cardamom
  • 1/2 cup whipping or heavy cream
For the poached pears
  • 1 750-ml bottle of dry white wine
  • 1/2 cup granulated sugar
  • 2 whole (3-inch) cinnamon sticks
  • 2 whole star anise
  • 2 (3-inch) strips lemon zest
  • Juice of 1 lemon
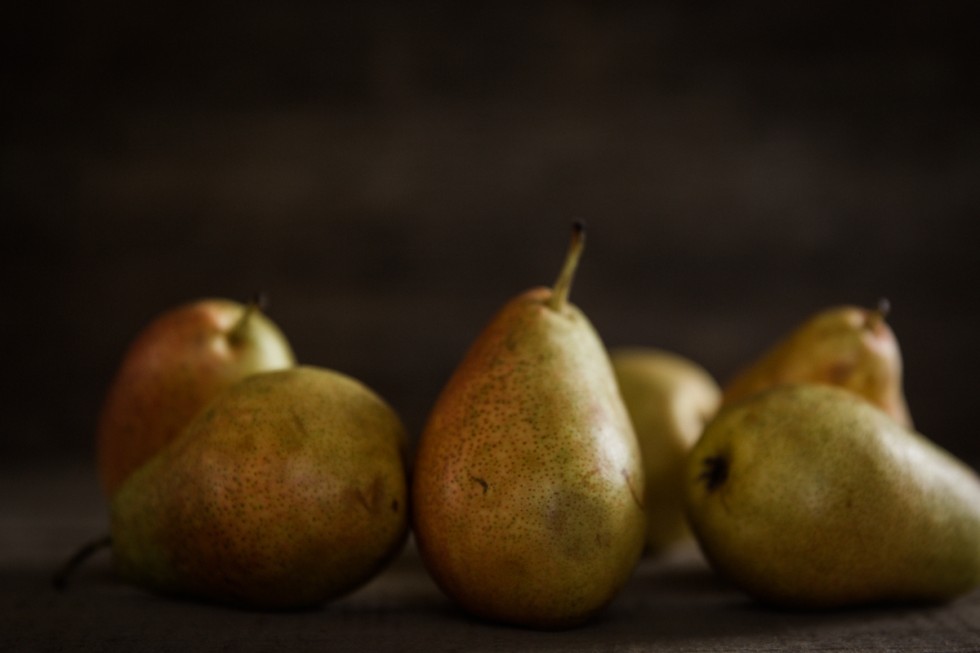
  • 1-1/2 lb. peeled, halved, cored, and sliced firm-ripe pears (preferably a smaller variety, such as Seckel or Forelle)
For finishing the tart
  • 1/4 cup apricot or apple jelly
  • 2 Tbs. water or white wine
  • Chopped pistachios, for garnishing
Make the dough

In a stand mixer fitted with the paddle attachment, combine the flour, sugar, pistachio meal, butter, and salt. Mix on low speed until the butter begins to break up, about 1 minute. Increase the speed to just below medium and continue beating until the mixture looks sandy with butter pieces the size of tiny pebbles, about 2 minutes more.

Turn the mixer off and add the whole egg and egg yolk (reserve the remaining white). Mix on low speed until incorporated. Increase the speed to medium and mix just until the dough pulls away from the sides of the bowl, about 30 seconds. Do not overmix.

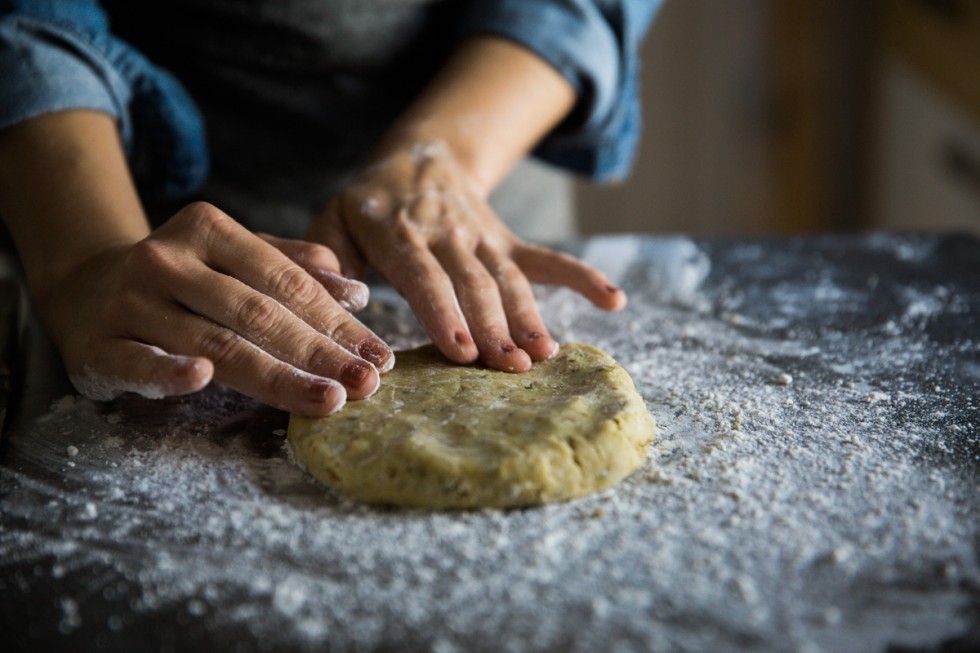
Divide the dough in half, press each half into a disk about 4 inches across, and wrap in plastic. Refrigerate 1 disk for at least 3 hours and up to 24 hours. (Freeze the other disk for up to a month; thaw in the refrigerator before using.)

Shape and bake the crust

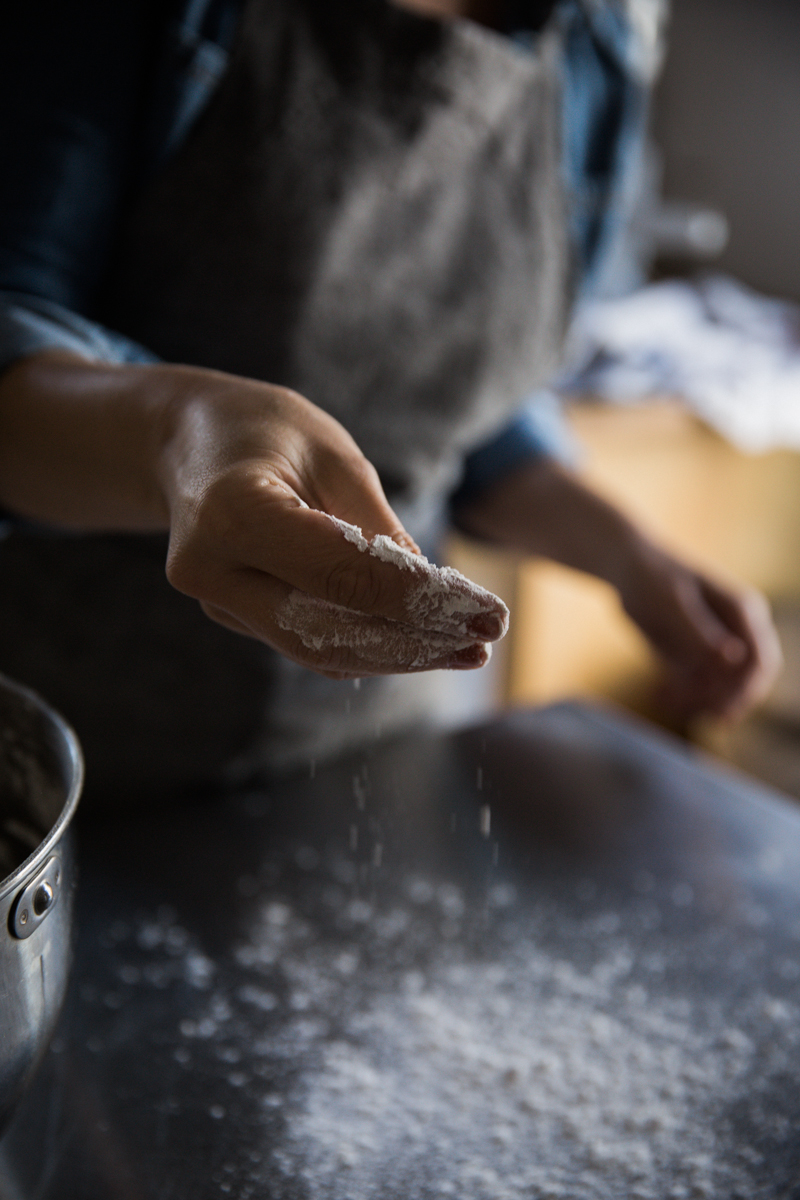
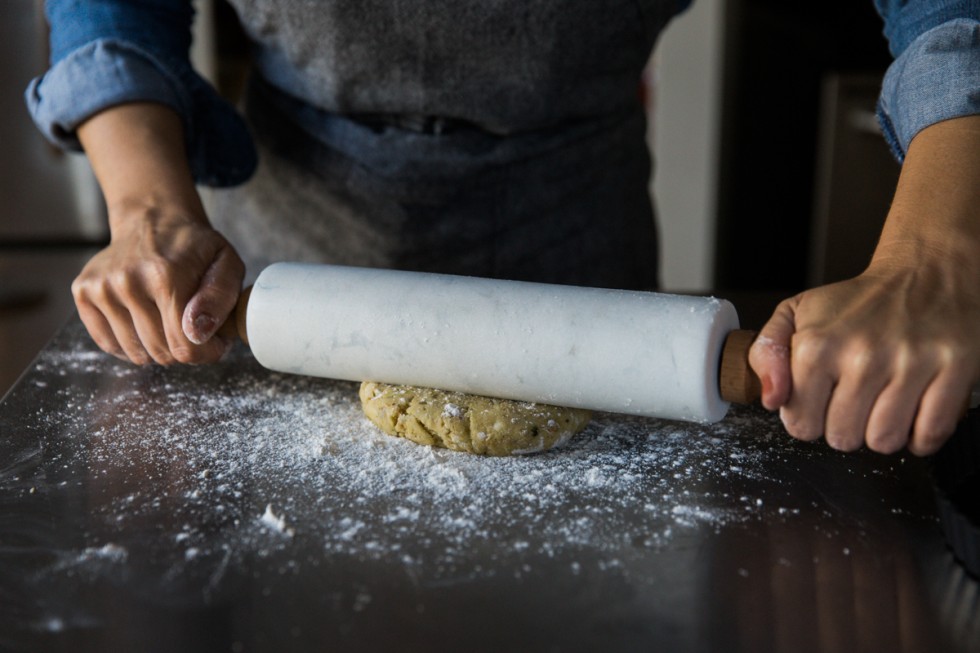
Lightly flour a work surface and a rolling pin. Spray a 9-1/2- to 11-inch fluted tart pan with a removable bottom with cooking spray.

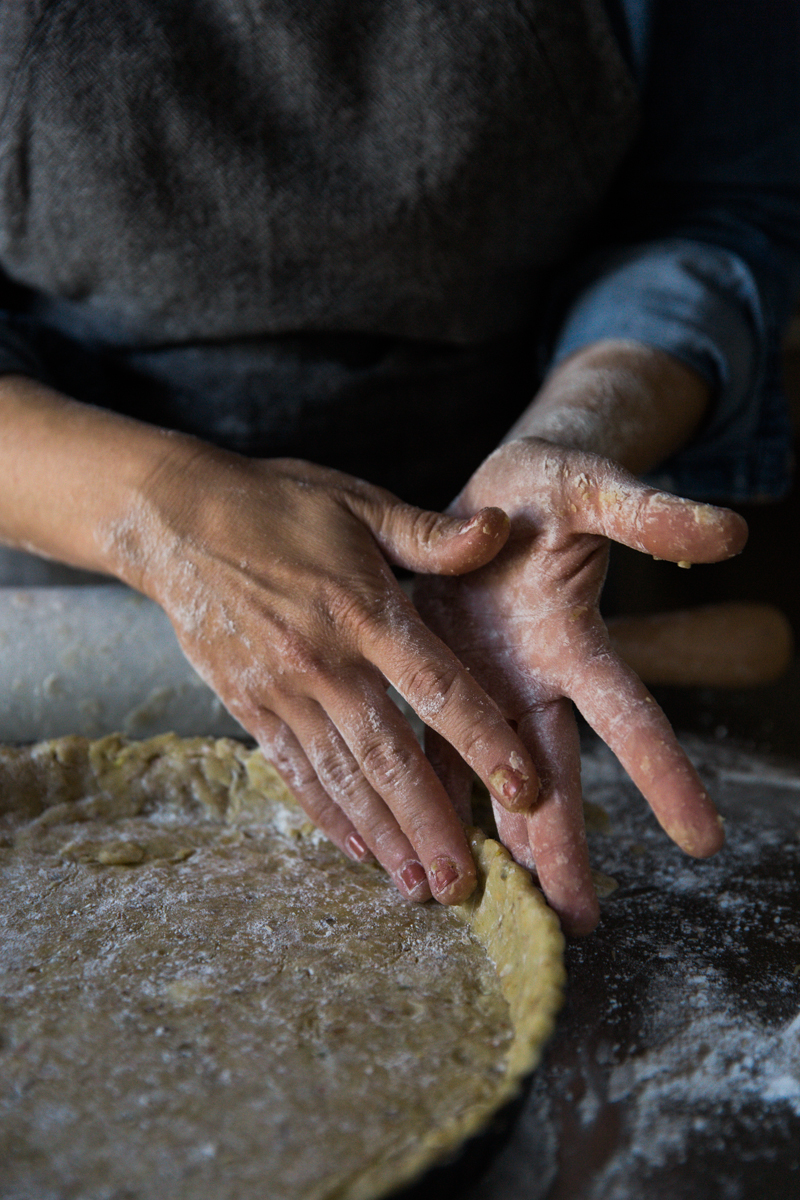
Working quickly, roll the dough disk into a 1/8-inch-thick round. Transfer the dough to the tart pan and gently coax it into the pan, allowing the excess dough to hang over the sides. Roll the rolling pin over the top of the pan to cut off the excess dough. Patch any tears or cracks with the scraps. Refrigerate the crust for at least 20 minutes or freeze for 10 minutes. Meanwhile, position a rack in the center of the oven and heat the oven to 375°F.

Line the crust with parchment paper and fill it to the very top with beans or pie weights. Bake until the edges are golden, 18 to 20 minutes. Carefully remove the weights and paper. Bake until the center of the crust looks dry and is just beginning to color, 3 to 5 minutes.

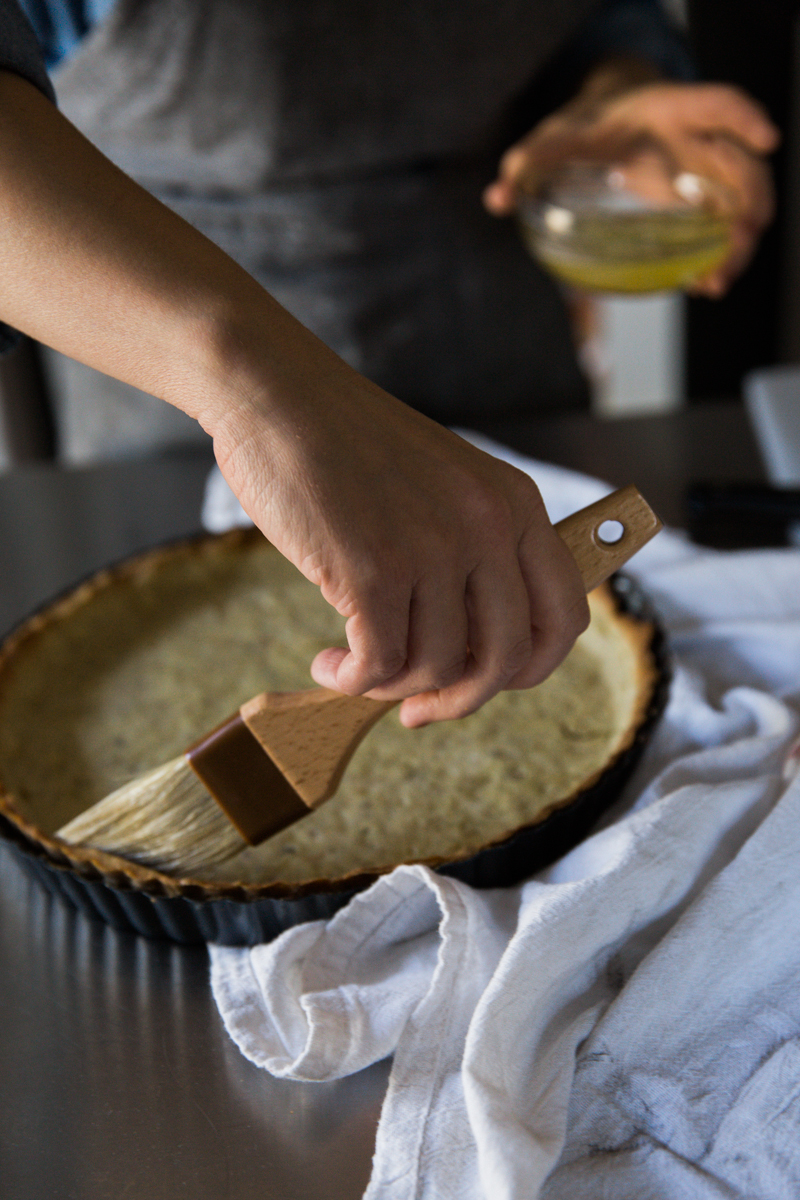
Beat the reserved egg white. Brush the inside of the crust with some of the egg white (you won’t need it all) and return the crust to the oven until the egg white has dried, about 2 minutes. (This prevents the crust from getting soggy once you add the filling.) Cool completely on a rack.

Brush the interior of the cooled crust with the white chocolate. Let it set for a few minutes in the fridge before proceeding.

Make the pastry cream

Combine the milk and 2 Tbs. of the sugar in a 3- to 4-quart saucepan. If using a vanilla bean, split it and scrape the seeds into the milk, then add the pod. Bring to a boil, stirring occasionally, about 5 minutes. Remove the vanilla bean pod, if using.

Meanwhile, in a medium heatproof bowl, whisk the remaining 2 Tbs. sugar with the egg, egg yolk, and cornstarch until smooth, about 1 minute. Whisk half of the hot milk into the egg mixture until combined. Off the heat, whisk the contents of the bowl back into the remaining milk in the saucepan.

Cook over medium heat, whisking constantly, until the mixture reaches a boil; it will thicken. Continue to cook for another minute past the boil, whisking constantly. Off the heat, whisk in the butter, vanilla paste or extract, if using, and the cardamom. Strain the pastry cream through a medium-mesh sieve into a medium heatproof bowl. Cover with plastic wrap pressed onto the surface of the pastry cream to prevent a skin from forming. Refrigerate until cold, at least 2 hours and up to 3 days.

Poach the pears

In a deep, narrow 4- to 5-quart pot, combine the wine, sugar, cinnamon, star anise, and lemon zest and juice. Stir to distribute the sugar. Add the pears. Bring to a simmer over medium heat and cook for 5 to 10 minutes.

Lower the heat and cover the pears with a circle of parchment and a plate to keep them submerged. Continue cooking until the pears give just a little resistance when pierced with a paring knife. (They will continue to cook a little more as the liquid cools.) Let cool completely, submerged in the liquid, then chill in the fridge for at least 4 hours. Remove the pears from the liquid and drain on paper towels before slicing and topping the tart with them.

Fill and top the tart

In a medium bowl, beat the cream to stiff peaks with an electric hand mixer or a whisk.

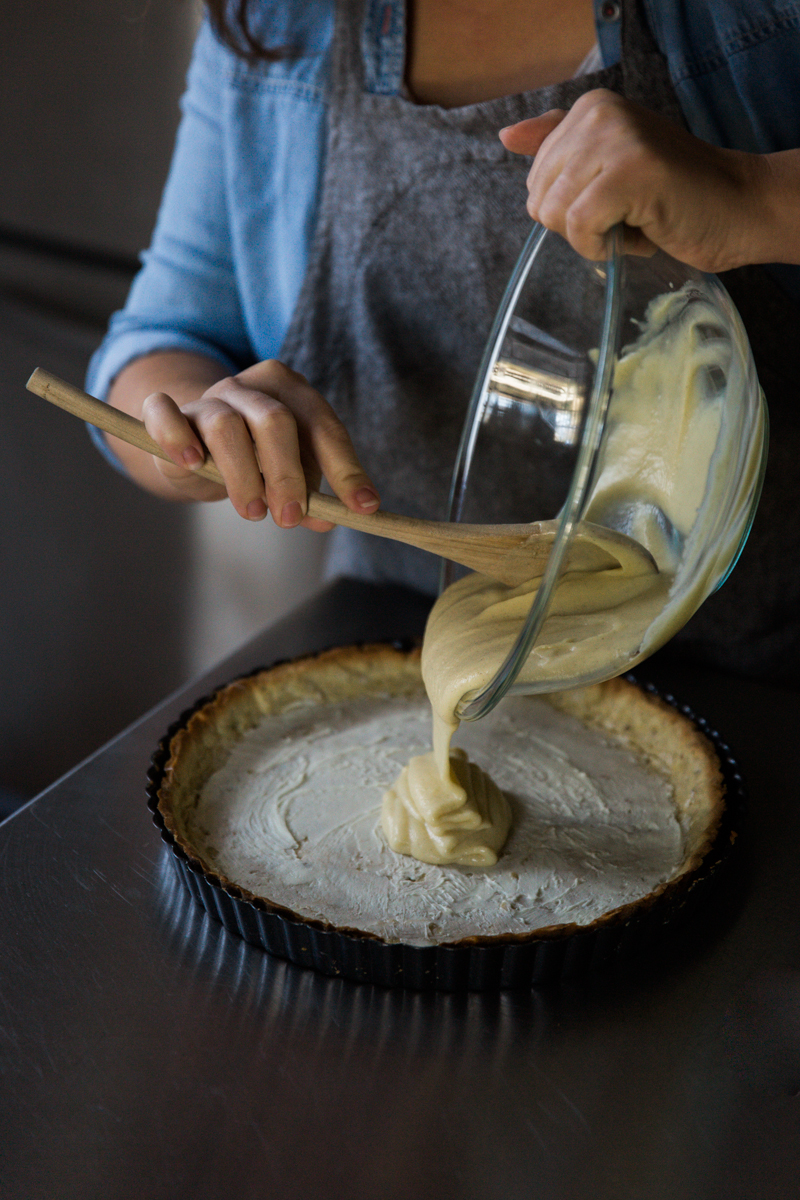
Beat the pastry cream to soften and smooth it. With a large spatula, fold the whipped cream into the softened pastry cream until thoroughly combined. Fill the crust with the crème légère, evening it out with the spatula. Refrigerate for at least 1 hour before topping with the pears.

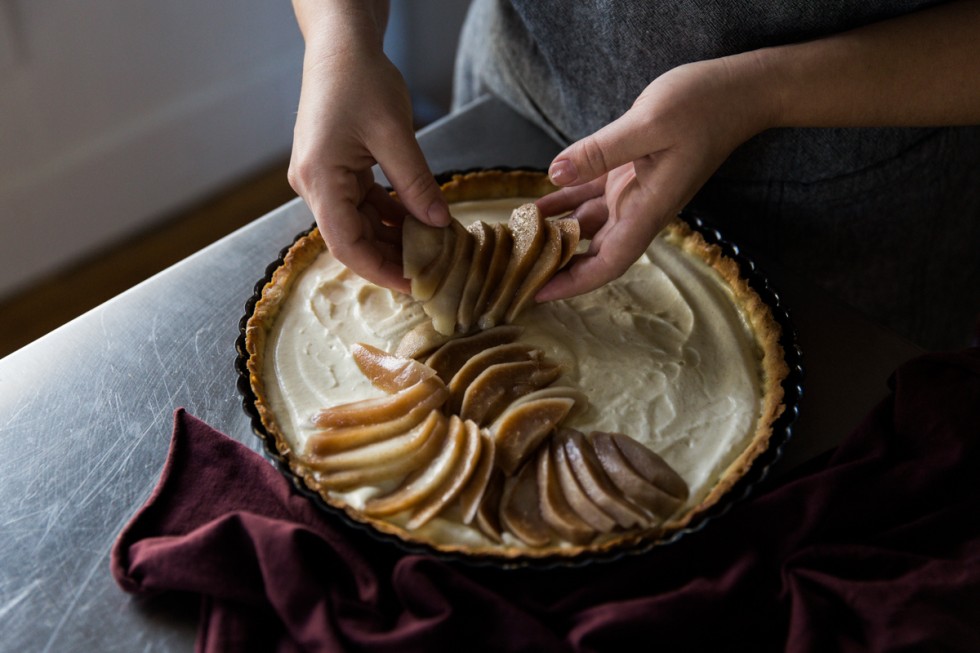
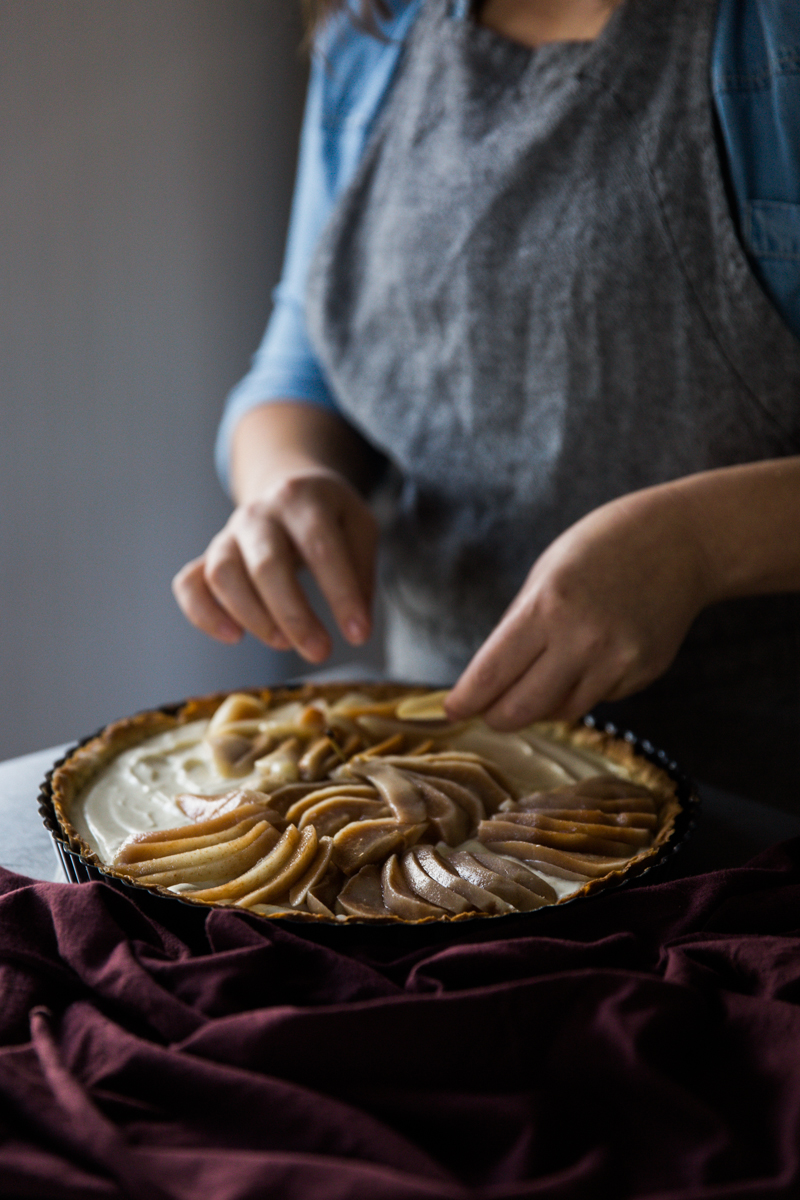
Arrange the pears on top of the filling. Note that because the filling is soft, you’ll need to work quickly while the filling is cold and more firm. Because it’s hard to move the pears once they’re on the filling, you may want to practice your pattern on an empty sheet pan before placing it on the tart.

Put the jelly and water or wine in a small saucepan. Simmer and whisk together to form a smooth glaze. Allow to cool slightly. Brush it on the exposed pears, being careful not to pull up the cream filling from below. Refrigerate the tart until ready to serve. Just before serving, garnish the tart with the pistachios. Serve cold, within 6 hours of topping.
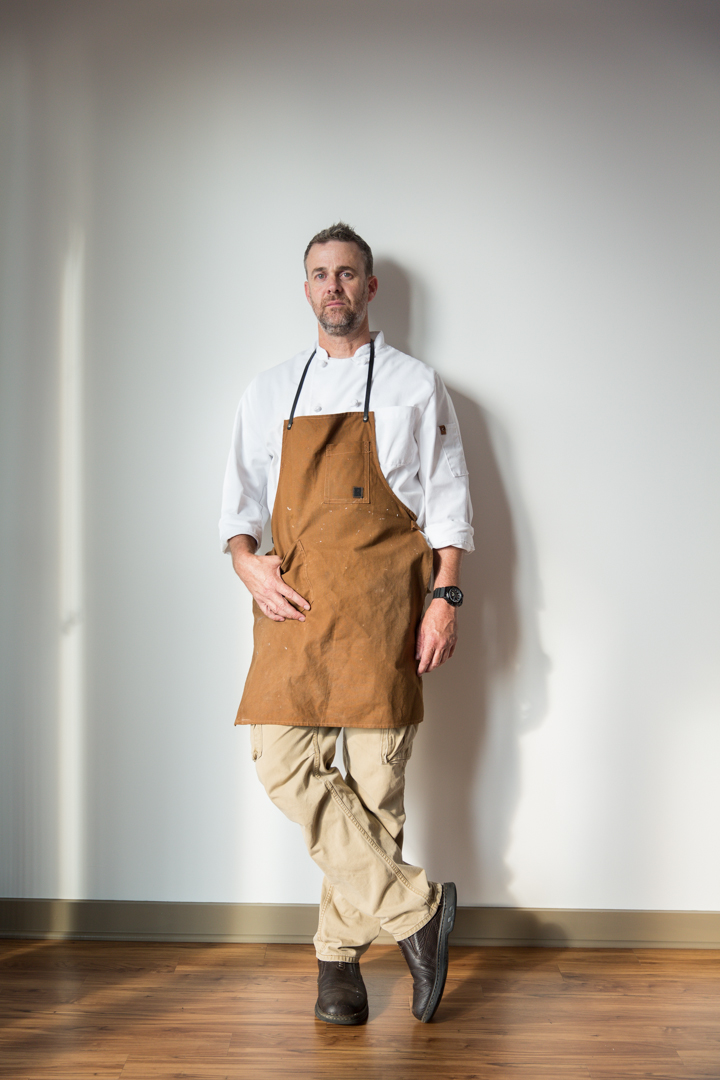
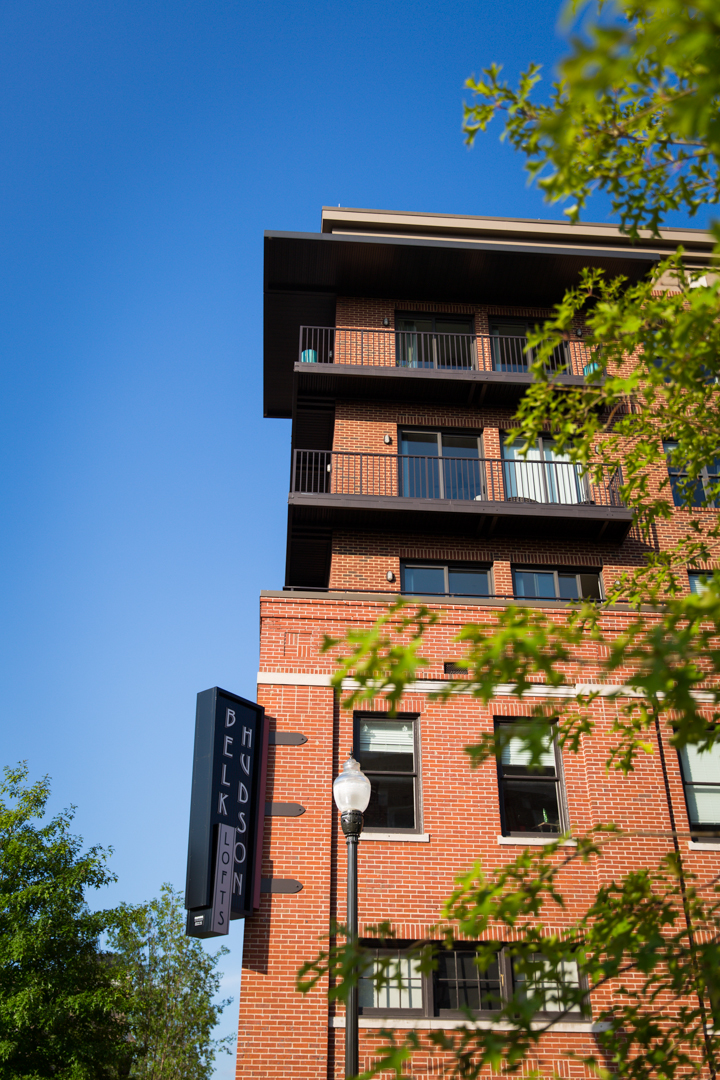
Chef Rick Vonk’s Rooftop Dinner

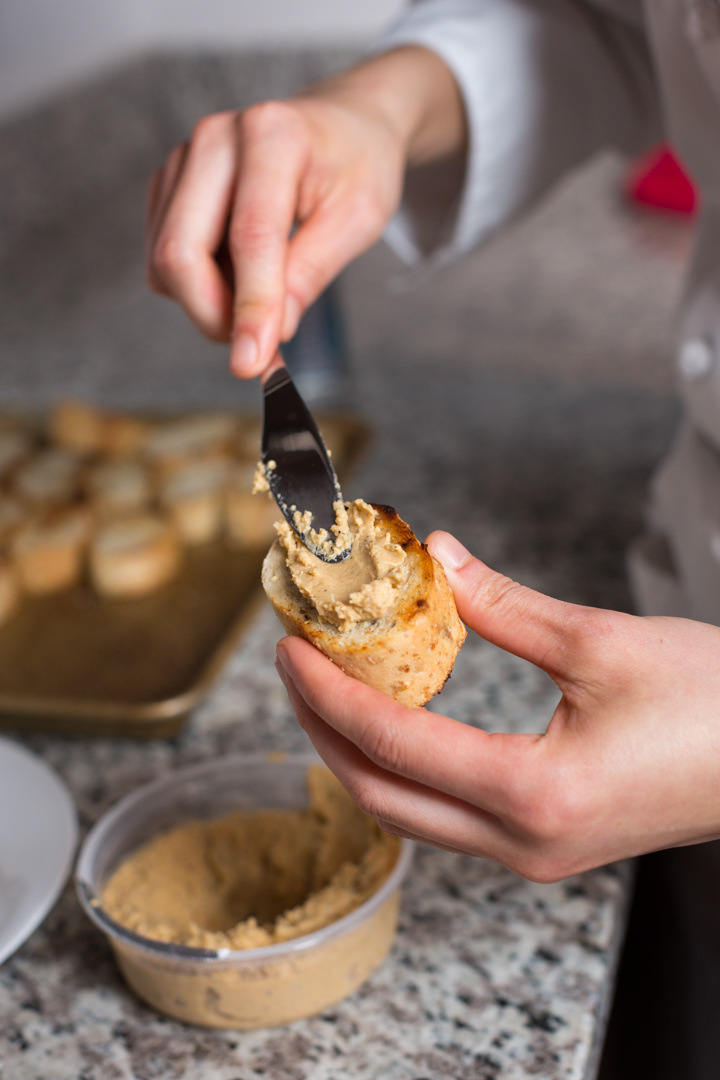
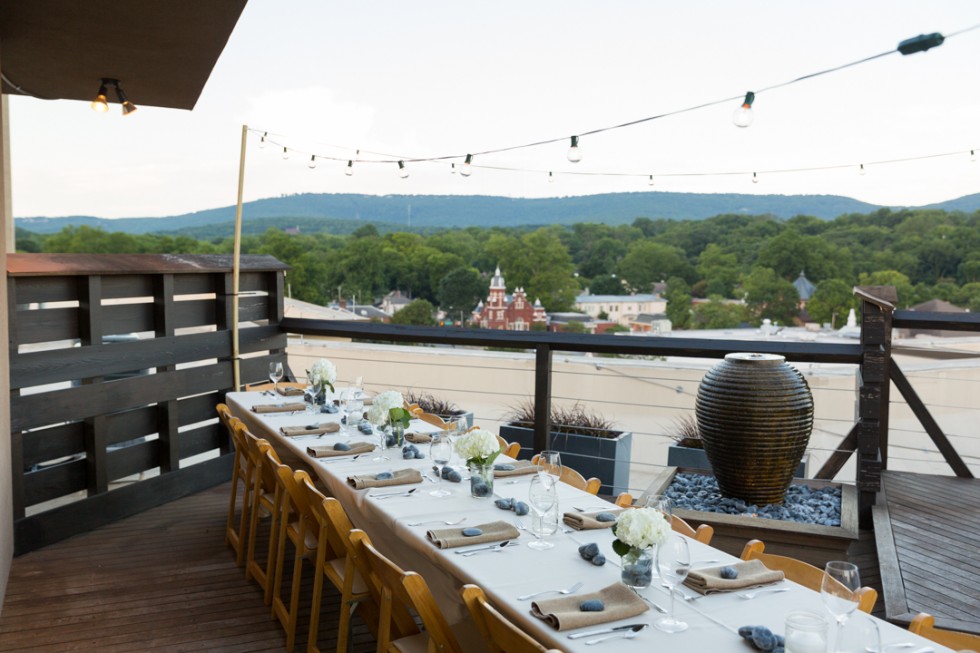
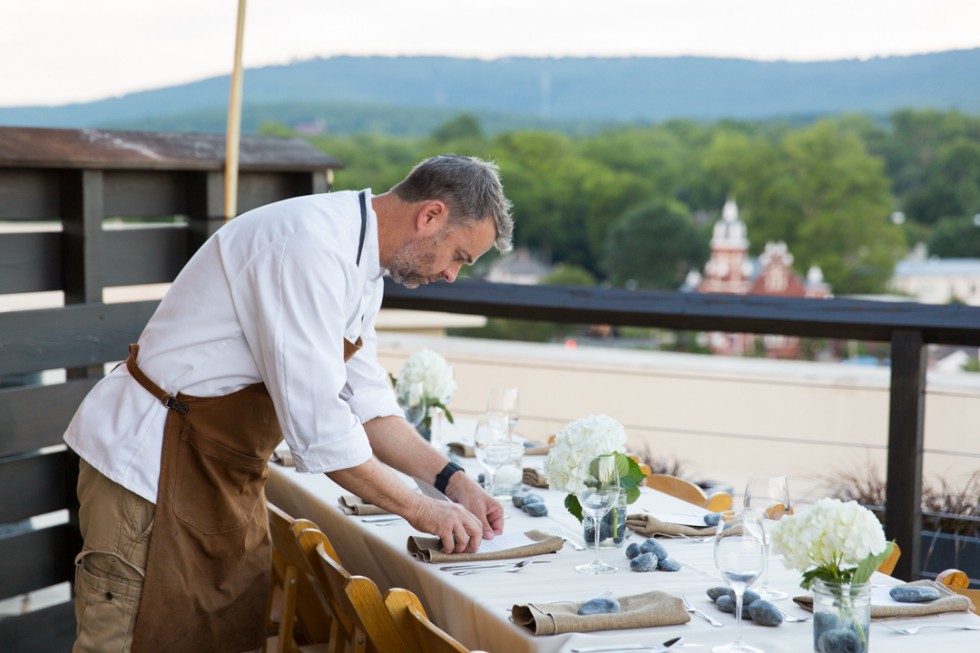
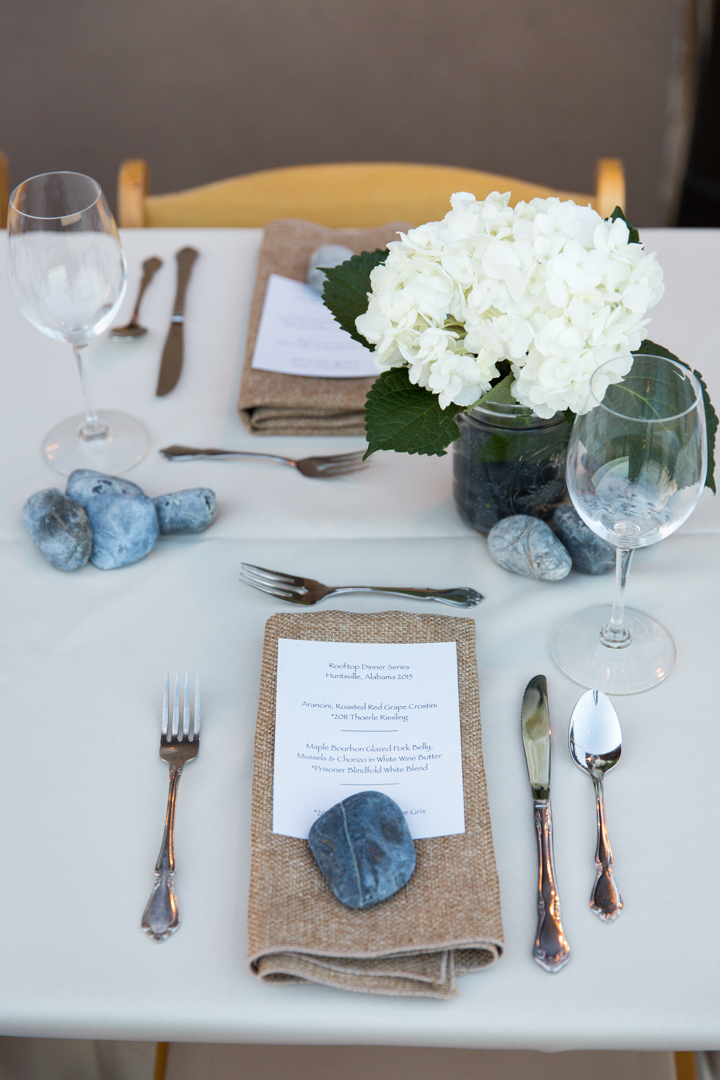
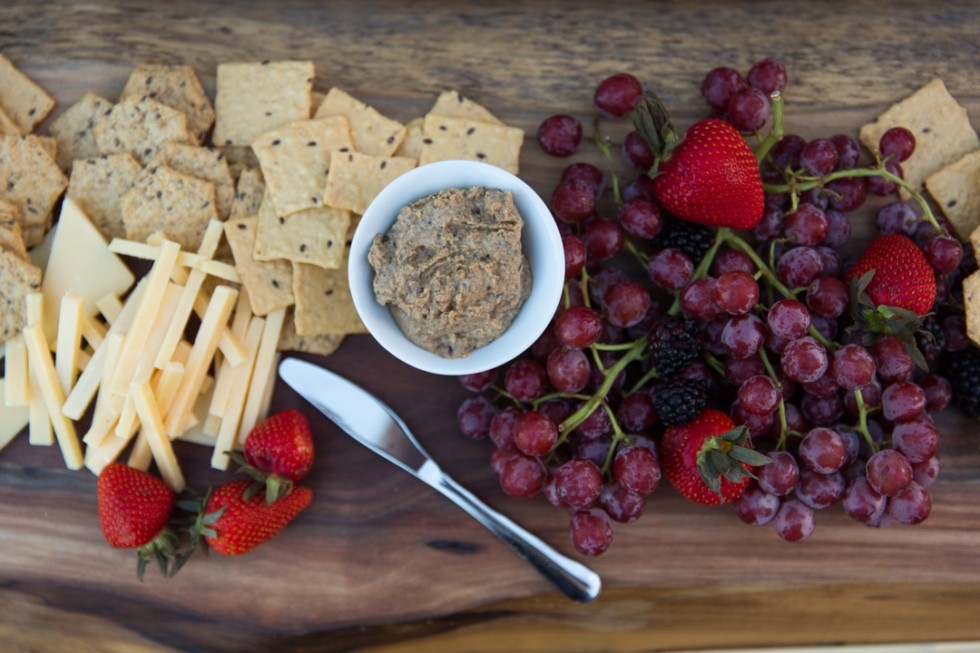
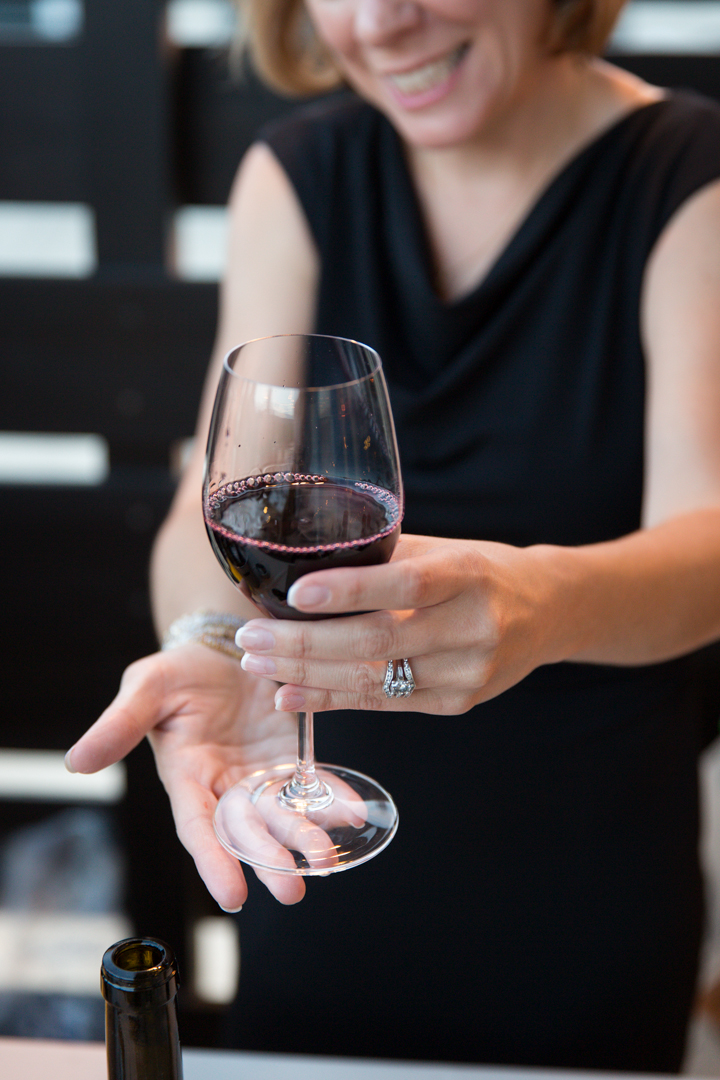
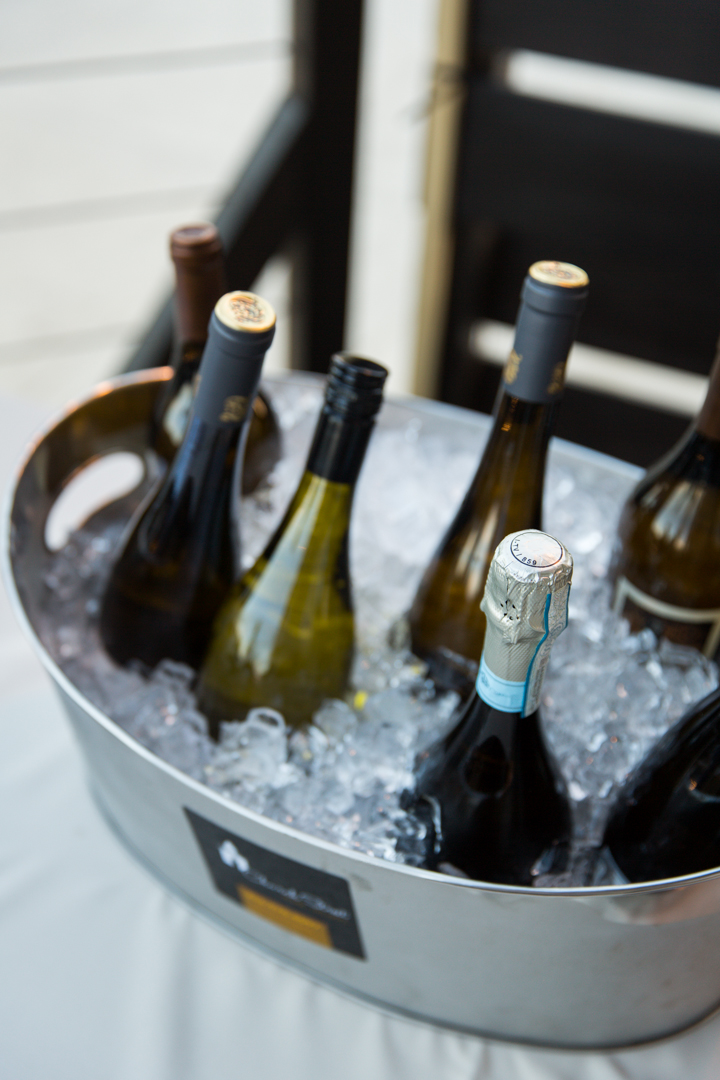
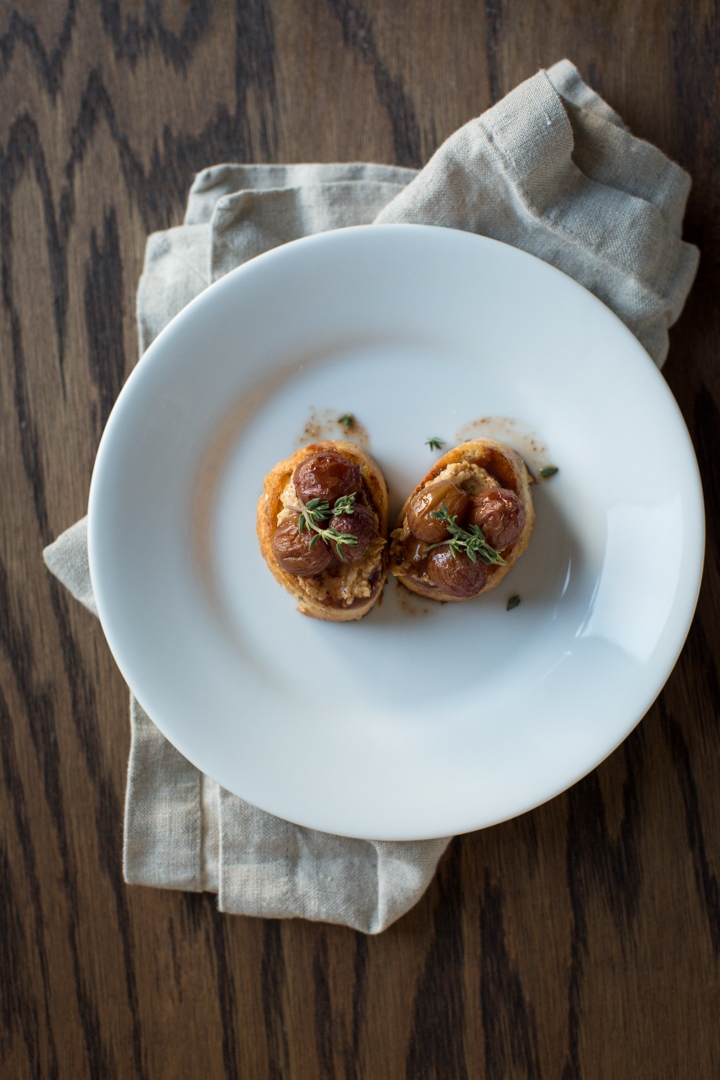
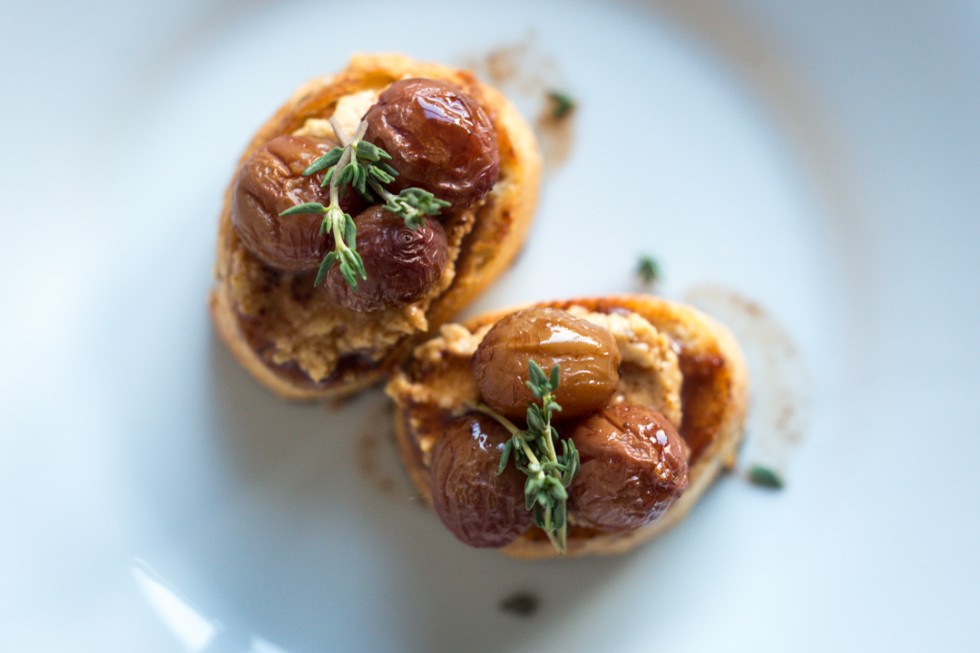
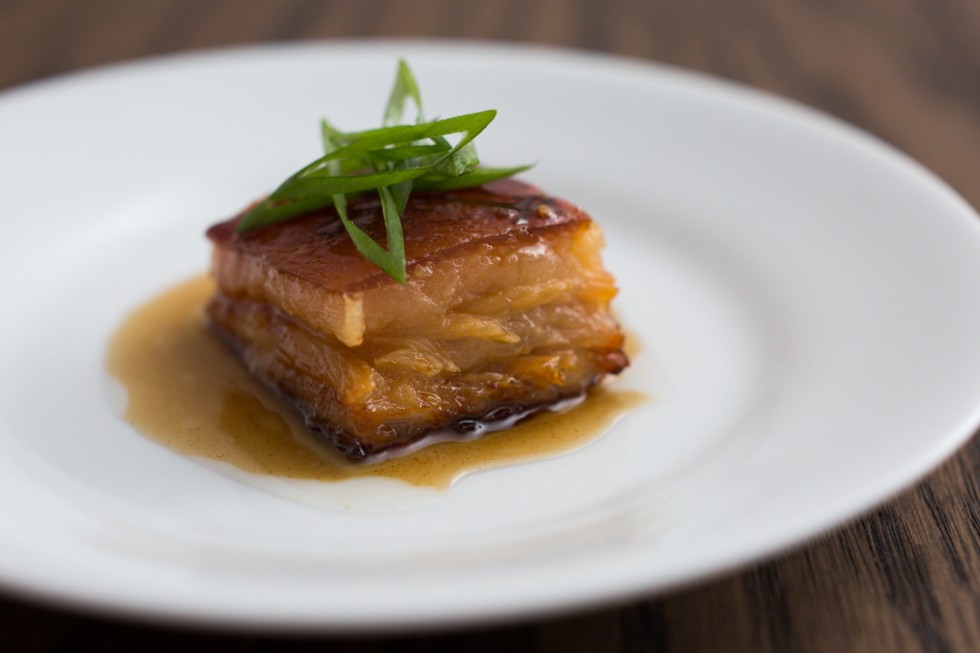
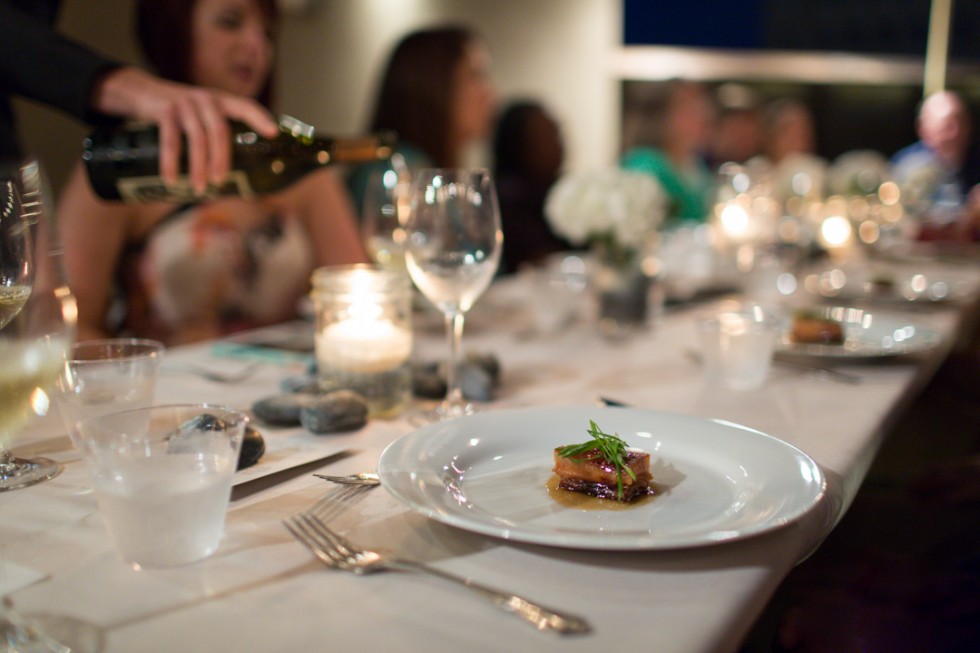
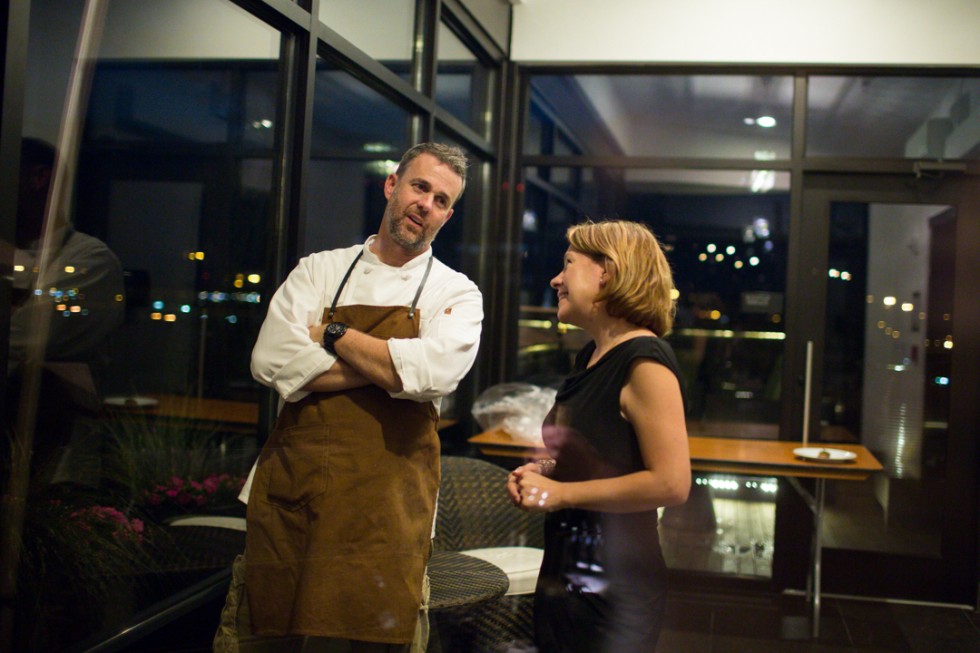
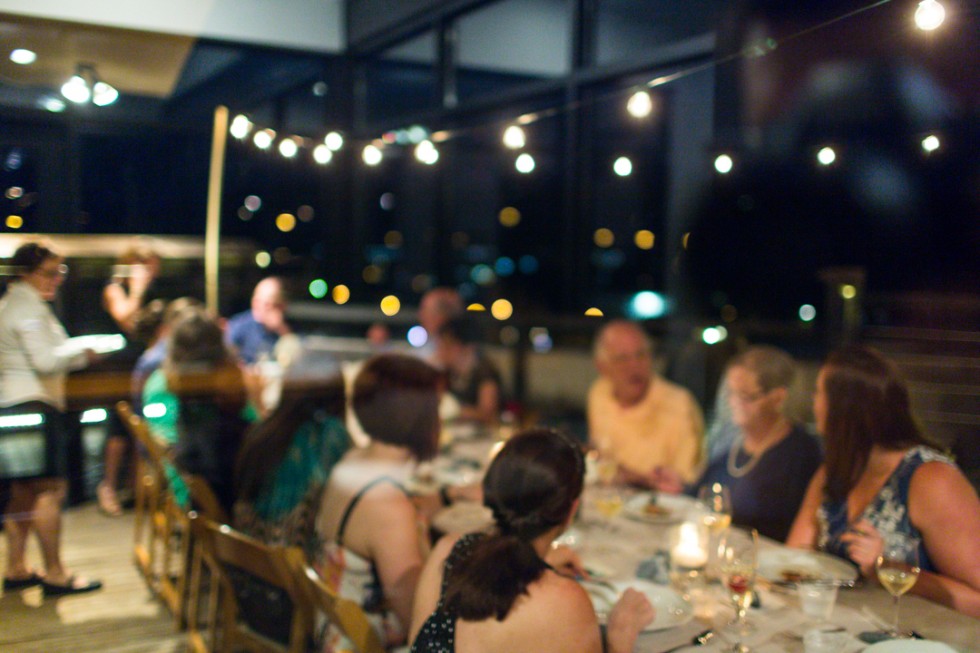
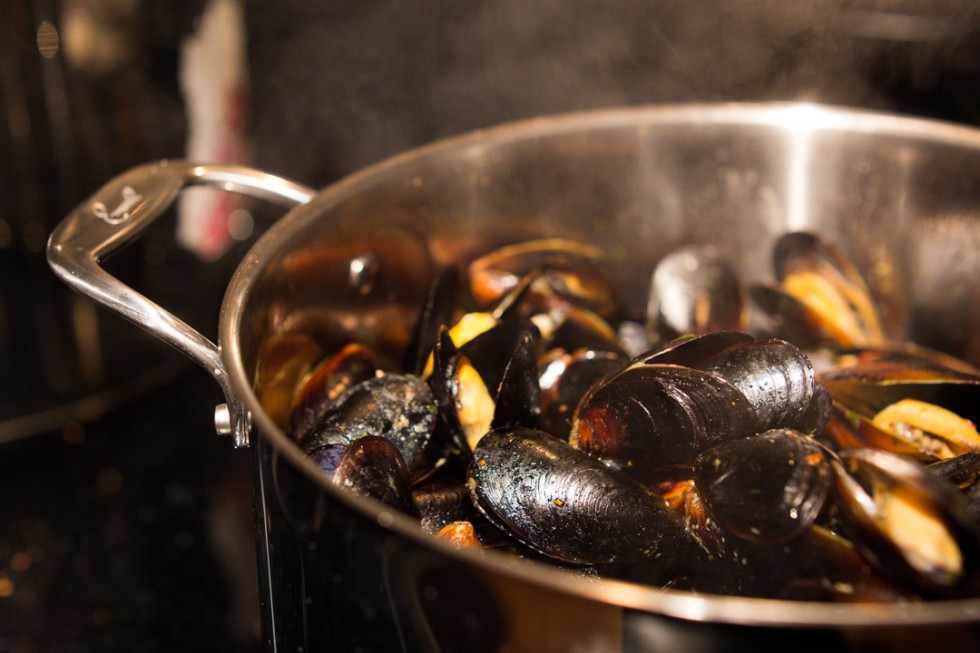
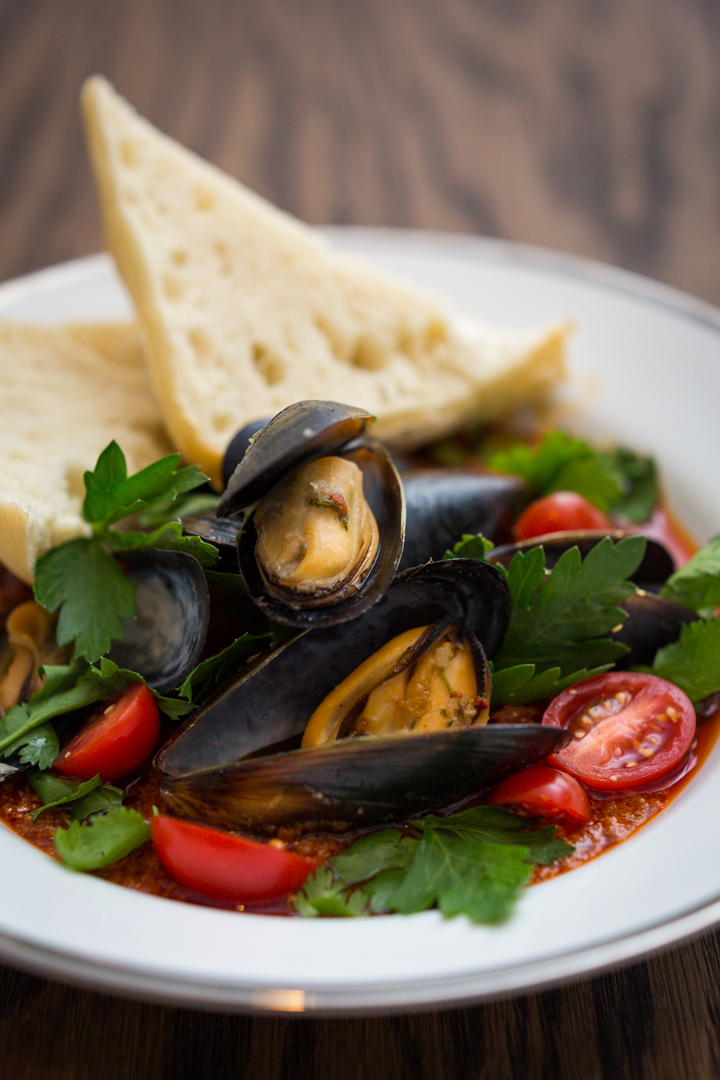
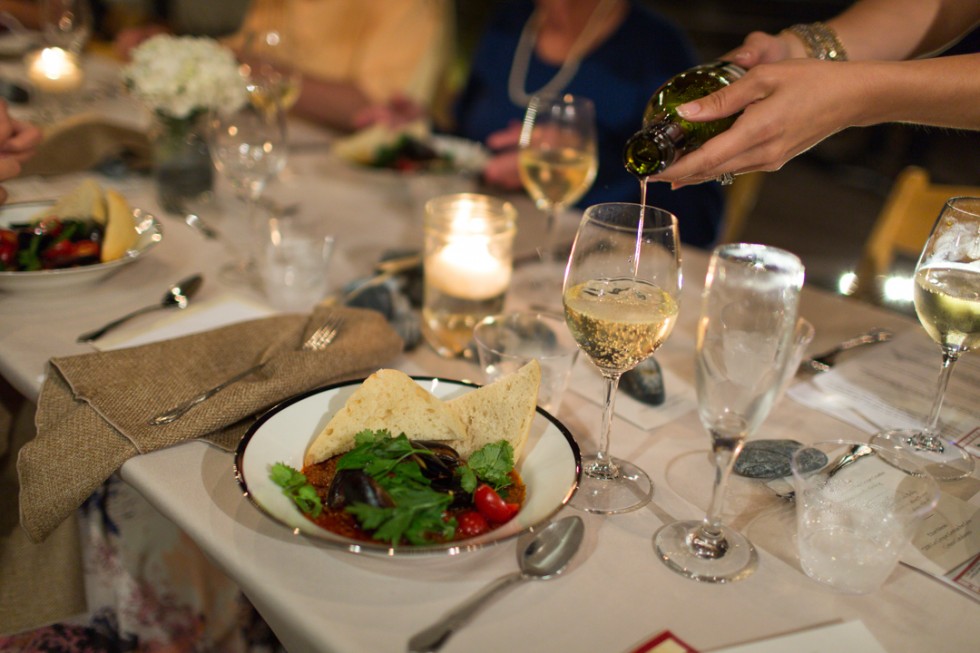
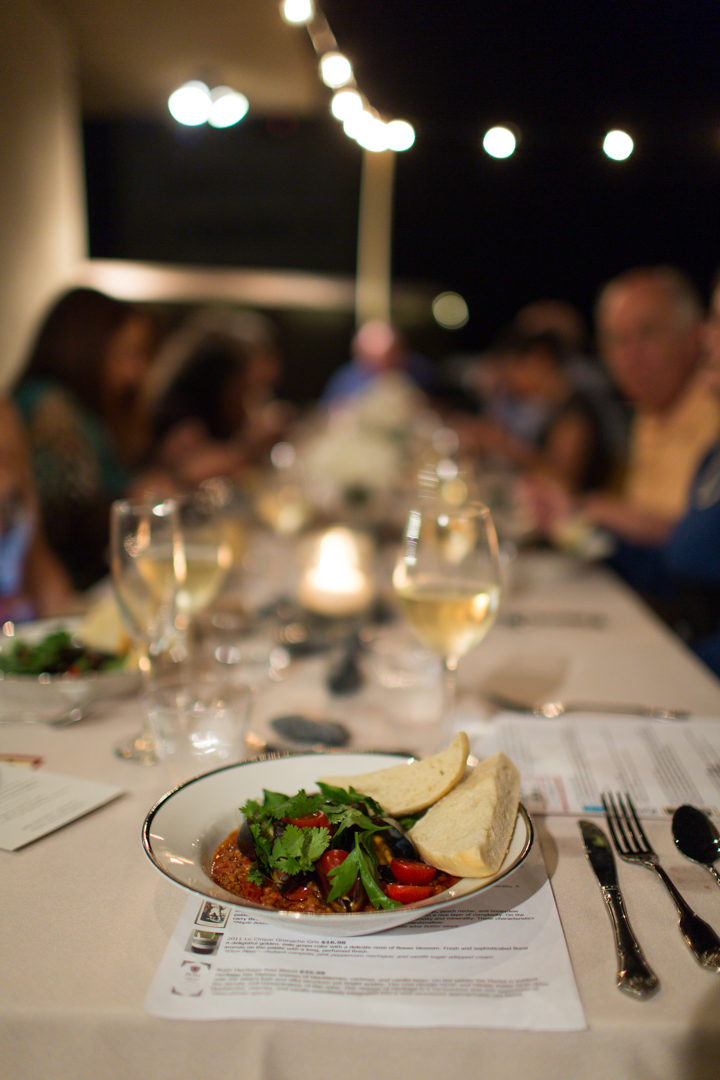
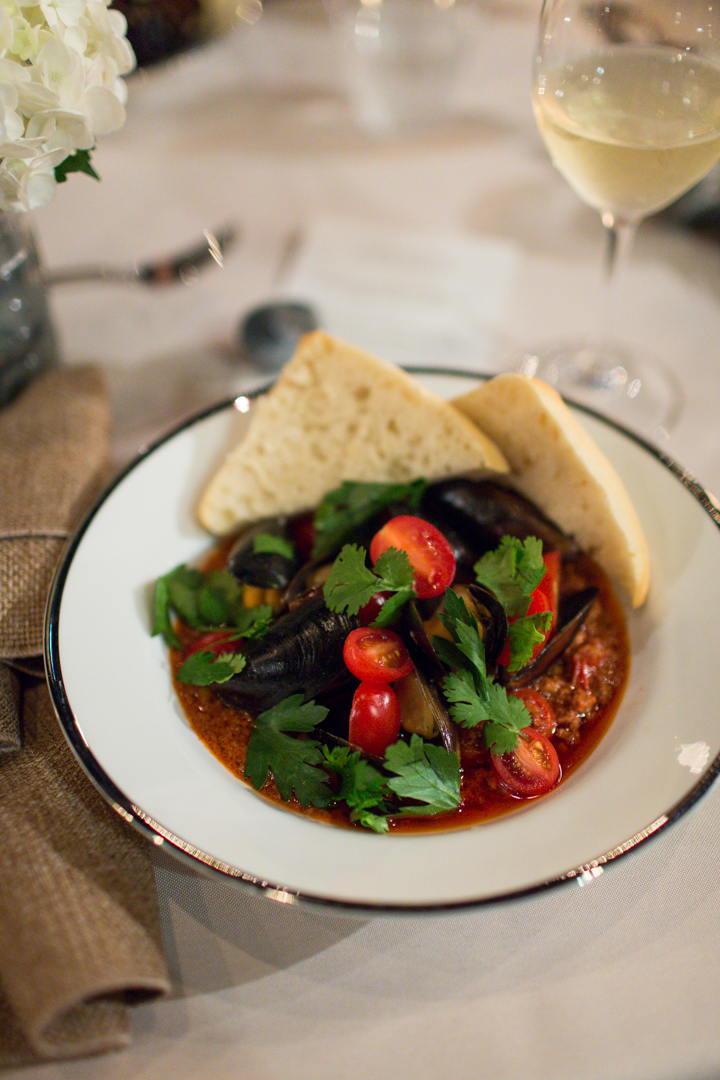
This spring we had the privilege of photographing Chef Rick Vonk’s first in a series of Rooftop Dinners in Huntsville. It was a beautiful evening of laughs, wine, meeting new people, and of course food! There was delicious Hummus from The Hummus People in two of the dishes. A full host of wines from The Church Street Wine Shoppe, as well as Ricks 5 Course meal. All of the courses were fantastic, but a few of my favorites were the maple bourbon glazed pork belly and the mussels & chorizo in white wine butter. All in all an amazing evening. The best part is that there are more rooftop dinners to come!
blog-rooftopdinner-3 Rick Vonk Rooftop Dinnerblog-rooftopdinner-2blog-rooftopdinner-4 blog-rooftopdinner-5blog-rooftopdinner-8

blog-rooftopdinner-9 blog-rooftopdinner-10 blog-rooftopdinner-12 blog-rooftopdinner-14blog-rooftopdinner-18 blog-rooftopdinner-15 blog-rooftopdinner-16 blog-rooftopdinner-17 blog-rooftopdinner-21blog-rooftopdinner-19blog-rooftopdinner-20 blog-rooftopdinner-22blog-rooftopdinner-24 blog-rooftopdinner-25 blog-rooftopdinner-29blog-rooftopdinner-27 blog-rooftopdinner-30 blog-rooftopdinner-31 blog-rooftopdinner-33blog-rooftopdinner-39 blog-rooftopdinner-40 blog-rooftopdinner-41 blog-rooftopdinner-42 blog-rooftopdinner-43blog-rooftopdinner-35

Smash Bash

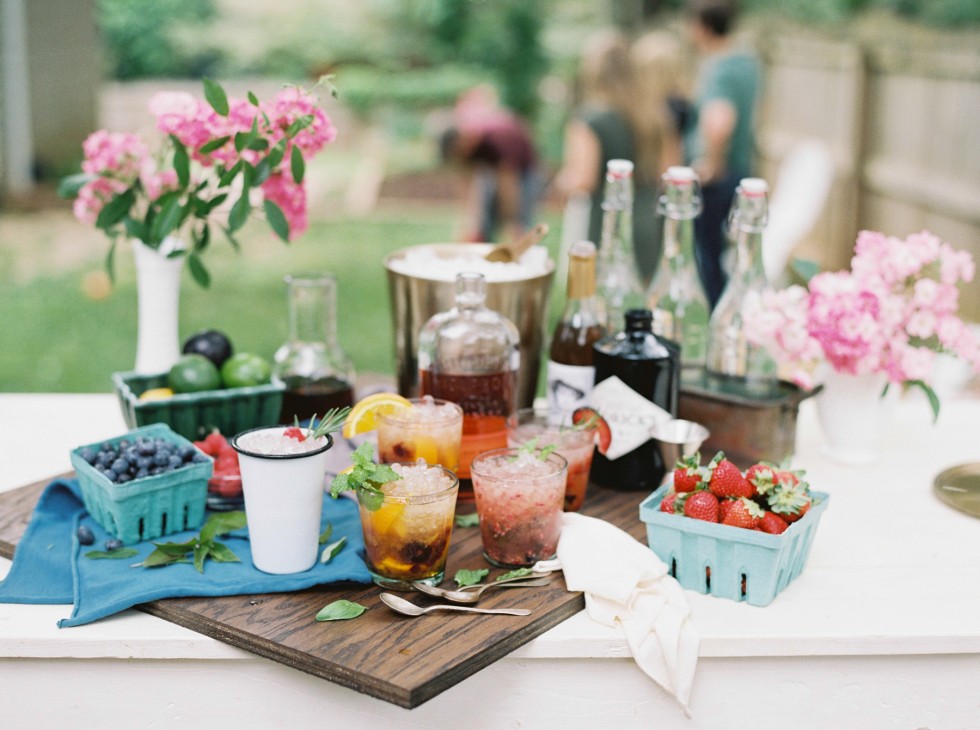
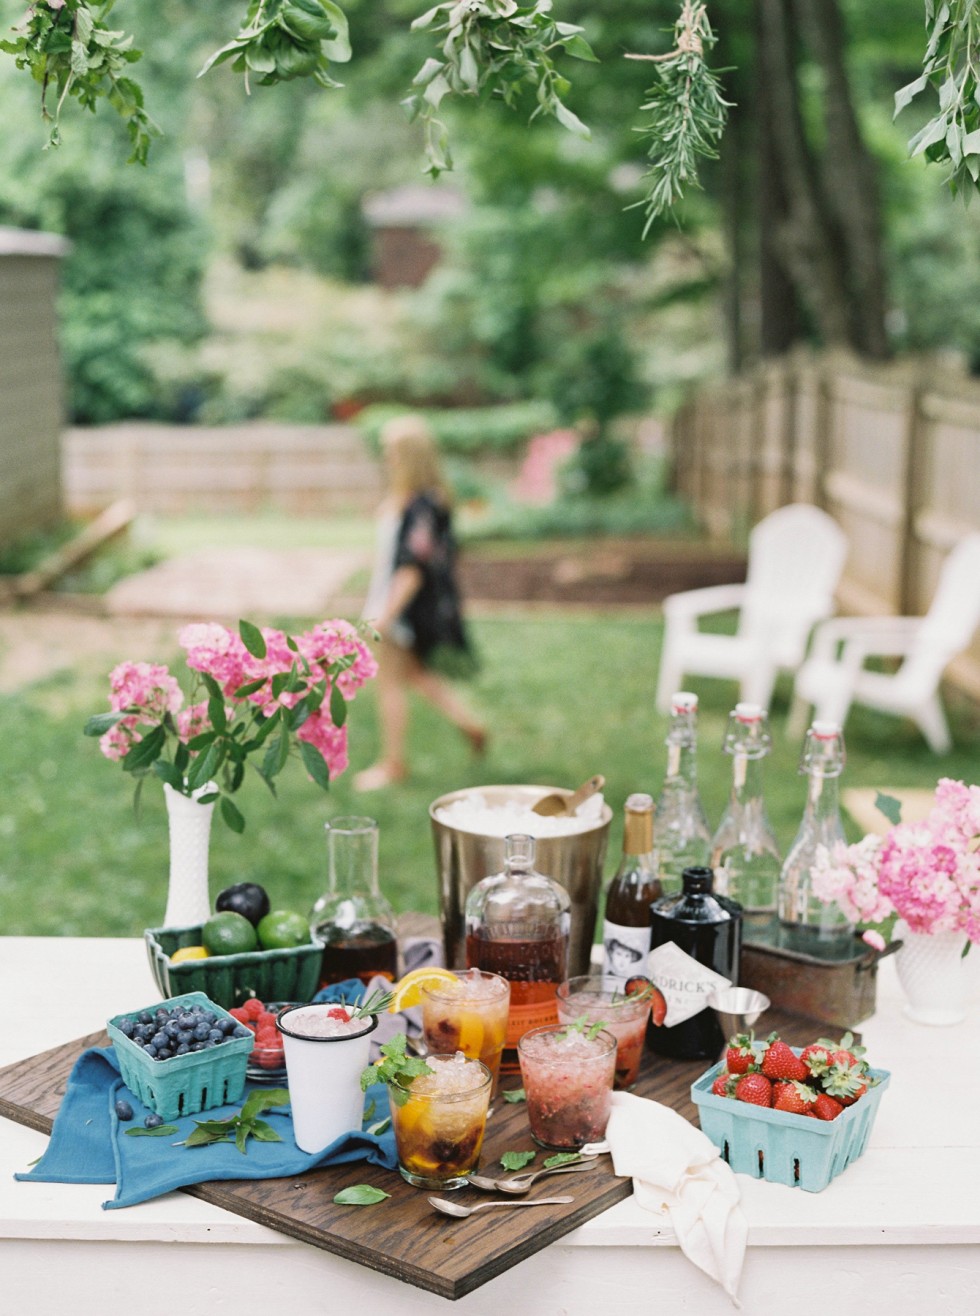
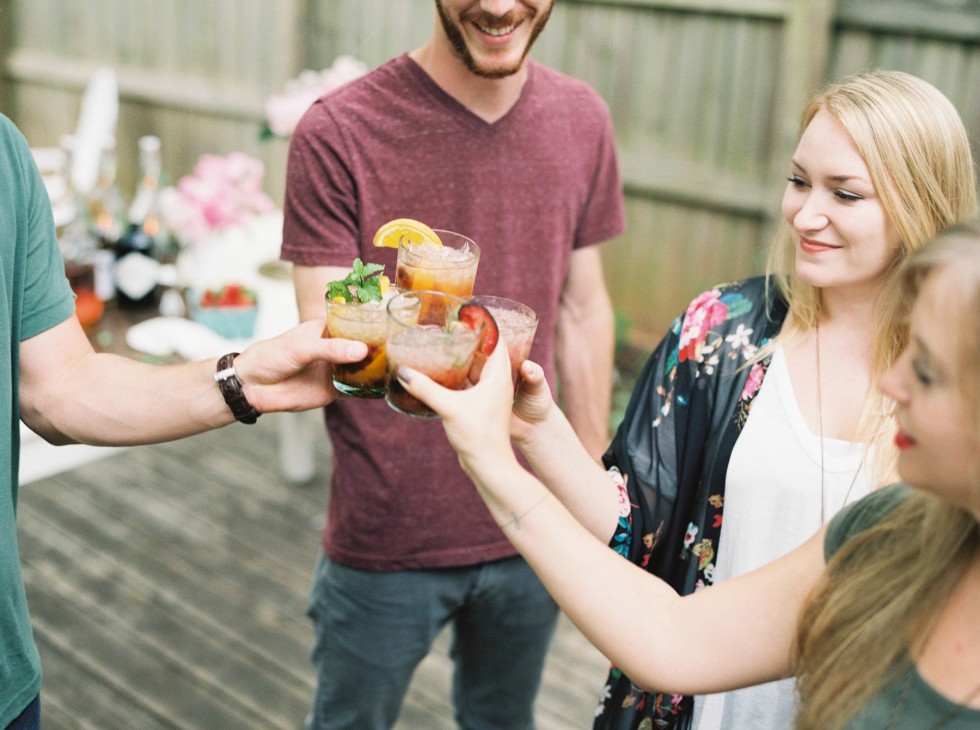
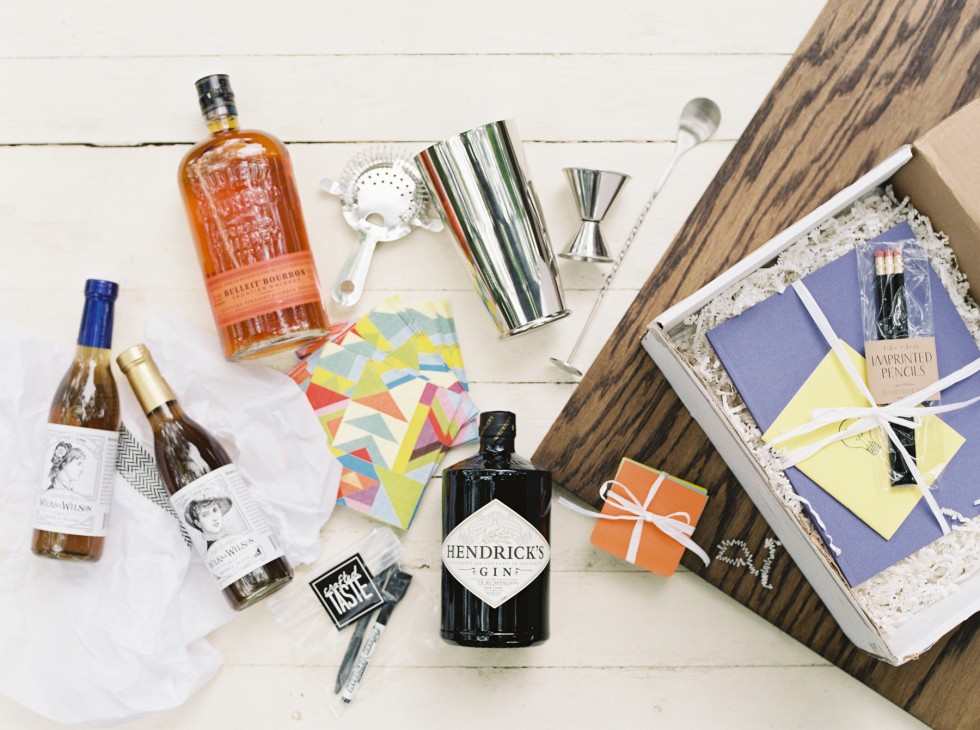
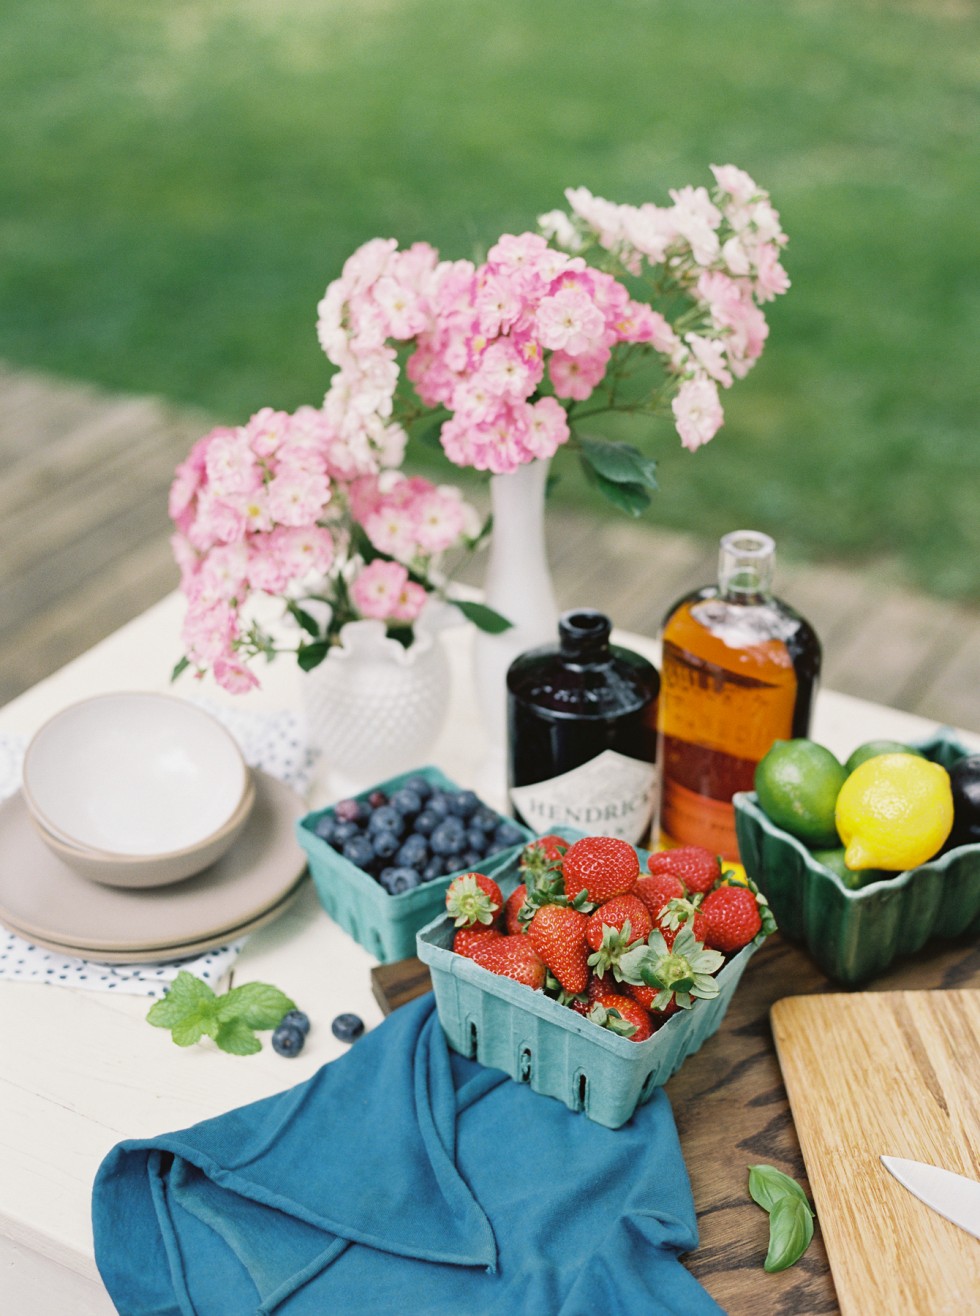
Ready for the weekend? Wether you are looking to porch sit with your sweetie or throw an all out party, the Indie Shopography curated Crafted Taste “Smash Bash” cocktail kit is the perfect way to get your weekend going!

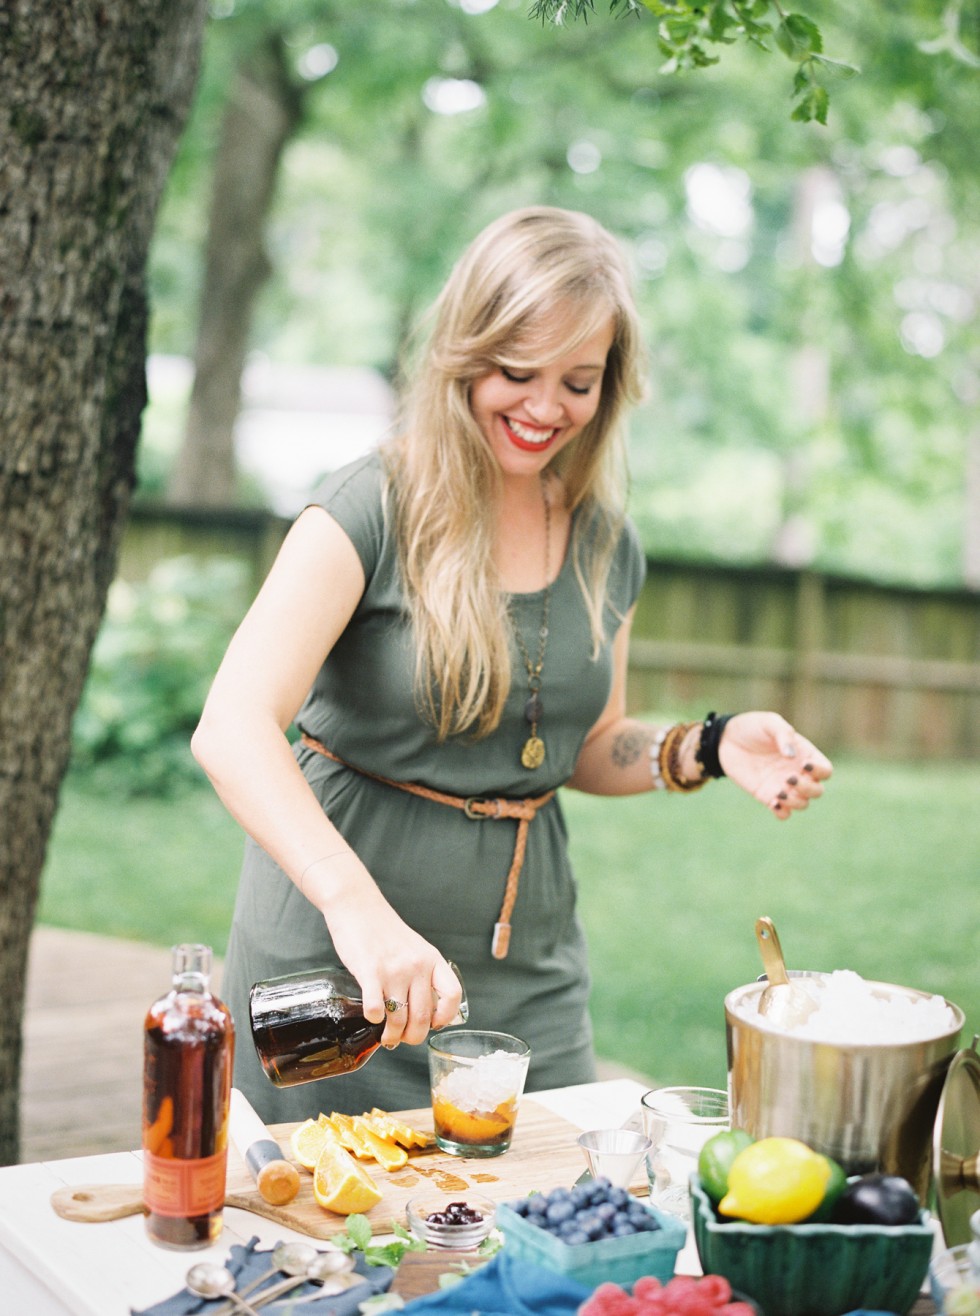
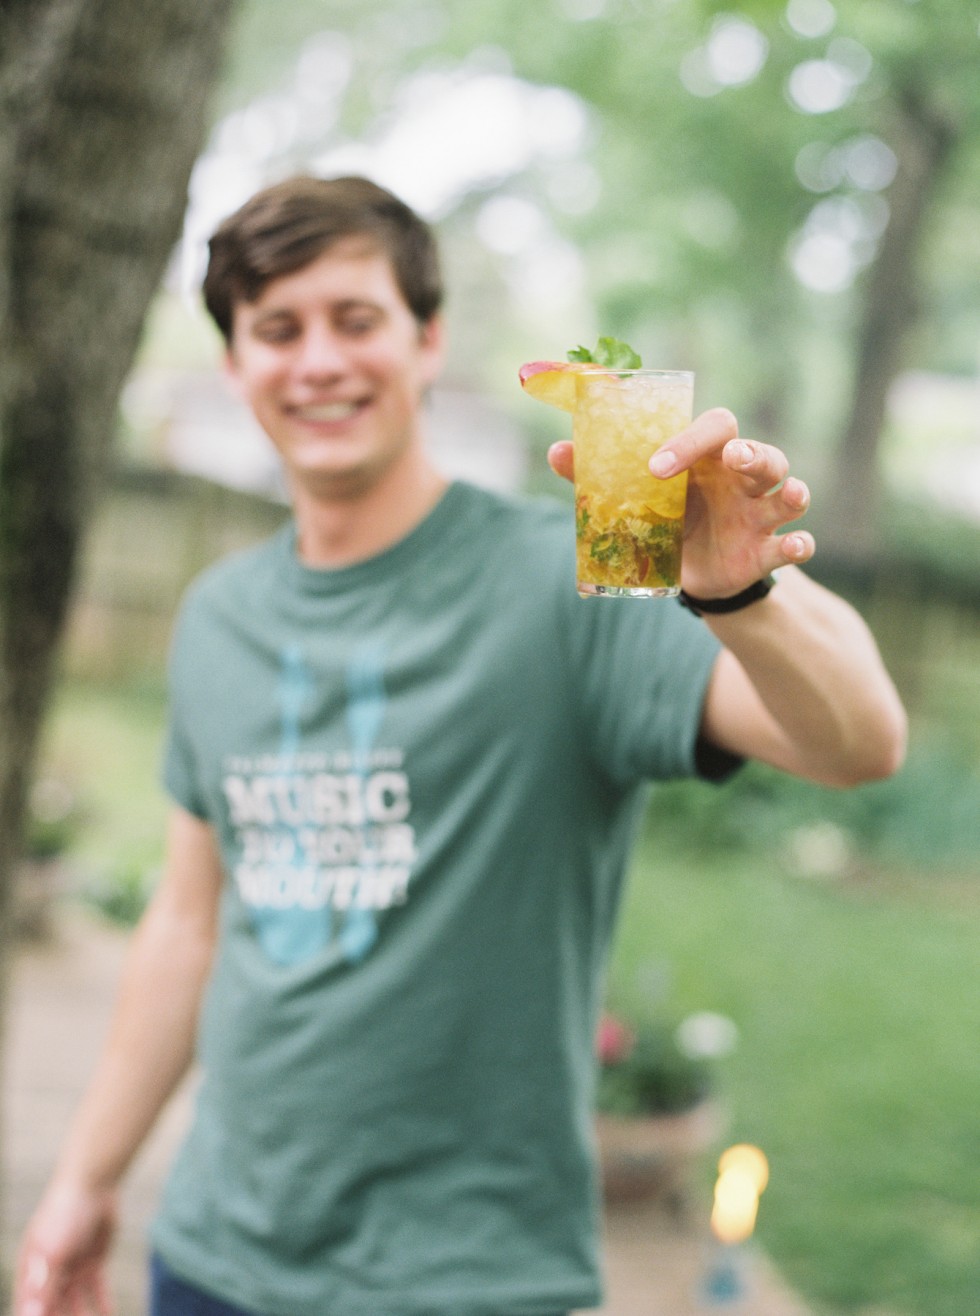
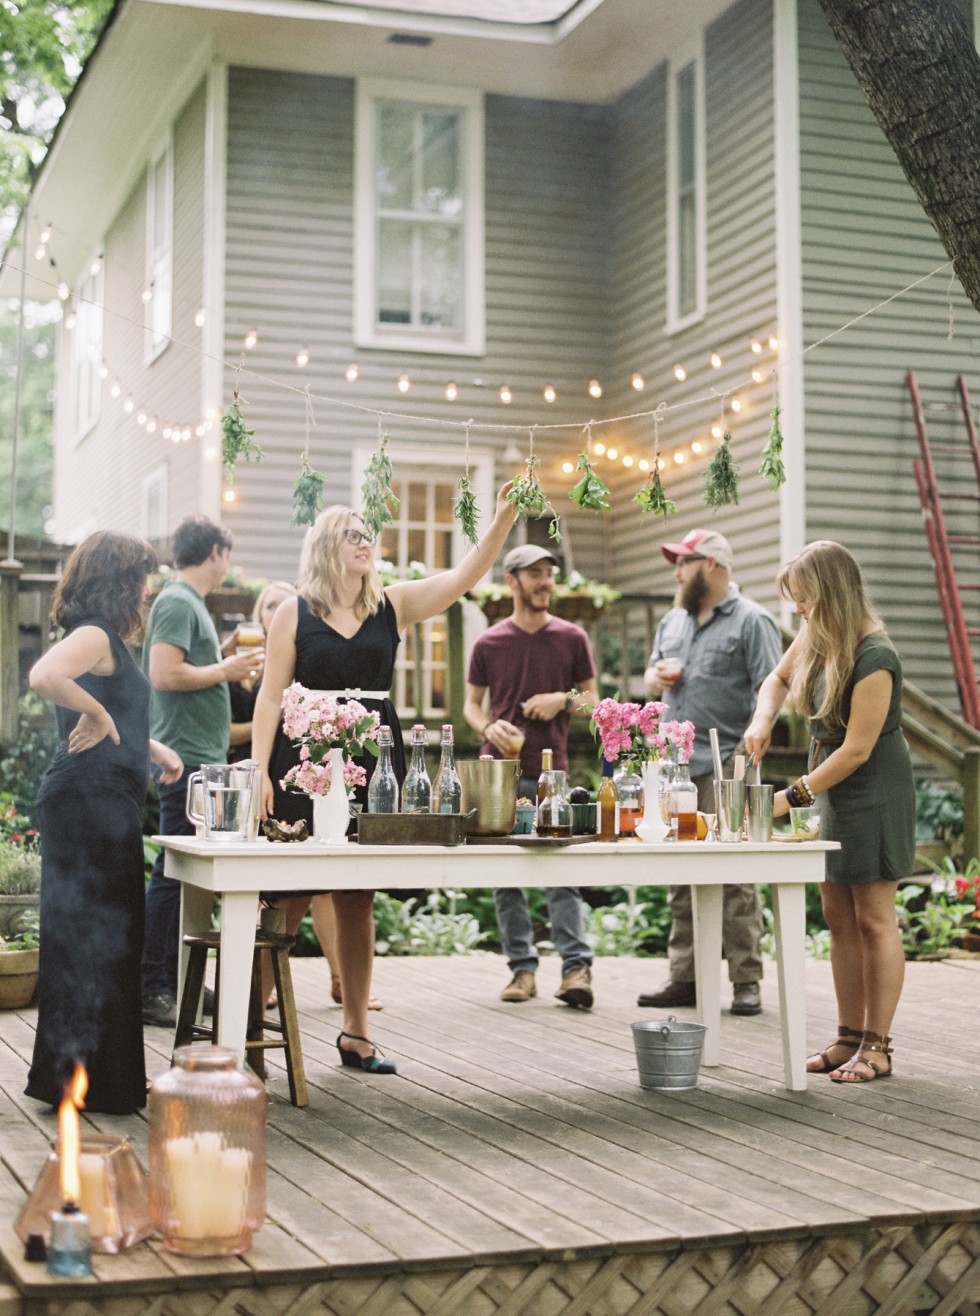
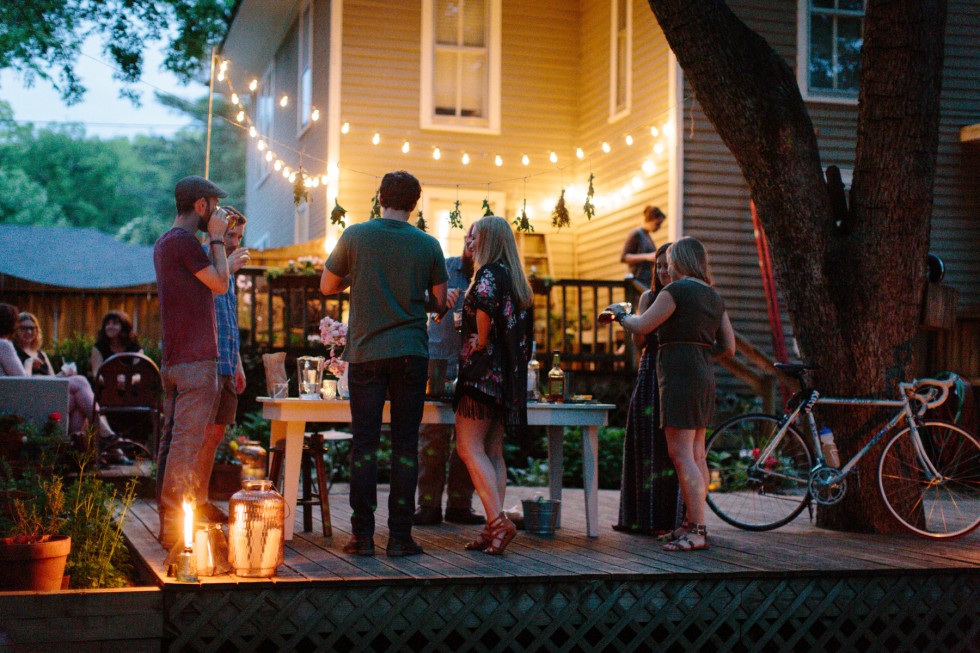
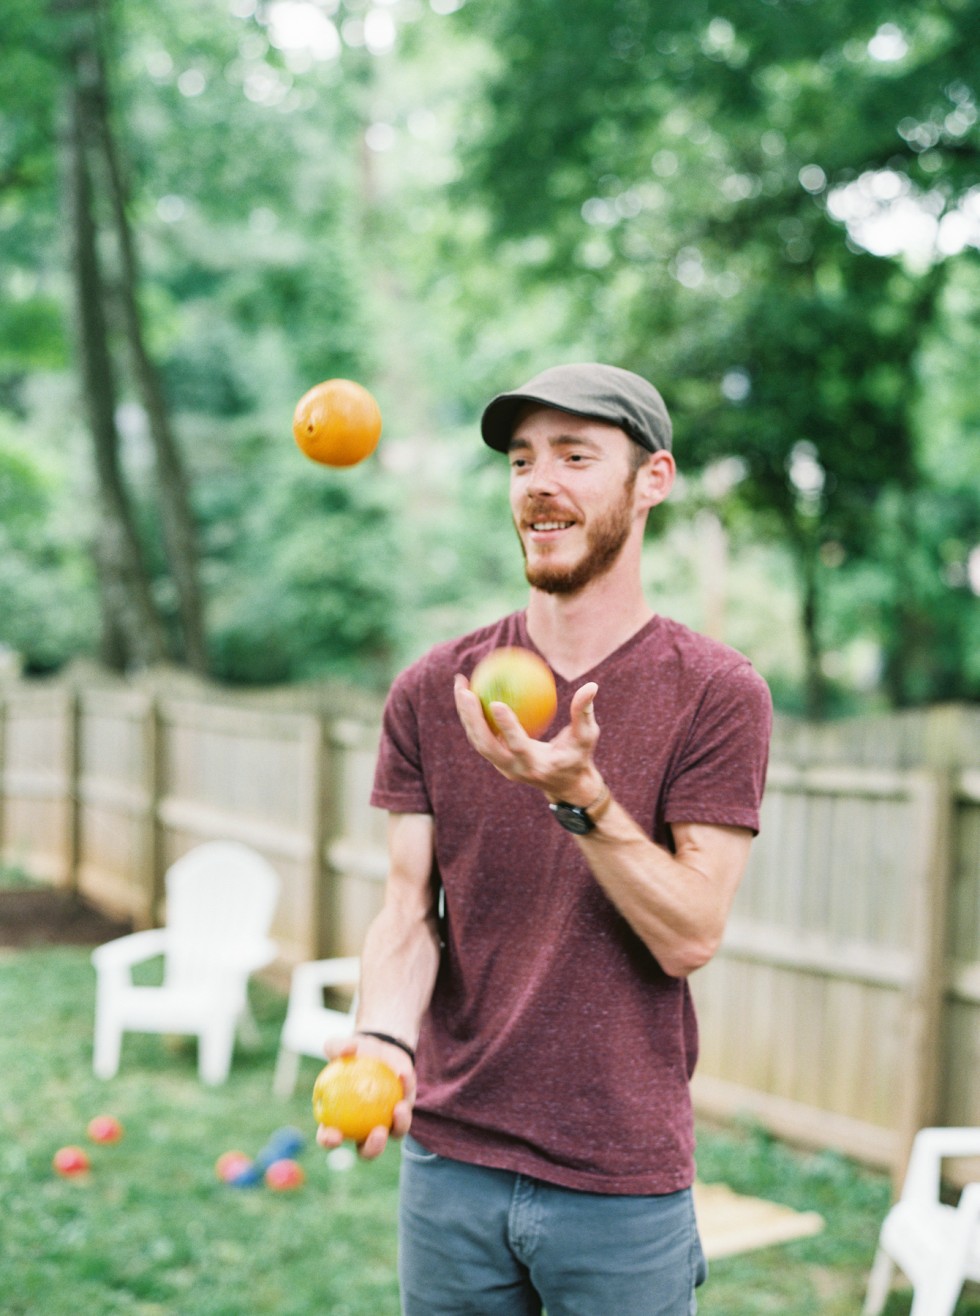
A few months ago our good friends at Indie Shopography asked us to team up with them to visually showcase the cocktail curation and design they were doing with the subscription cocktail service, Crafted Taste. Susan got right on it and knocked it out with her styling by creating the perfect setting and finding goods from some of our favorite makers, Alabama Chanin and Heath Ceramics. Not only was it a ton of fun planning and photographing, but at the end of the day we asked some more friends to come over and this Smash Bash really came to life!

blog-smashbash-1blog-smashbash-3


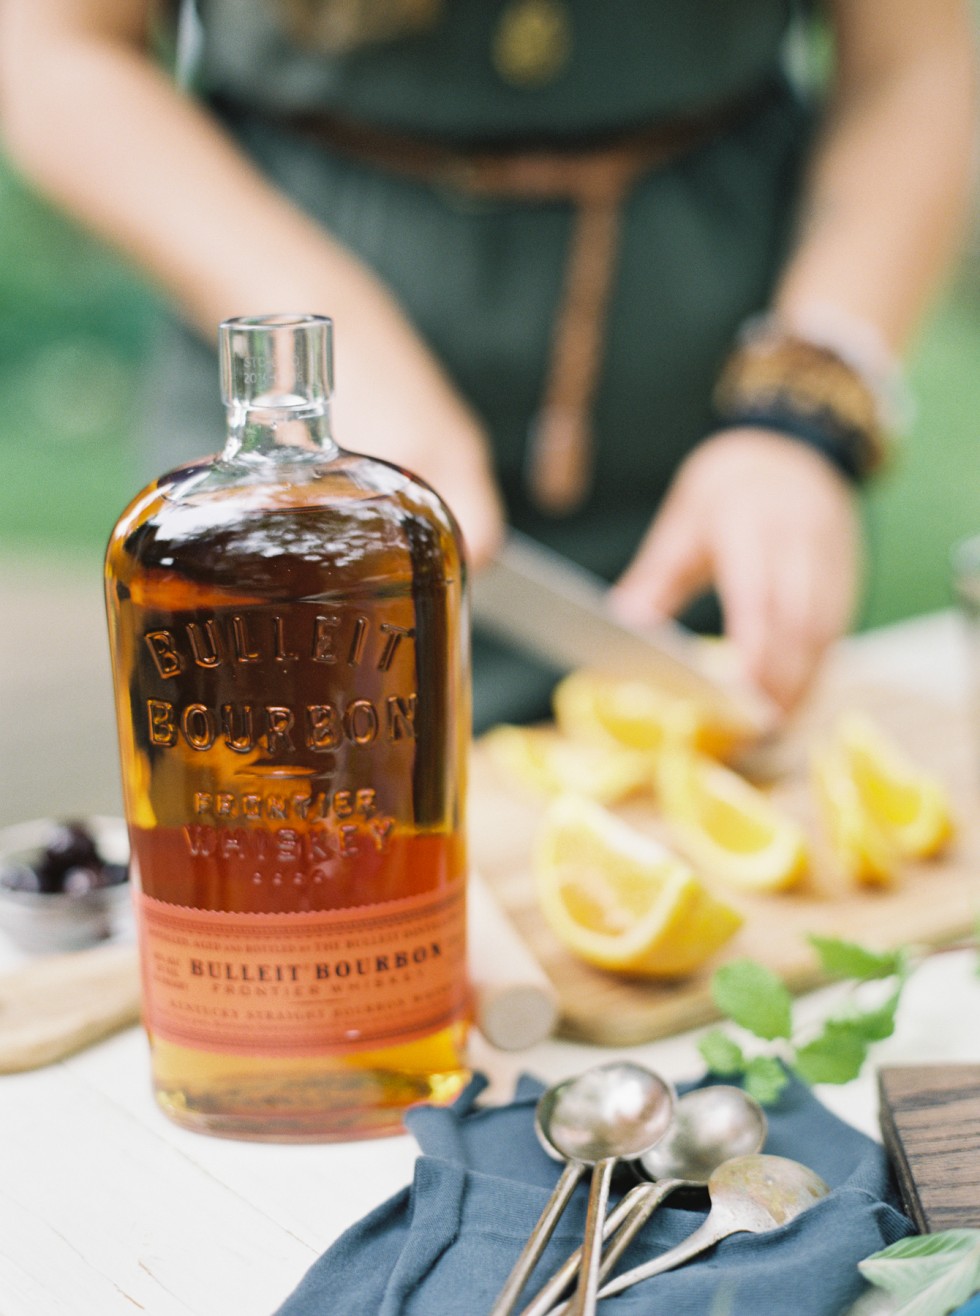
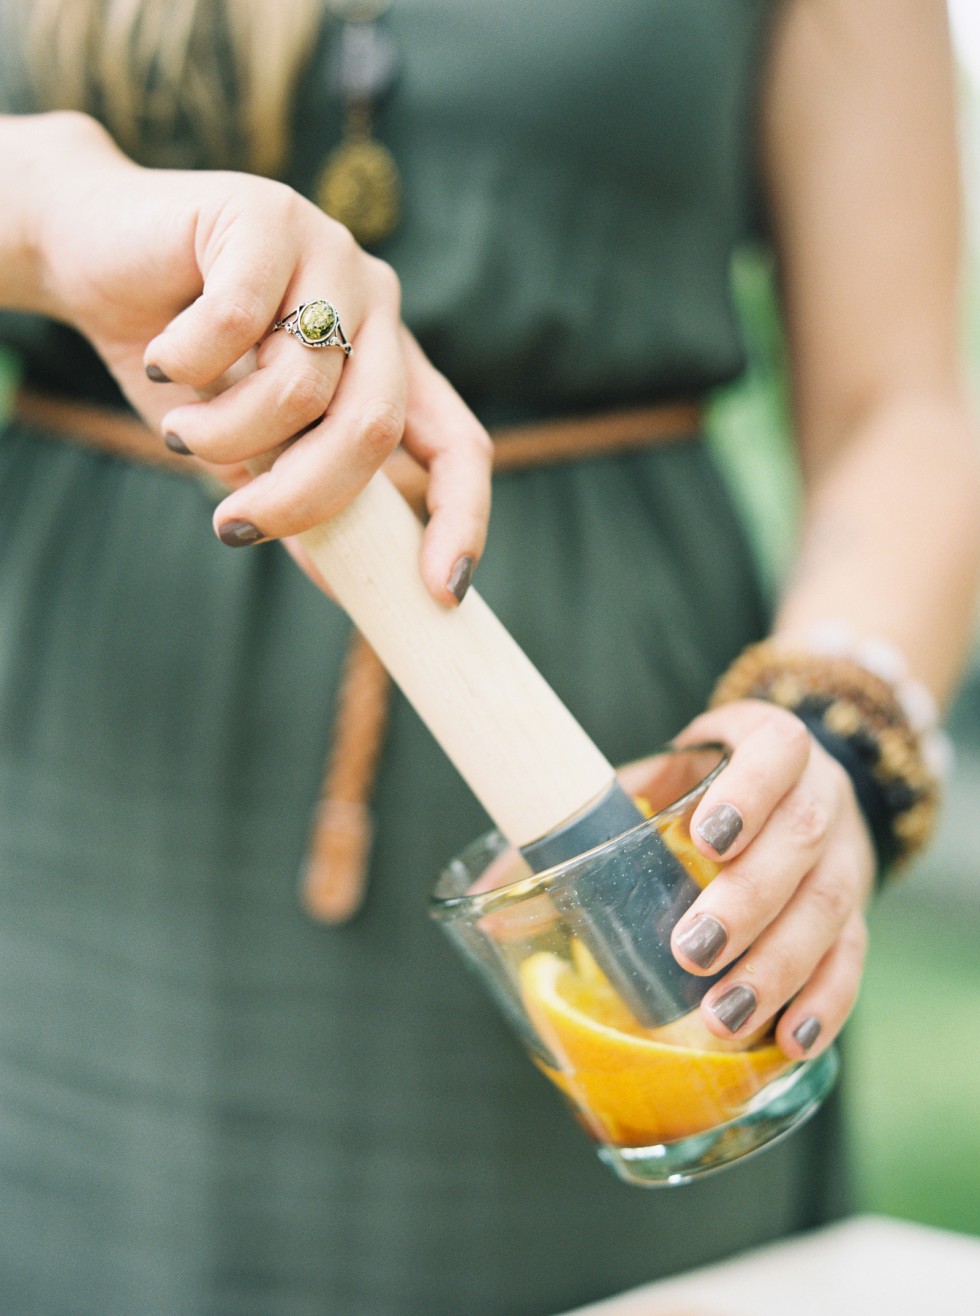
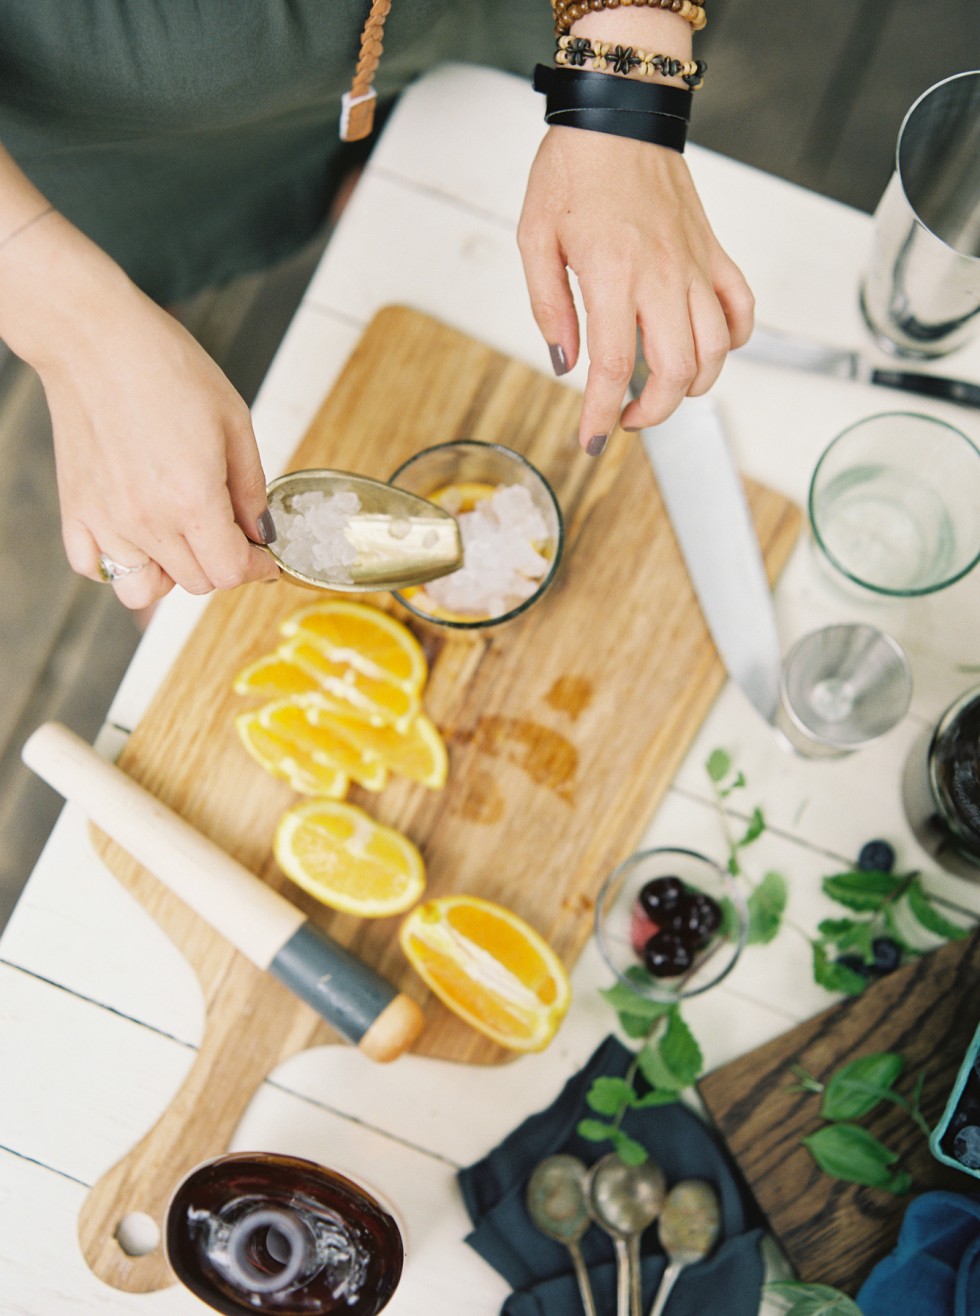
blog-smashbash-4blog-smashbash-8blog-smashbash-10blog-smashbash-11blog-smashbash-12blog-smashbash-41blog-smashbash-39blog-smashbash-27

that’s fashion smash

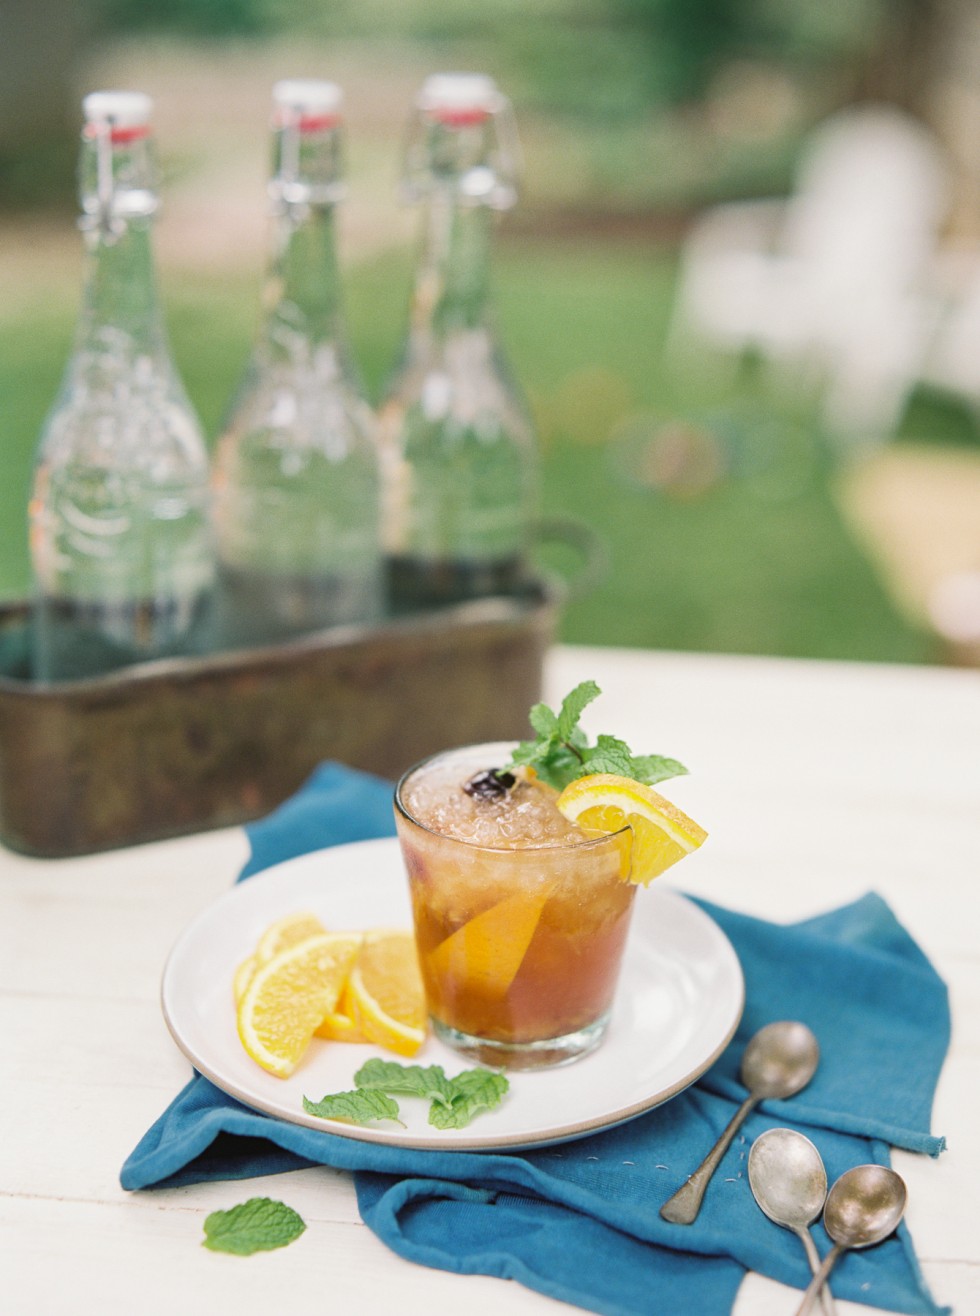
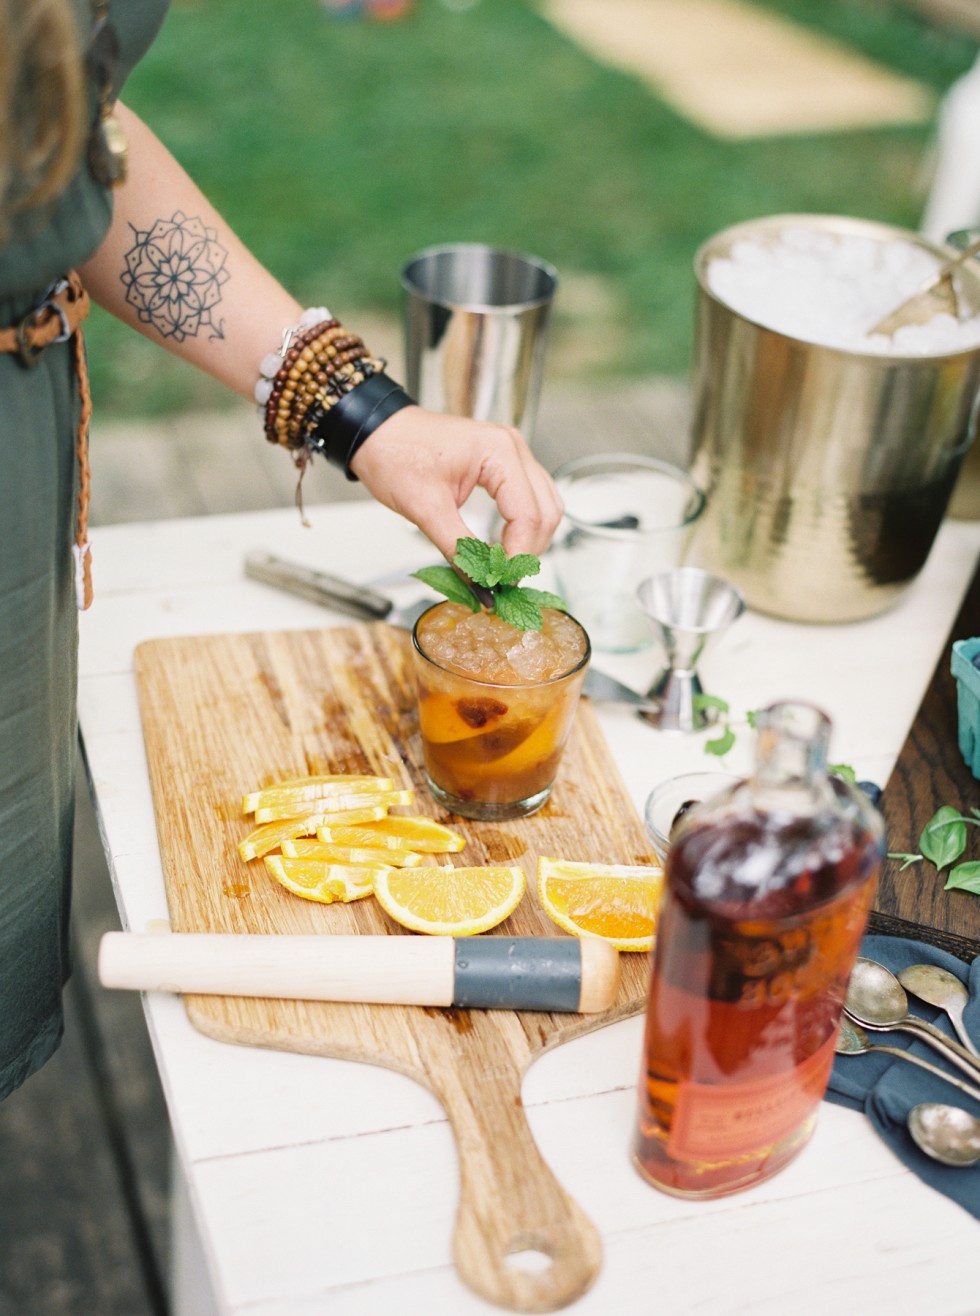
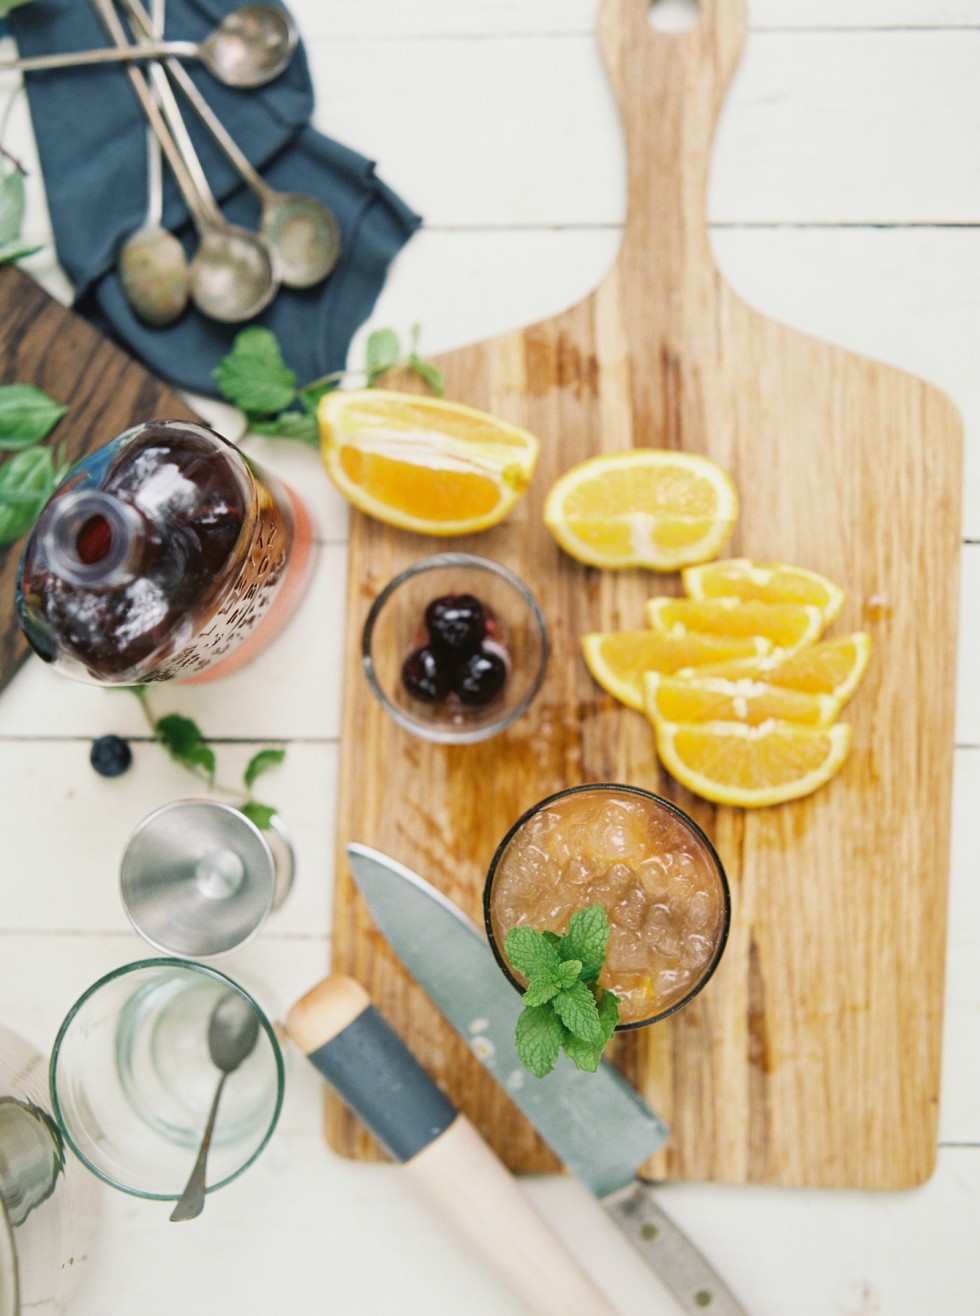
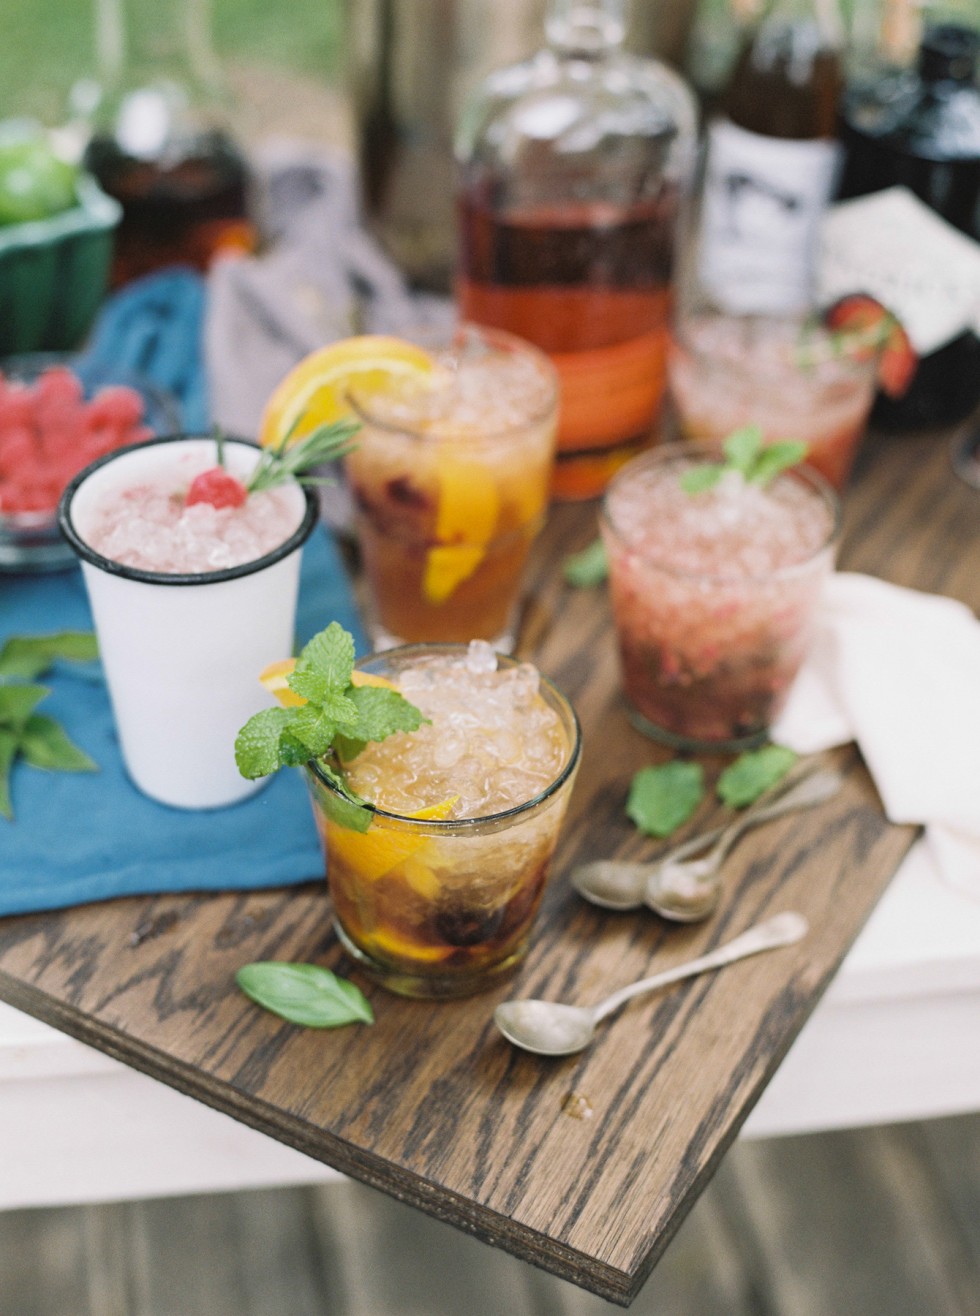
A smash variation of the Old Fashion.

1/8 orange
2 cherries
1/2 shot of simple syrup 1/3 cup of bourbon
1 mint leaf
Nugget ice

Put in orange, cherries, and simple syrup. Muddle well. Fill cup with ice and pour in booze.

Using mixing tin, swish contents of the glass from mixing tin back to the glass 2 or 3 times. Pour back in glass.

Rub mint leaf around the rim of a short glass. Top with more ice until full, garnish, and enjoy.

blog-smashbash-15blog-smashbash-16

blog-smashbash-17blog-smashbash-18blog-smashbash-21blog-smashbash-22

blog-smashbash-28

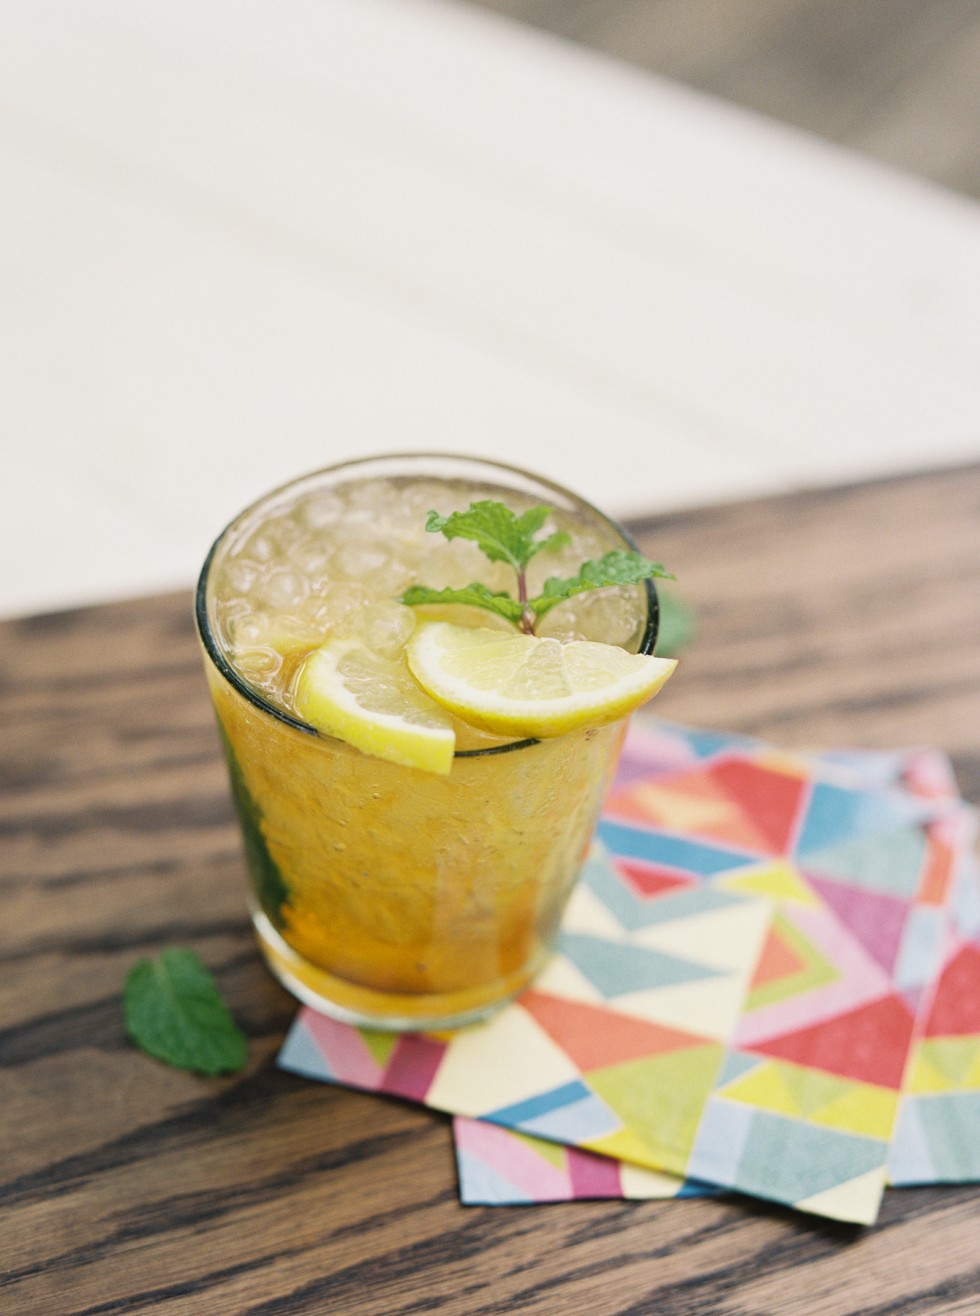
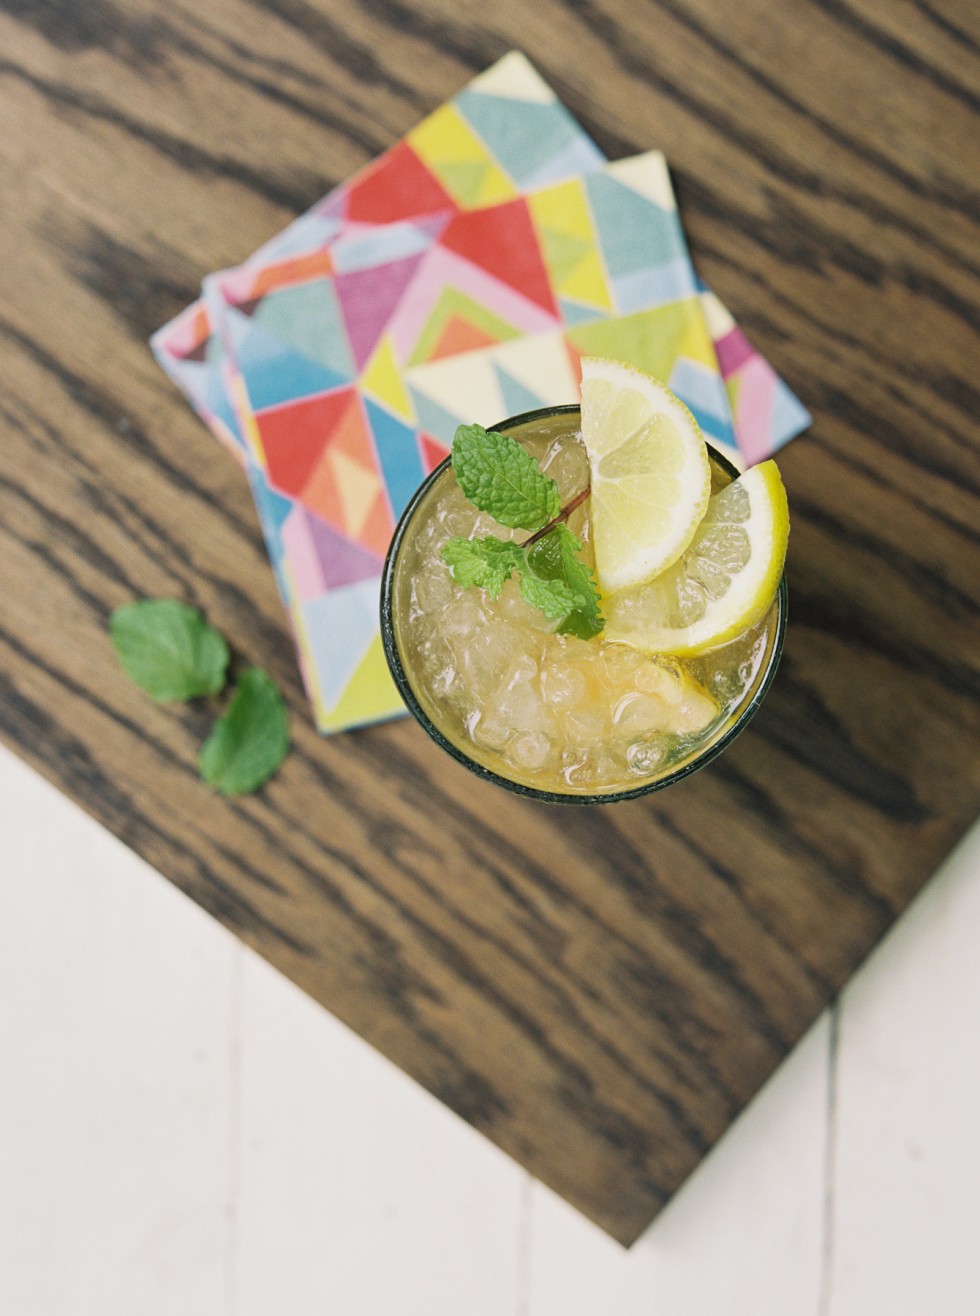
whiskey smash

A smash classic.

8 mint leaves
1/4 lemon
1/2 shot of simple syrup 1/3 cup of bourbon Nugget ice

Place mint, lemon, and syrup in a short glass. Muddle well.

Fill cup with ice and pour in booze.

Using mixing tin, swish contents of the glass from mixing tin back to the glass 2 or 3 times. Pour back in glass.

Top with more ice until full, garnish, and enjoy.

Note: Substitute peach for the lemon for another yum- my treat.

blog-smashbash-30blog-smashbash-31blog-smashbash-51

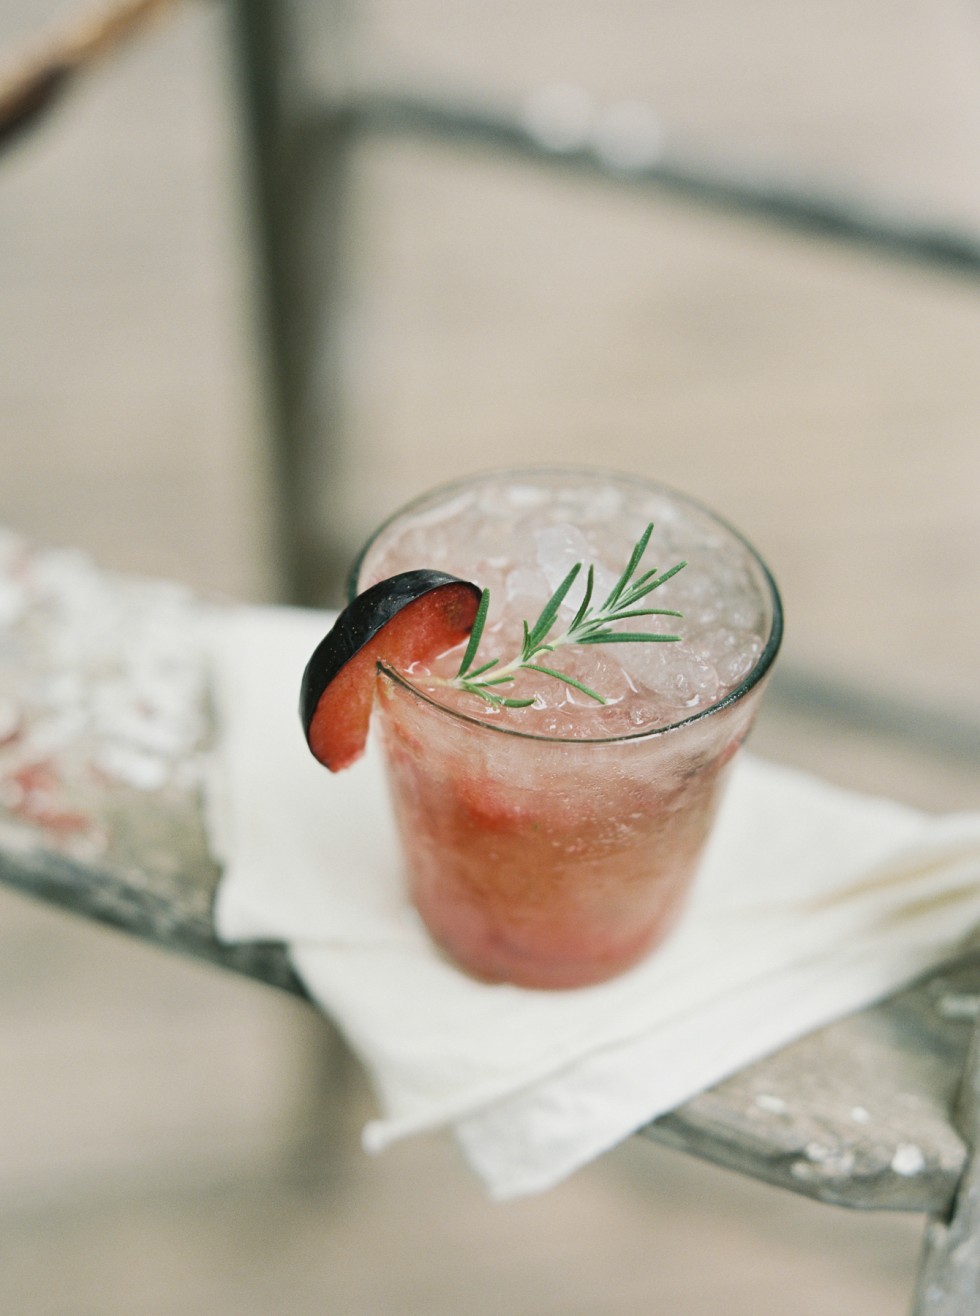
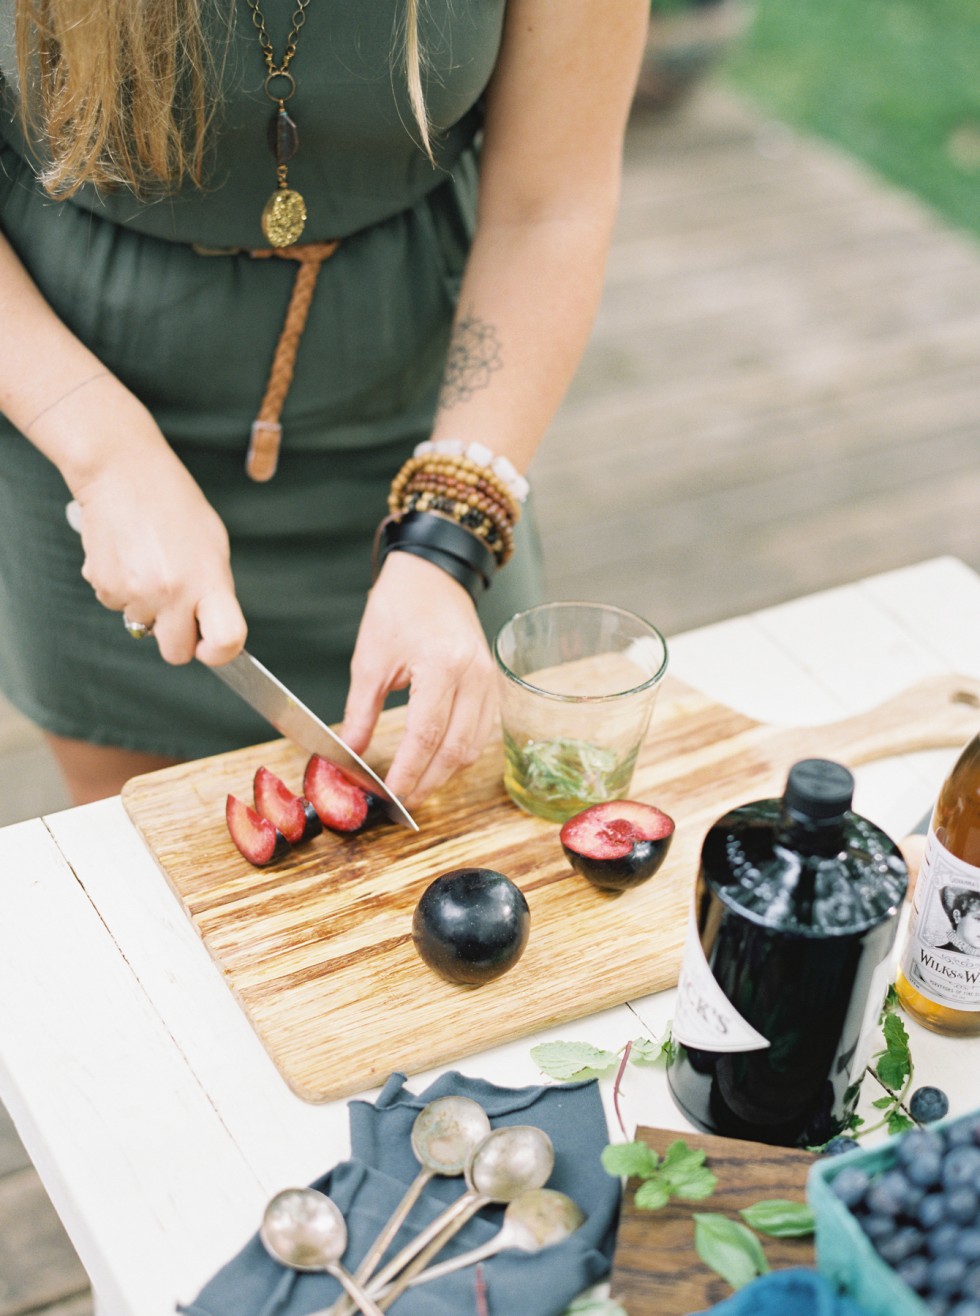
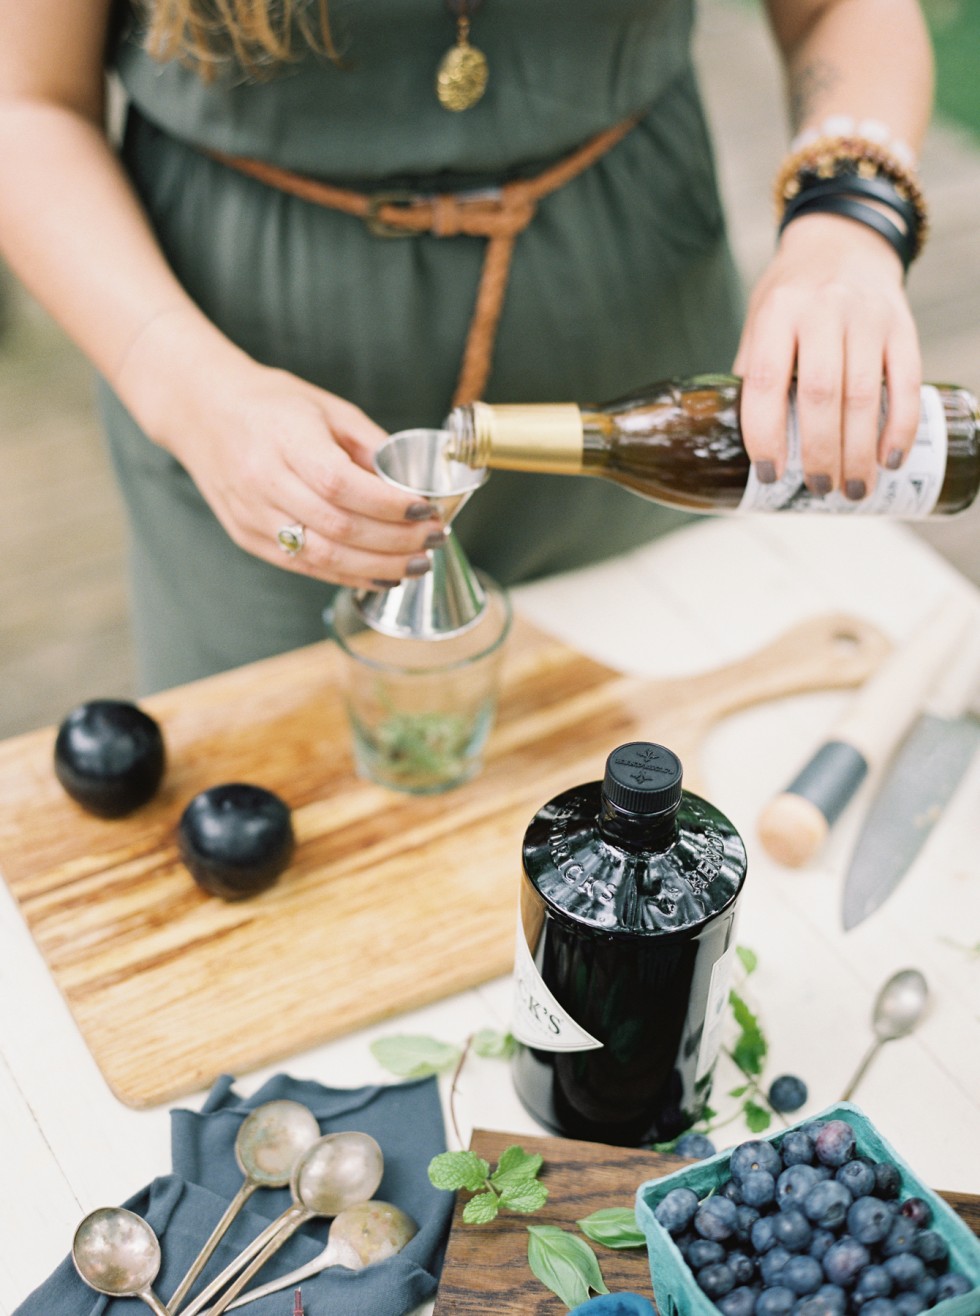
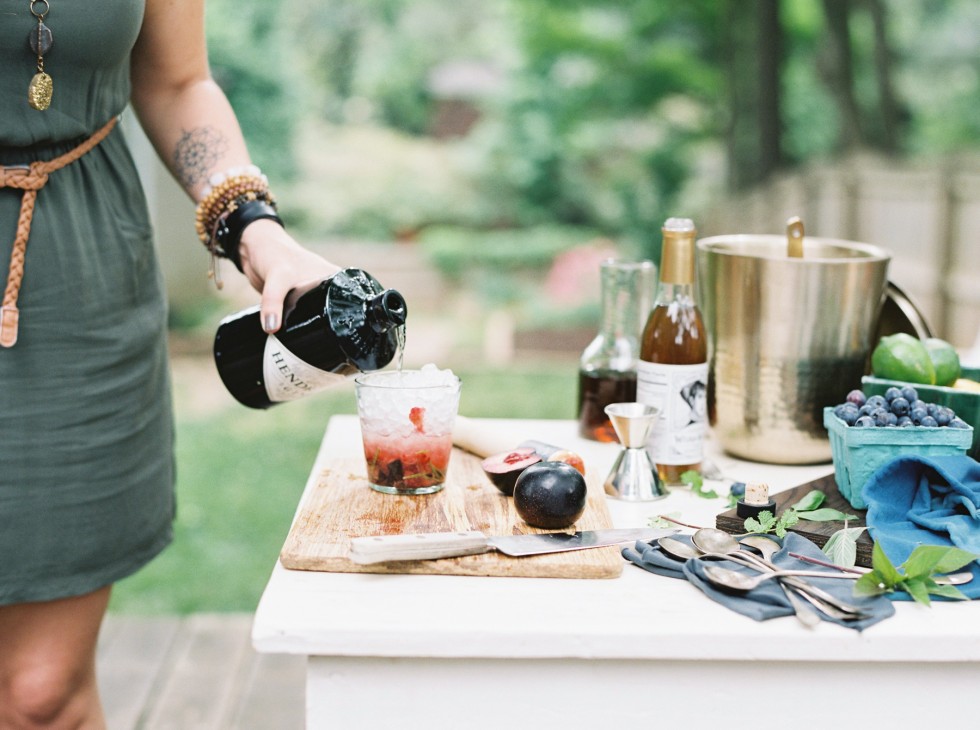
bocce smash

Because this combo just feels a little “Downton Abbey,” and pairs great with Bocce Ball.

1/2 plum
Rosemary leaves
1/2 shot of ginger syrup 1/3 cup of gin
Nugget ice

Place plum, rosemary, and syrup in a short glass. Mud- dle well.

Fill cup with ice and pour in booze.

Using mixing tin, swish contents of the glass from mixing tin back to the glass 2 or 3 times. Pour back in glass.

Top with more ice until full, garnish, and enjoy.

blog-smashbash-44blog-smashbash-45blog-smashbash-46blog-smashbash-52blog-smashbash-35blog-smashbash-34blog-smashbash-36blog-smashbash-49blog-smashbash-50blog-smashbash-56blog-smashbash-57Huge Thanks to Emily, David and Kris at Indie Shopography for introducing us to the Smash Bach a few summers ago and for the super fun collaboration!

throw your own smash bash

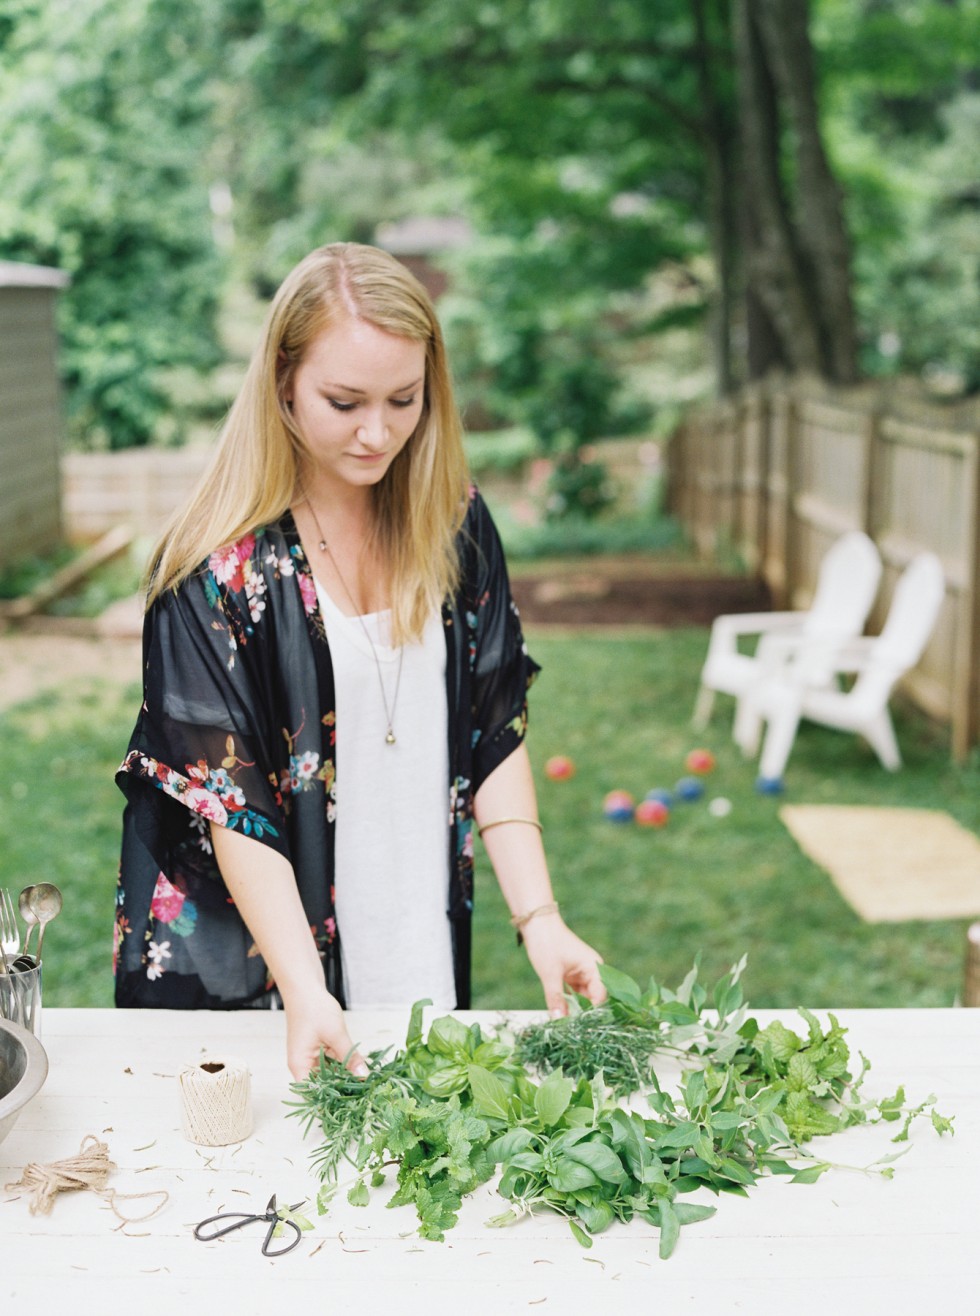
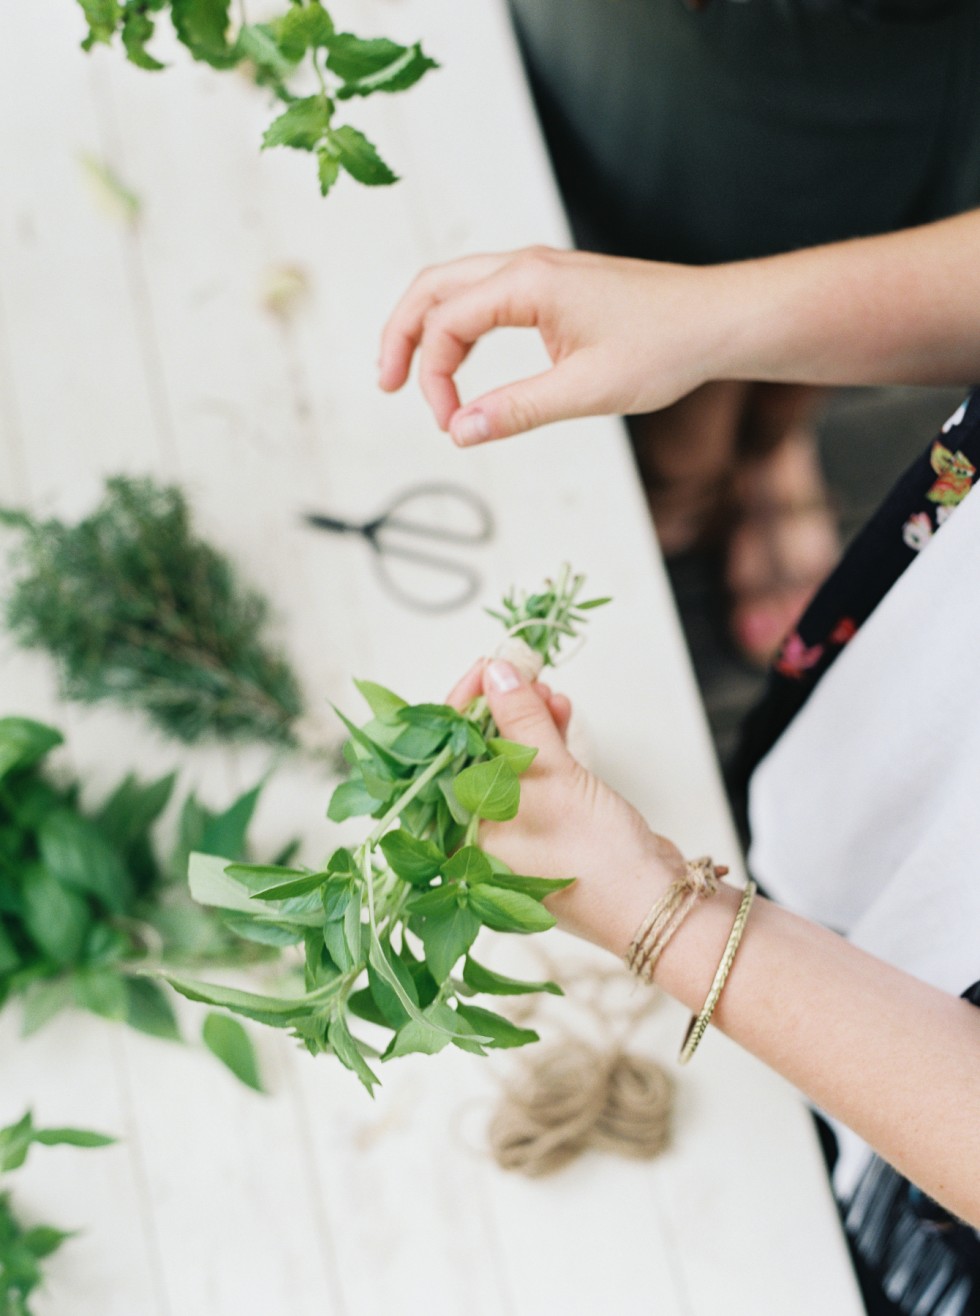
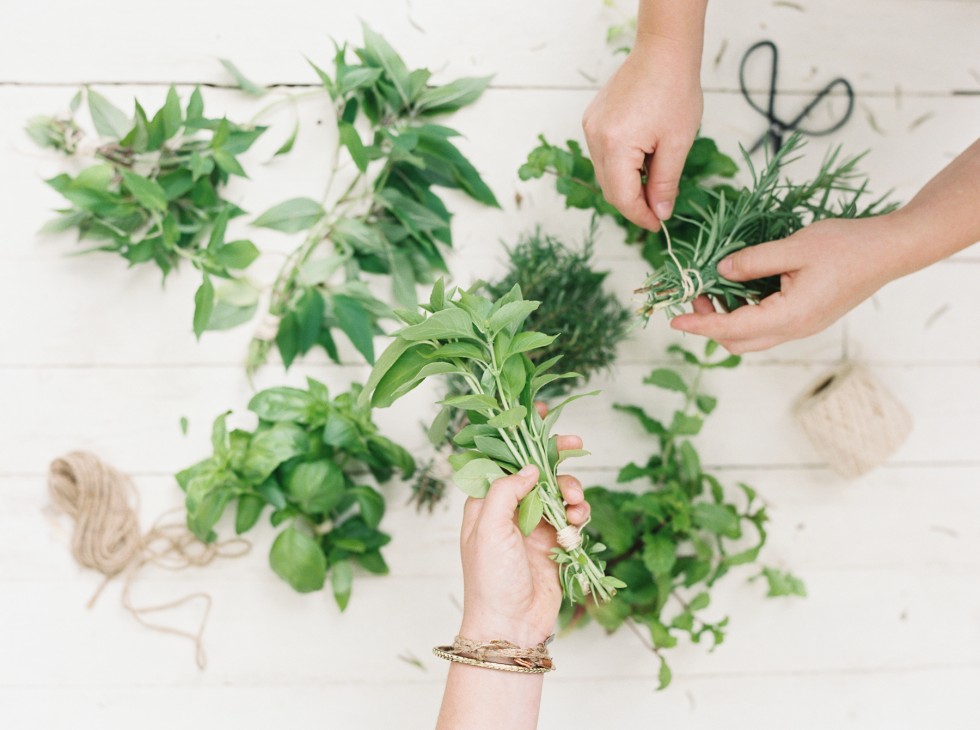
Smash Bashes are about experimenting. Fill a table with sliced fruit, bundles of herbs, and a few bottles of simple syrup, flavored ones if you want to get fancy!
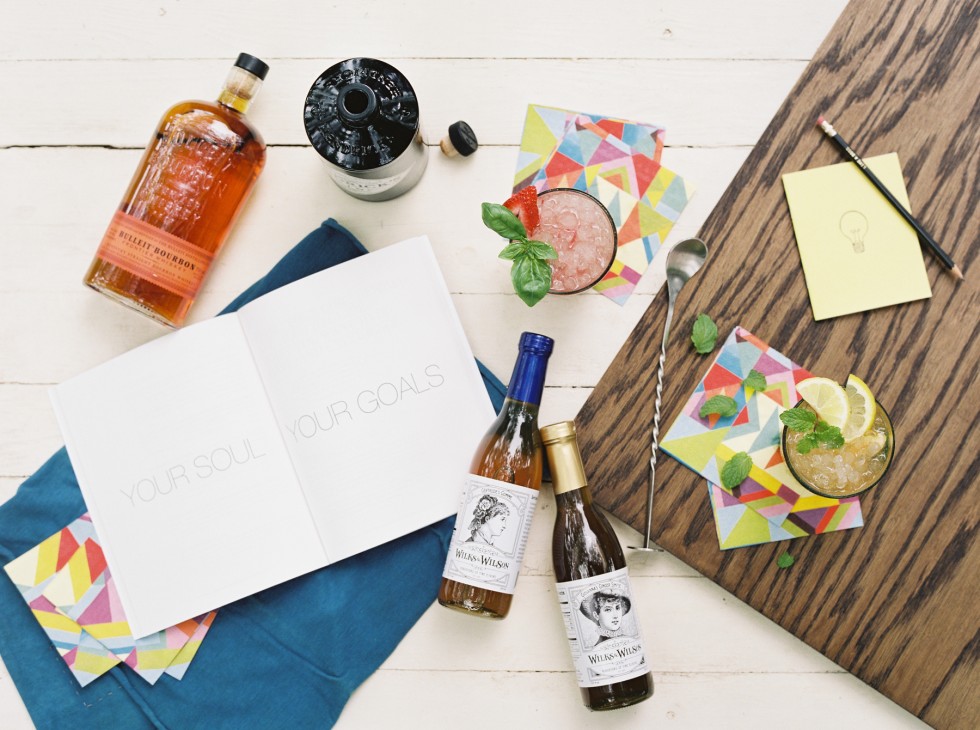
Here are the other tools you’ll need:

• cutting board
• small knife
• mixing tin

• muddler
• bar spoon
• shot glass
• lots of high ball glasses (or small mason jars)

The point is that it’s not supposed to be fussy. Everyone makes their own cocktails, experiment- ing with flavors and combinations. You can even pass them around and vote on the best creation!

Want some help from your guests? Ask them to bring their favorite bottle of booze, while you provide the ice and assortment of fruits, syrups, and herbs.

symple syrup

1 cup water 1 cup sugar

Put water and sugar into a pot, and heat over medium heat just until sugar is melted. Cool.

Note 1: traditionally regular white sugar is used for simple syrup, but you can also use raw sugar or honey for the same effect.

Note 2: Making syrup on the fly and need it quick? Reduce the amount of water by about 1/4 cup, continue as instructed, and after sugar is melted, throw in a healthy handful of ice to cool it down quickly.

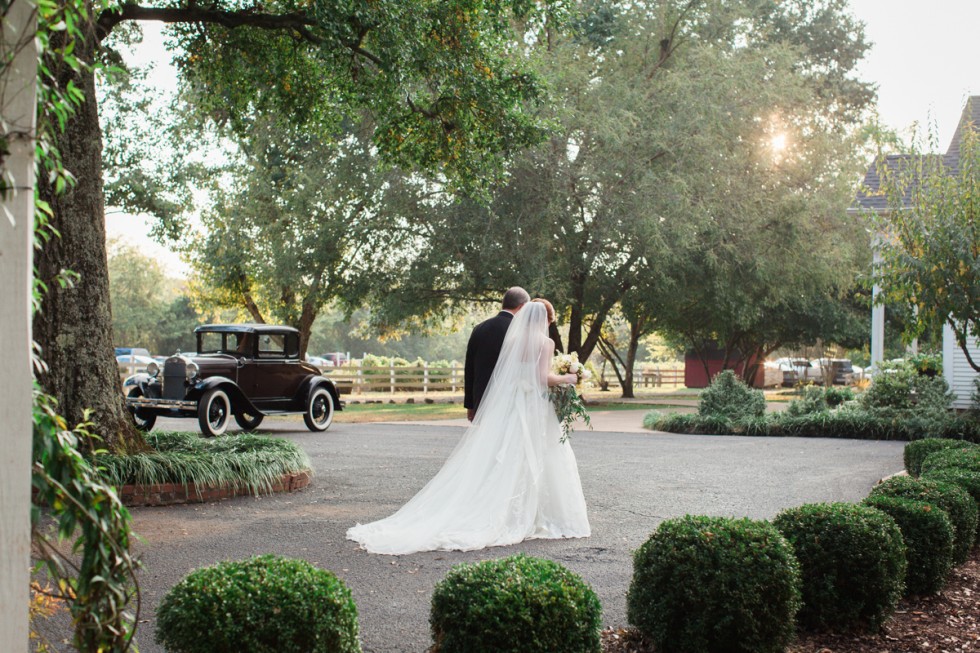
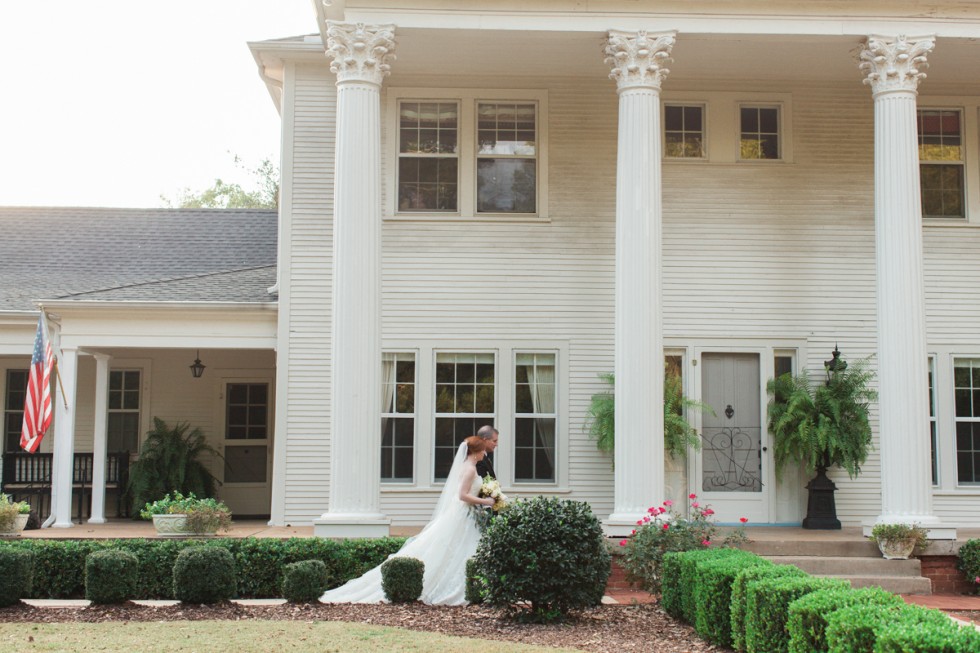
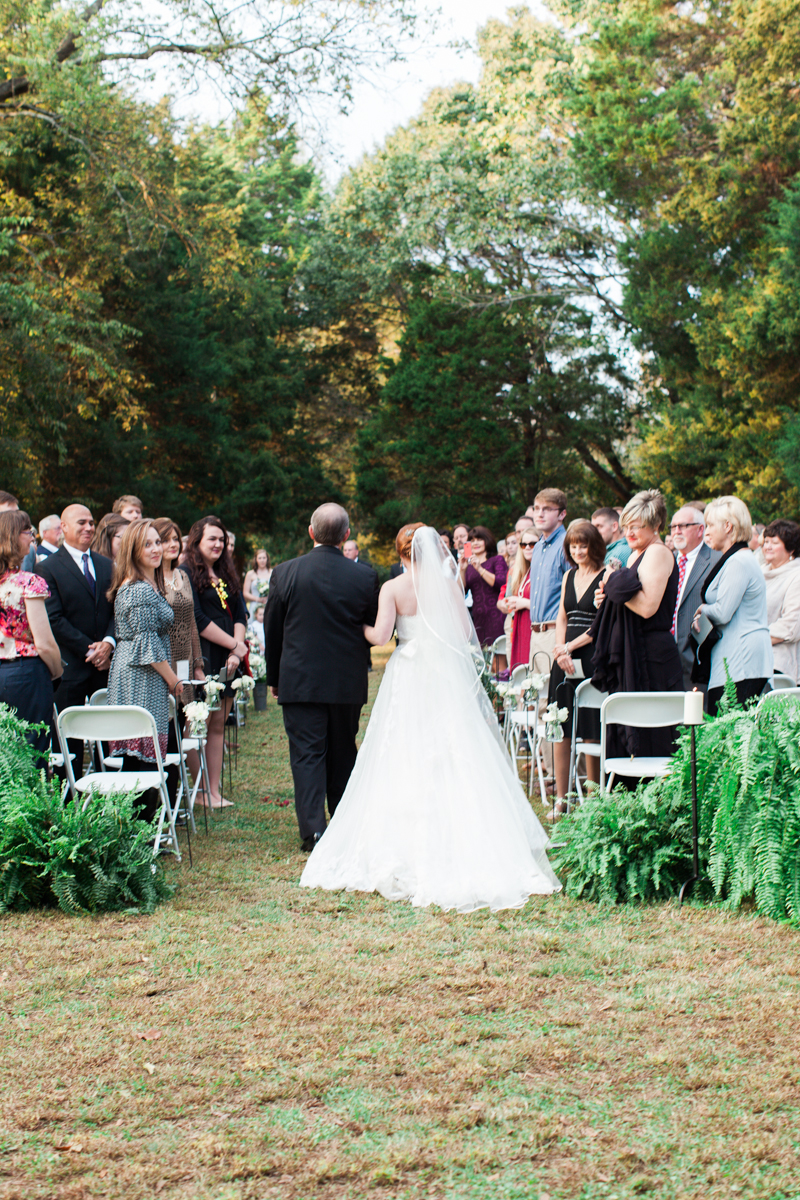
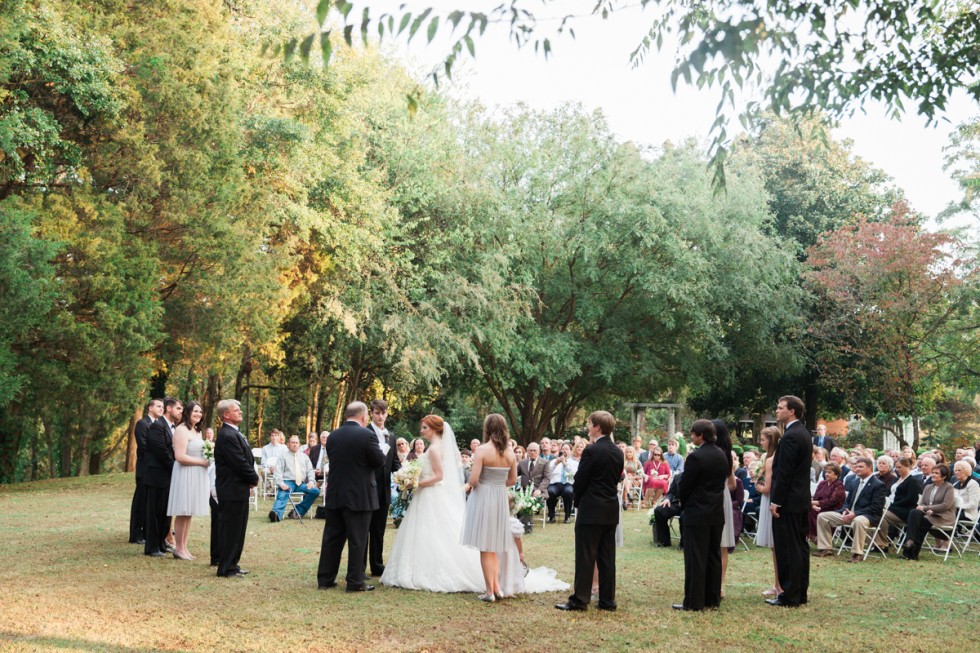
Alison & Browan’s Wedding

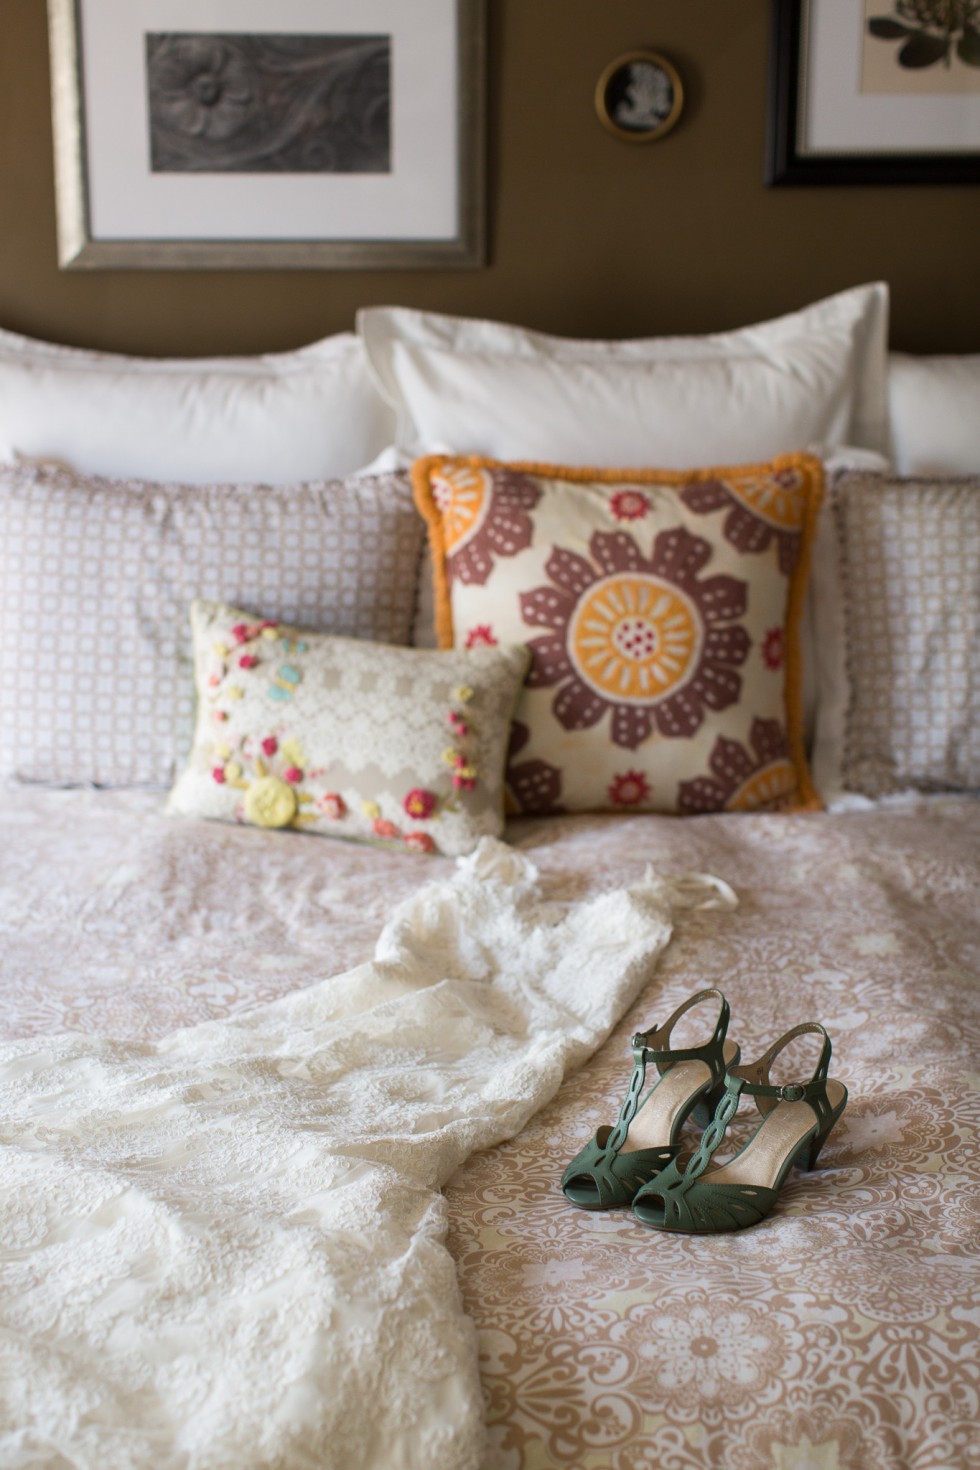
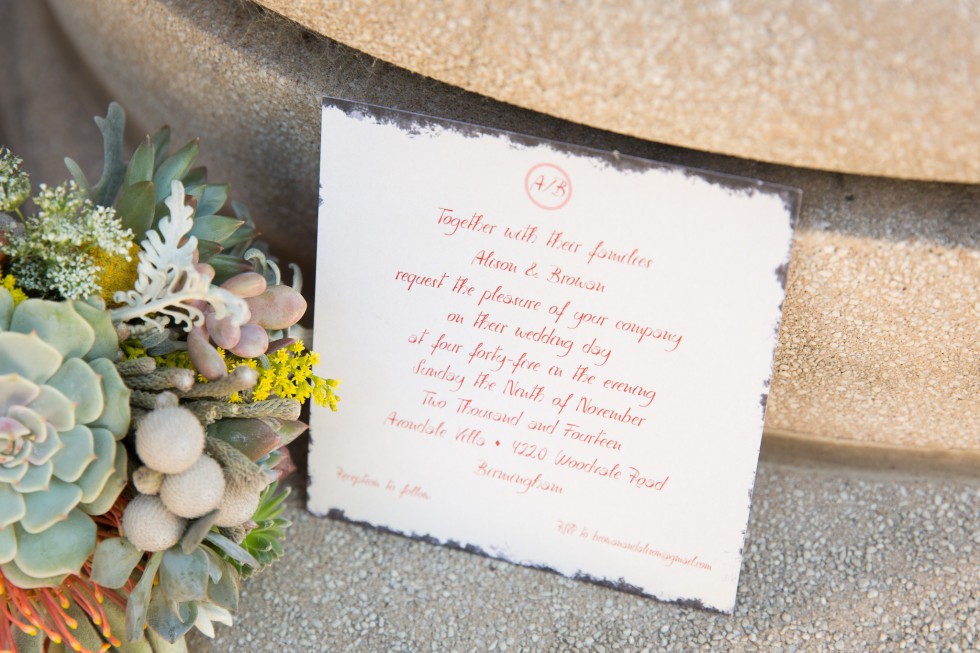
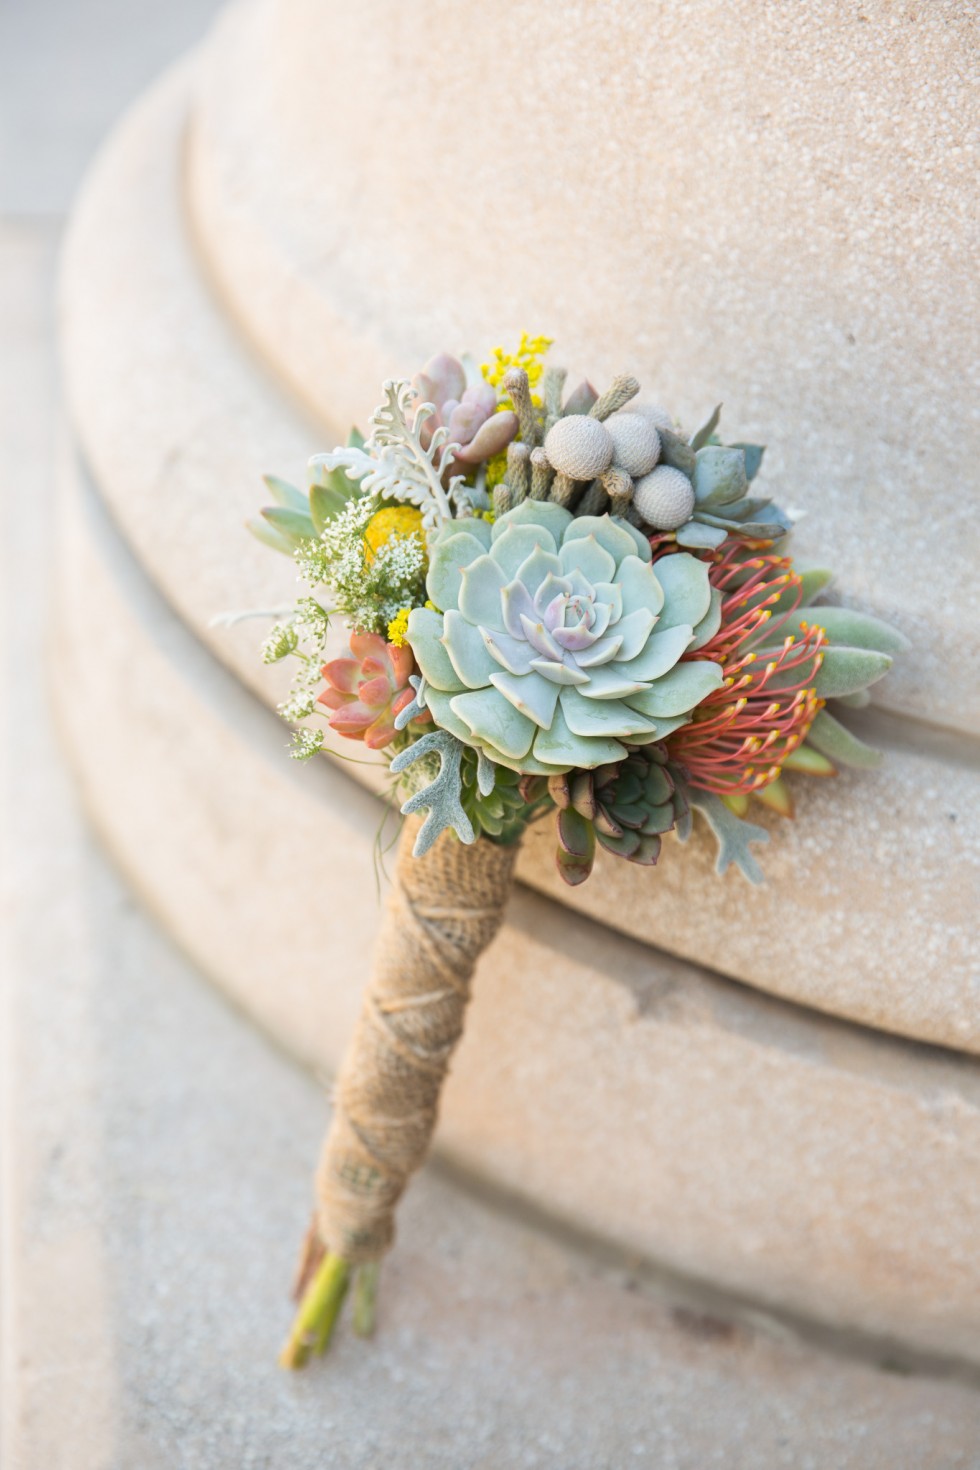
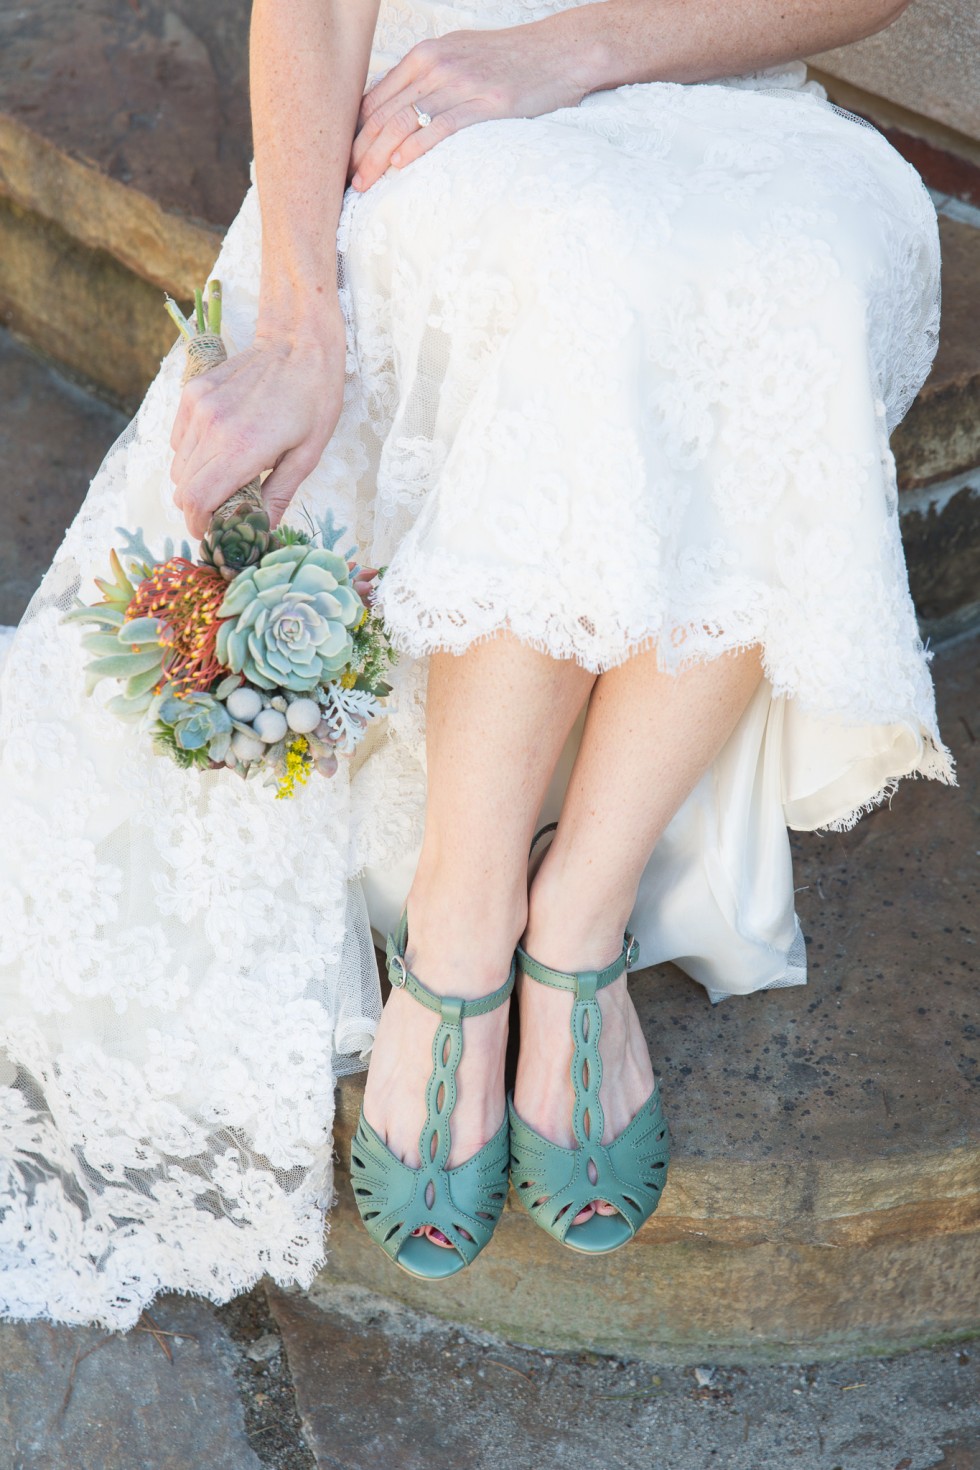
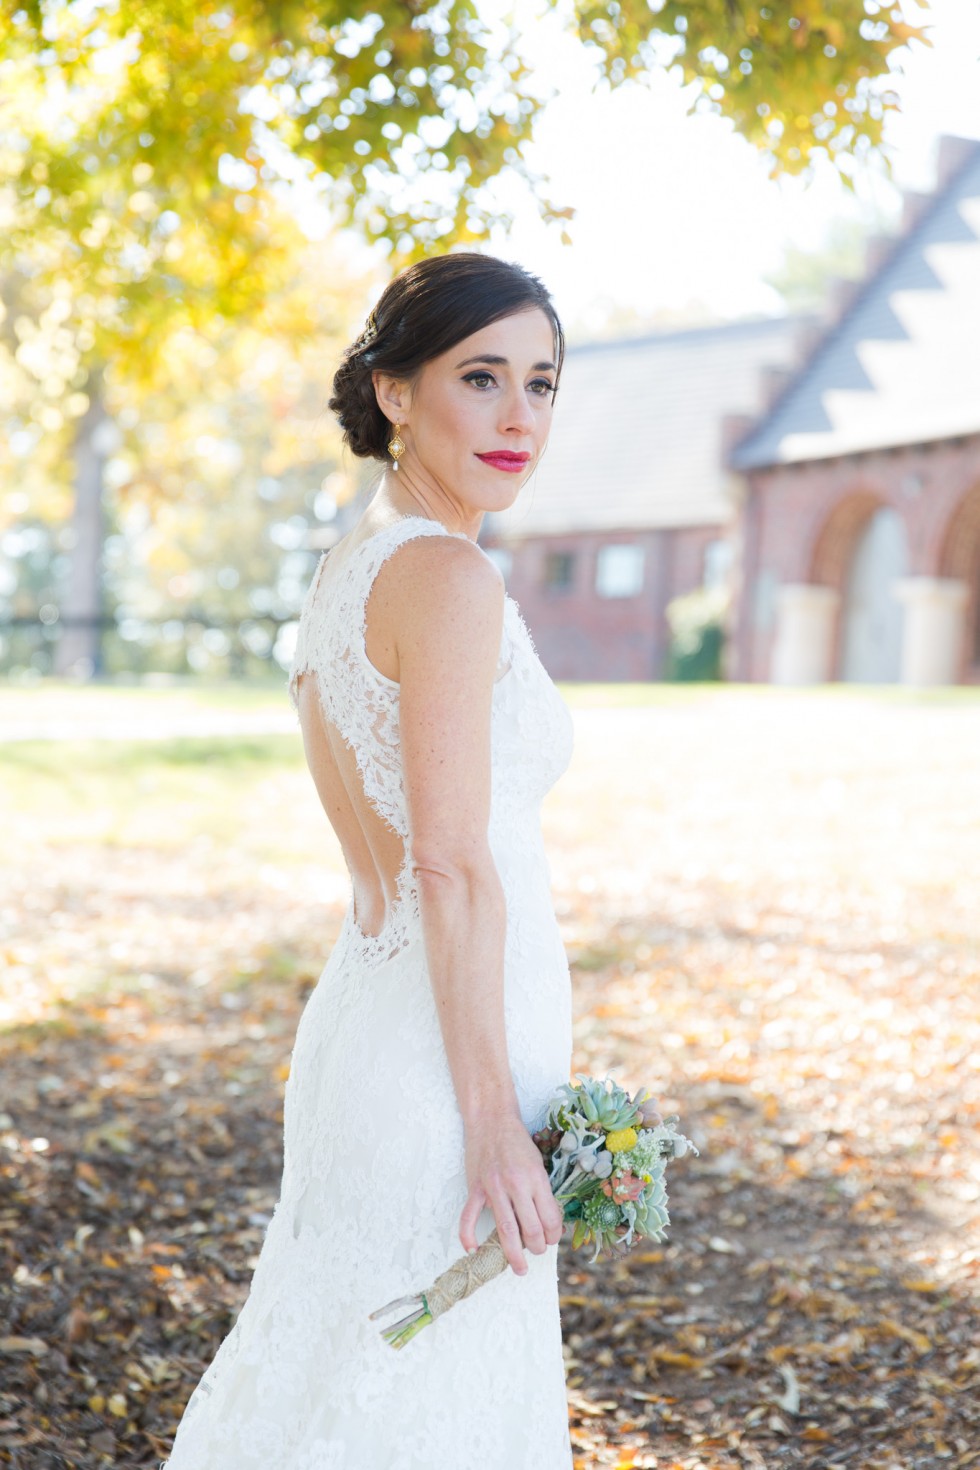
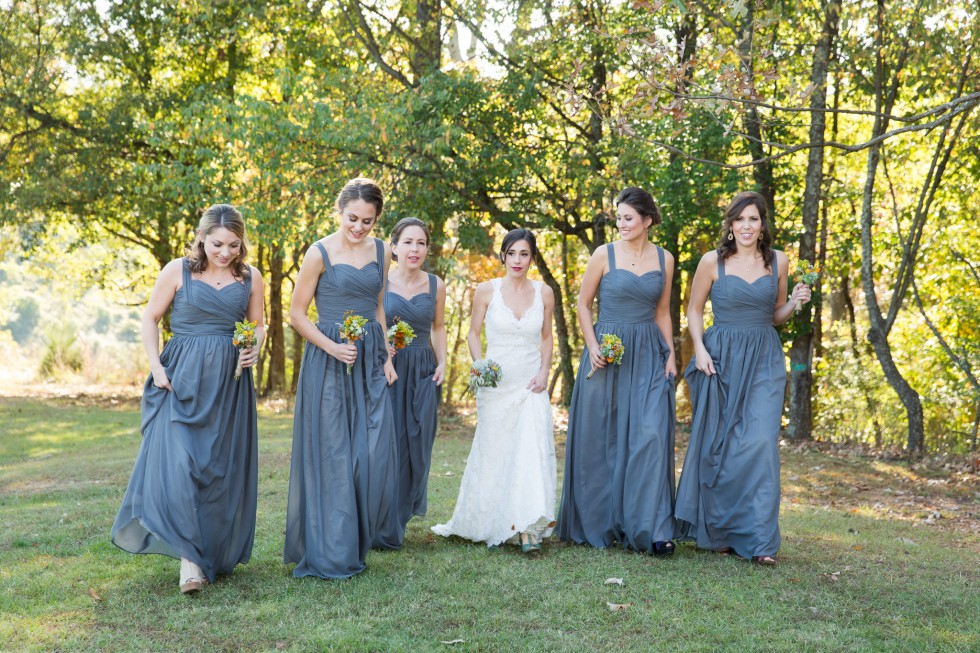
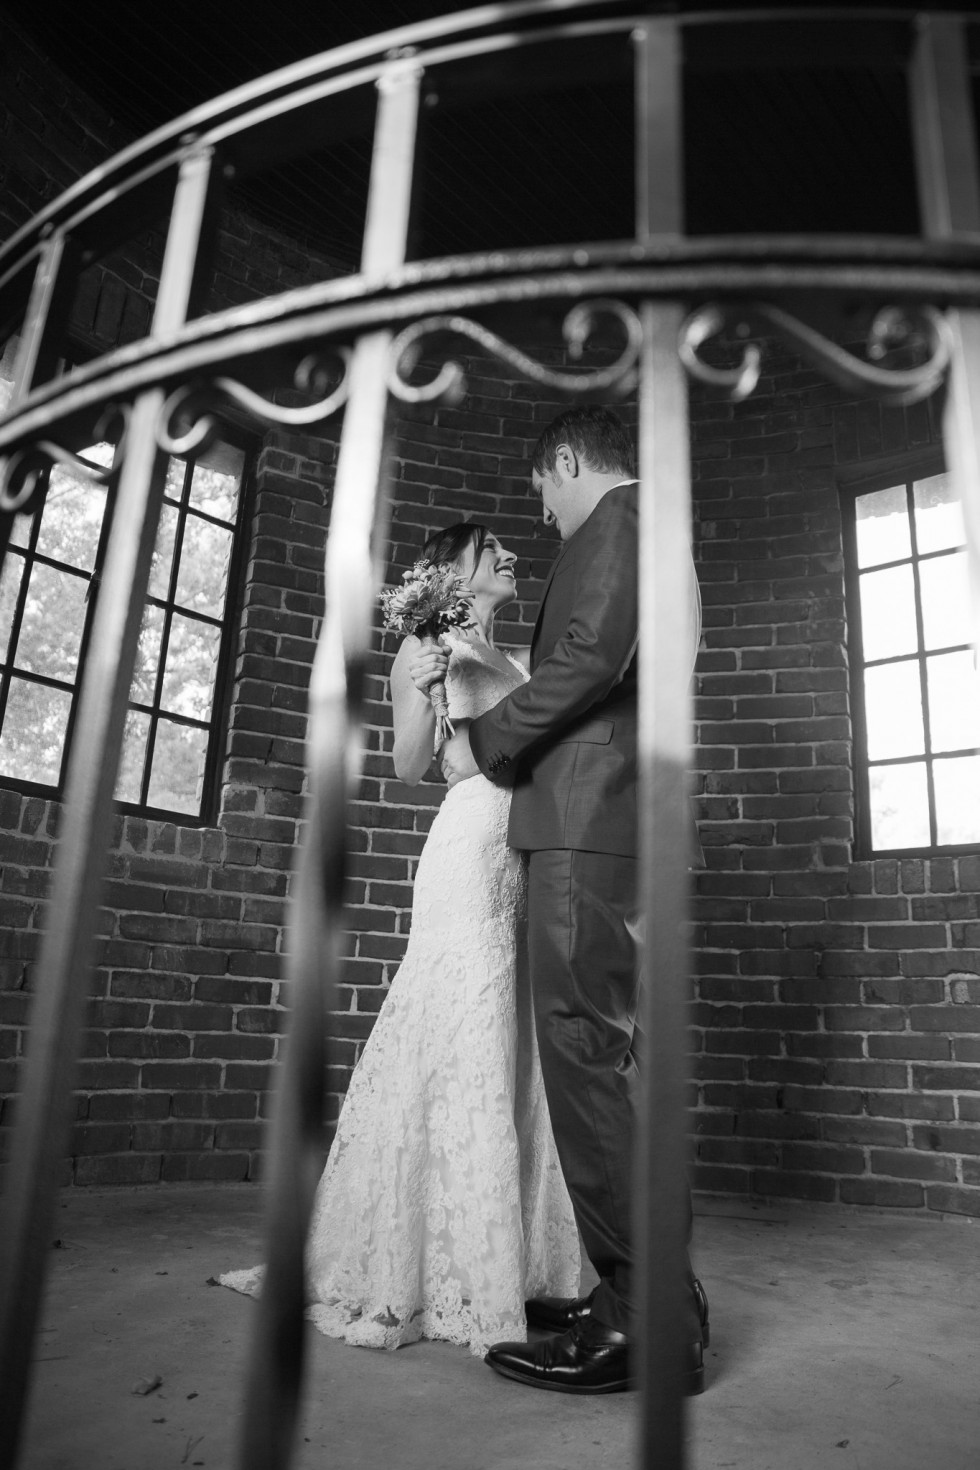
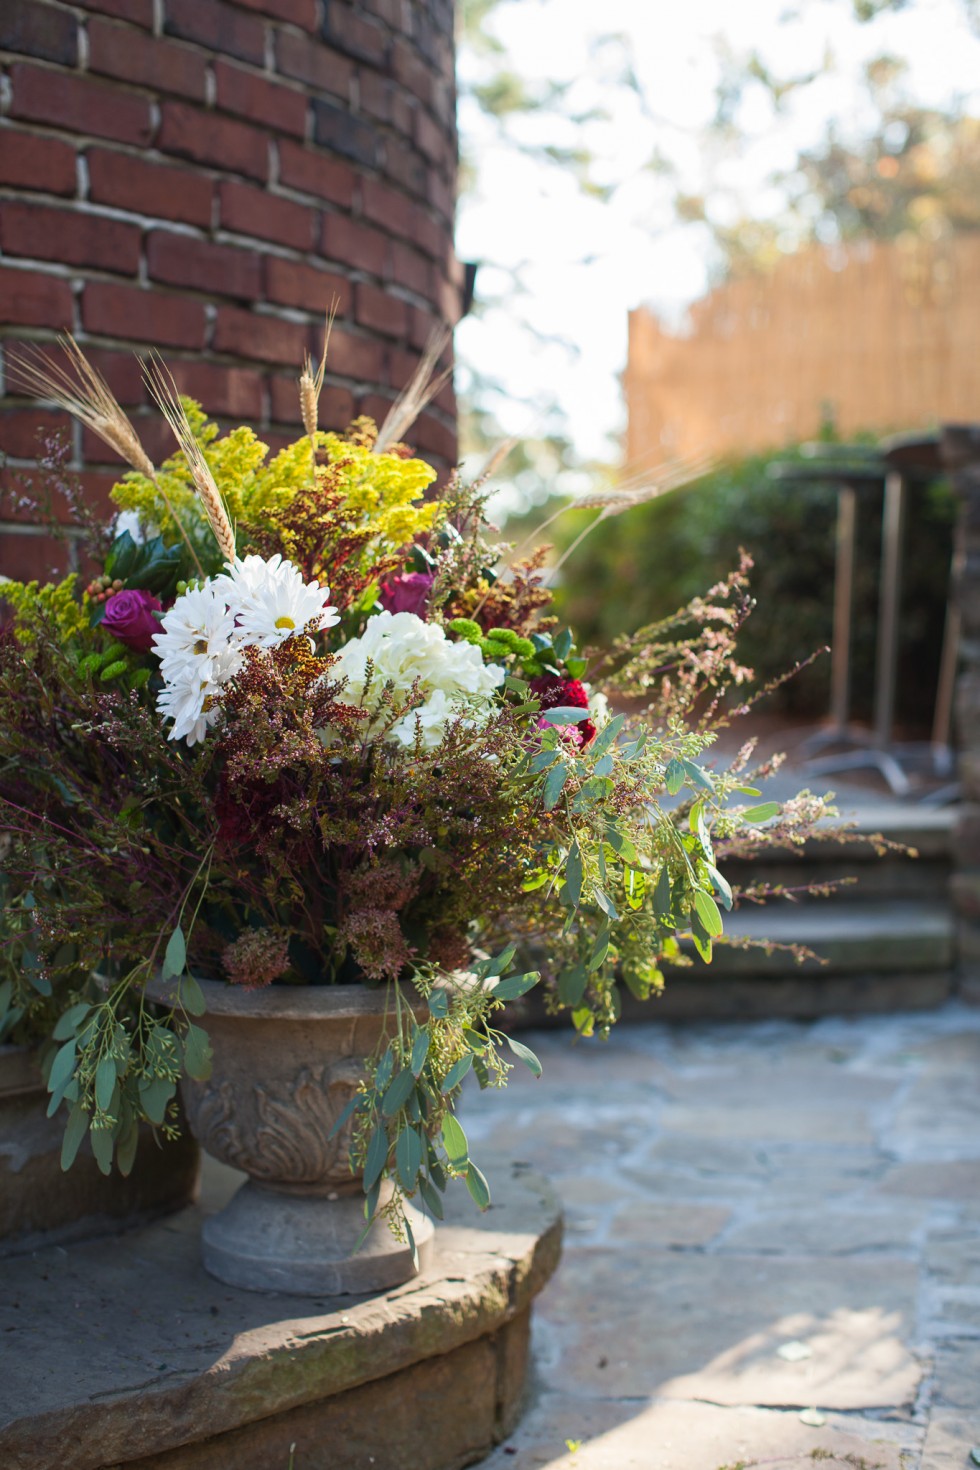
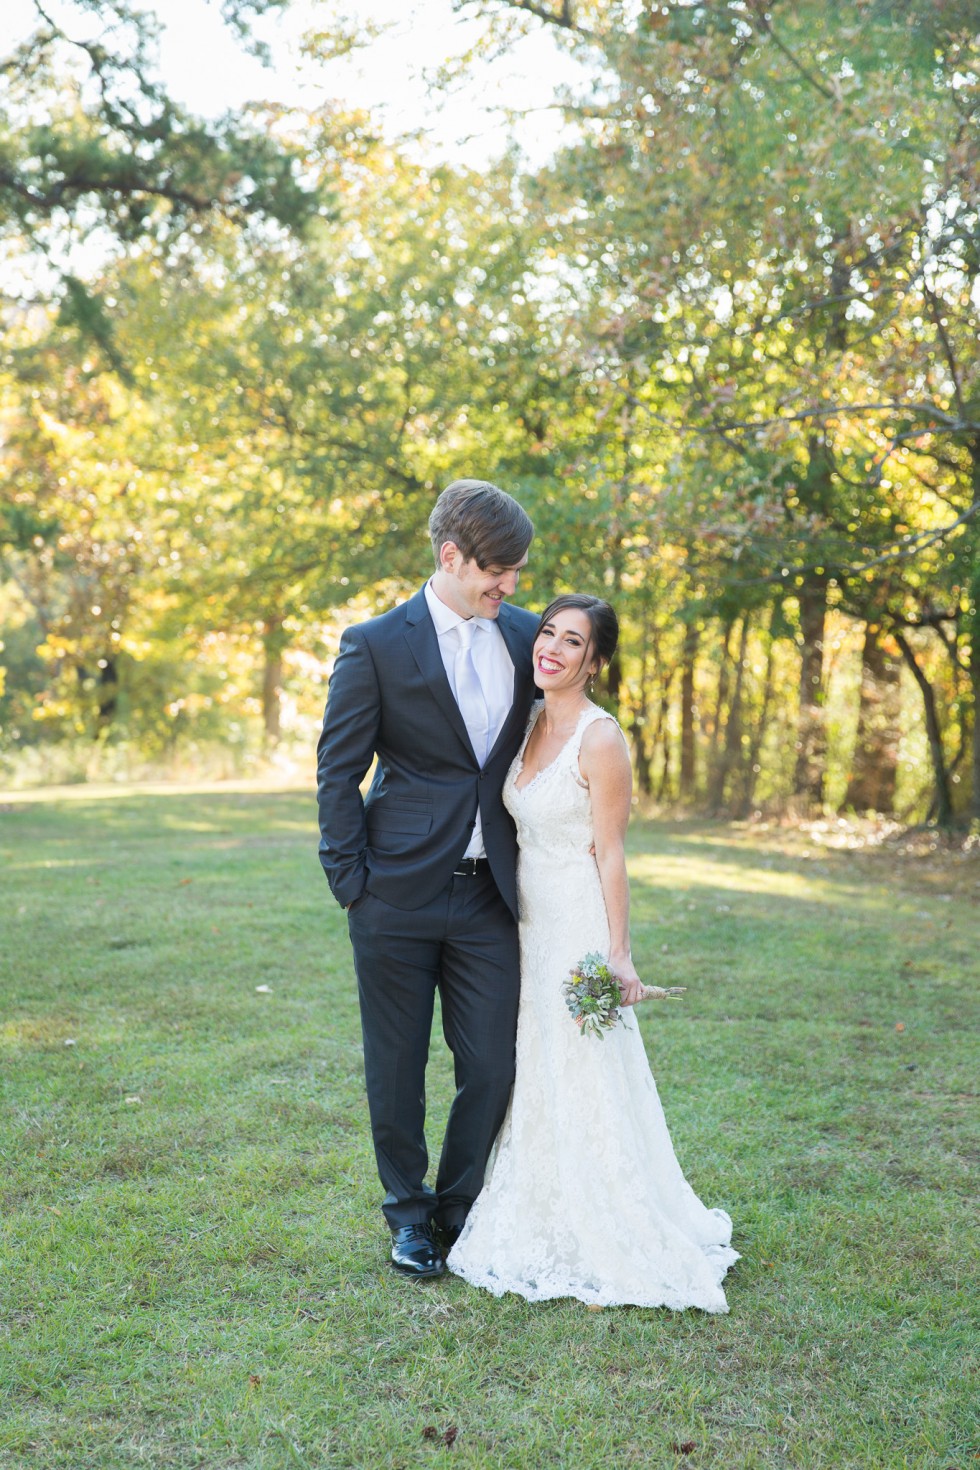
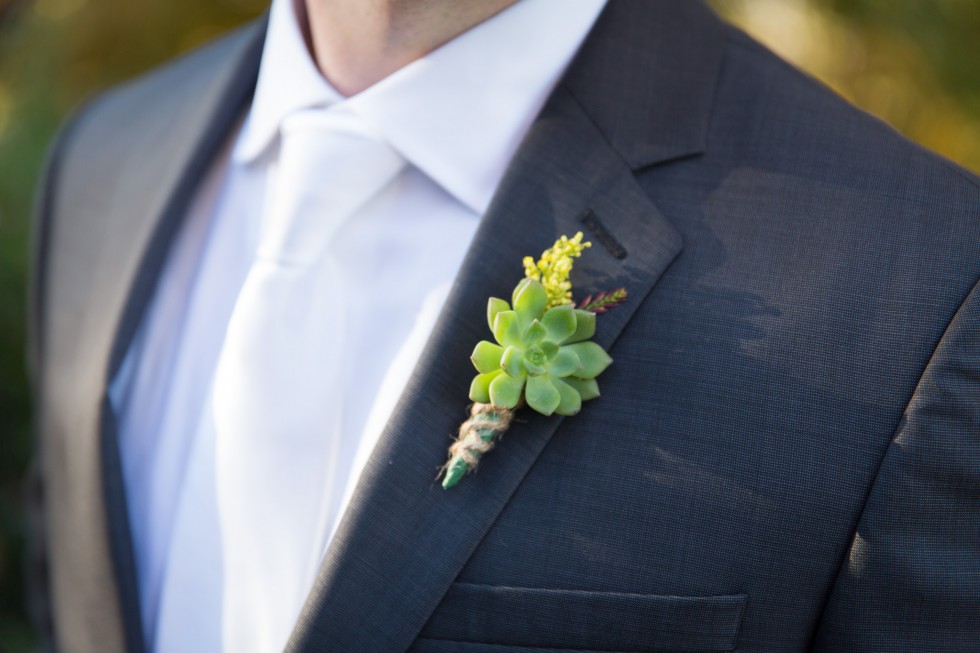
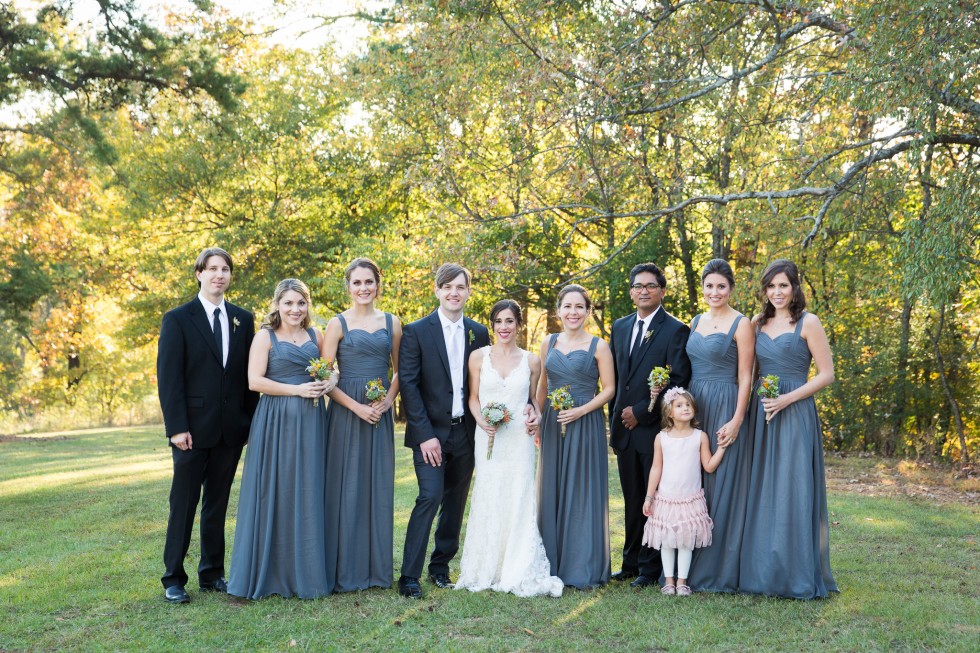
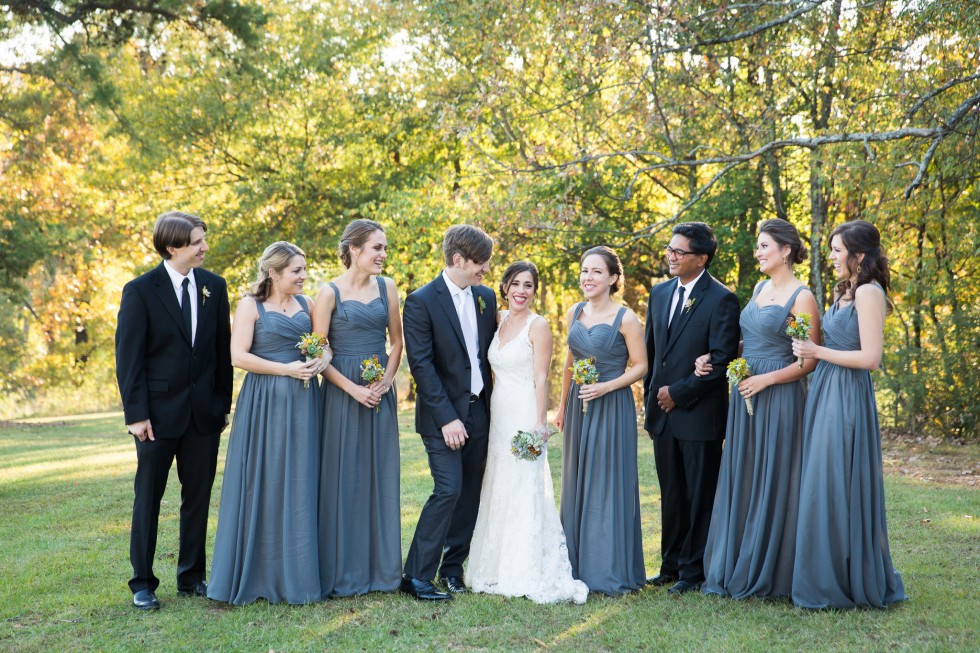
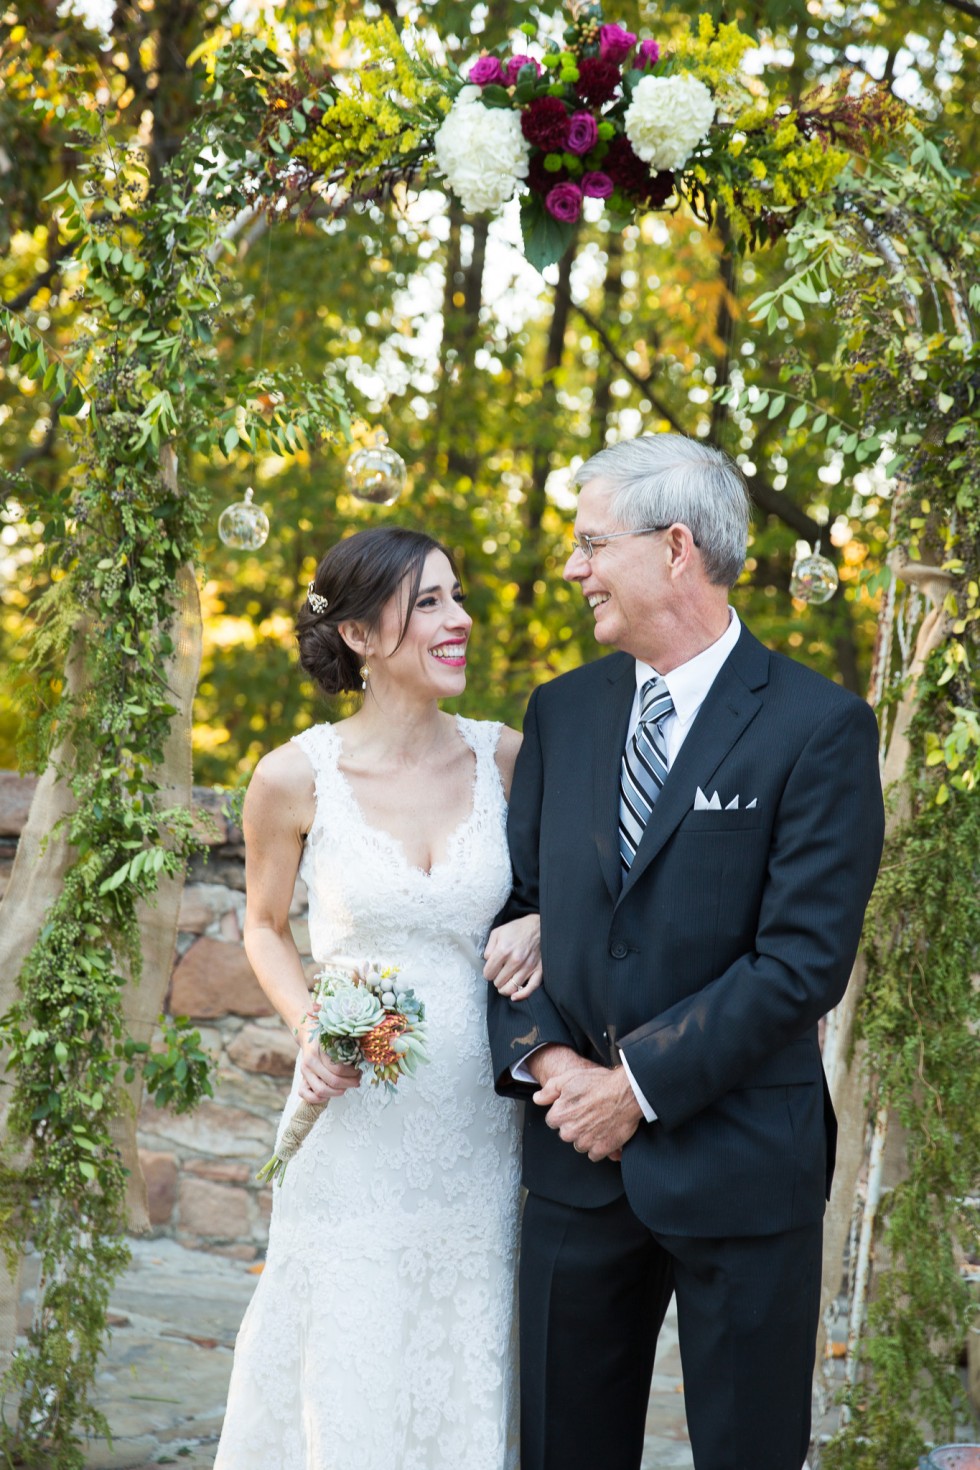
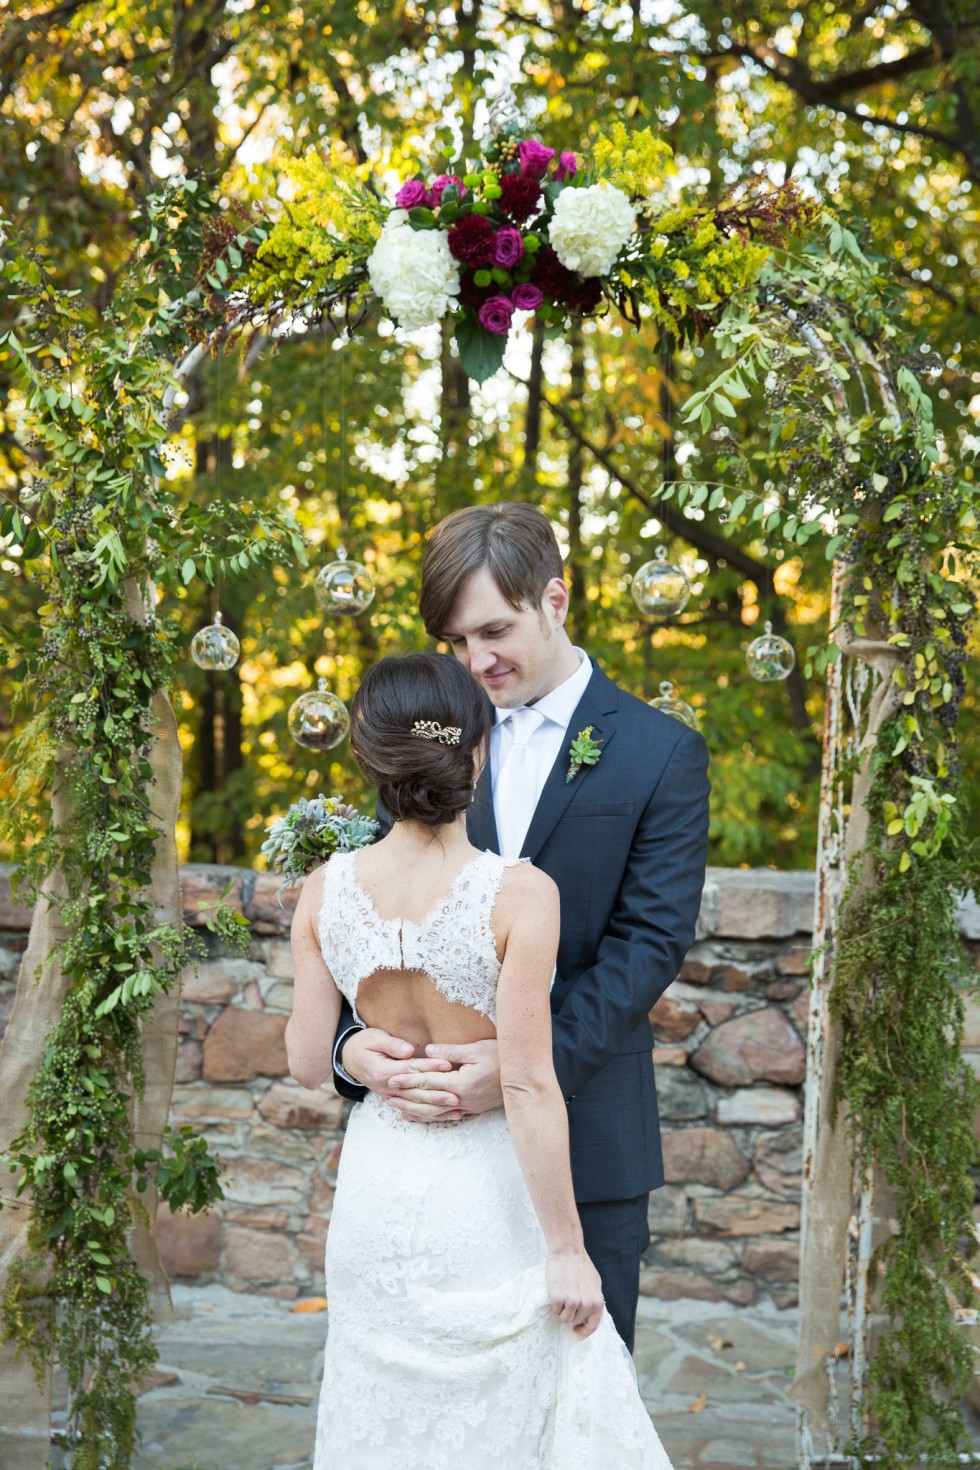
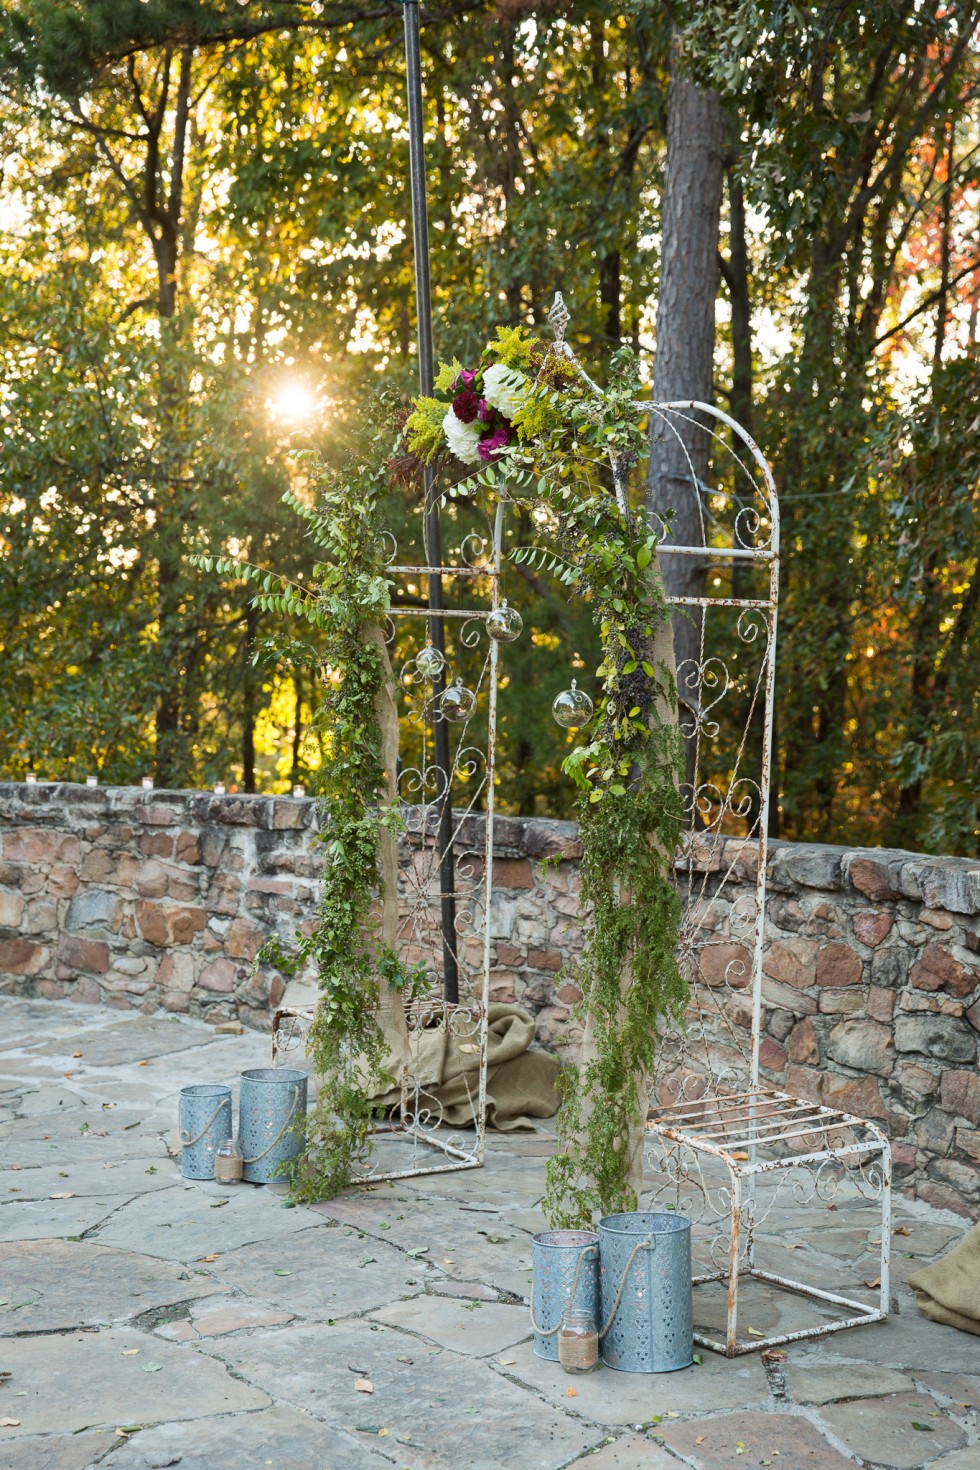
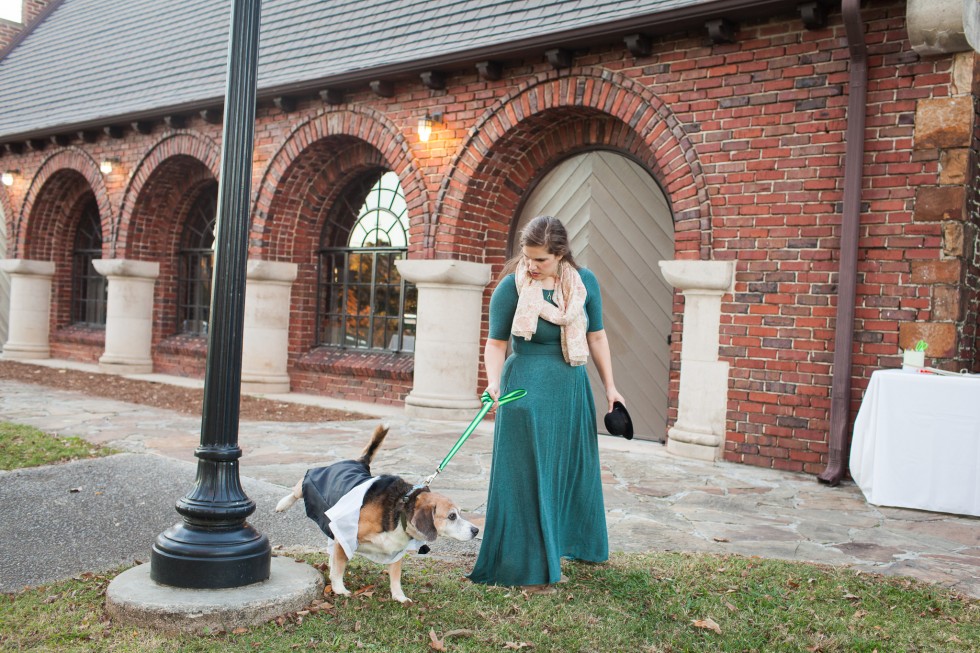
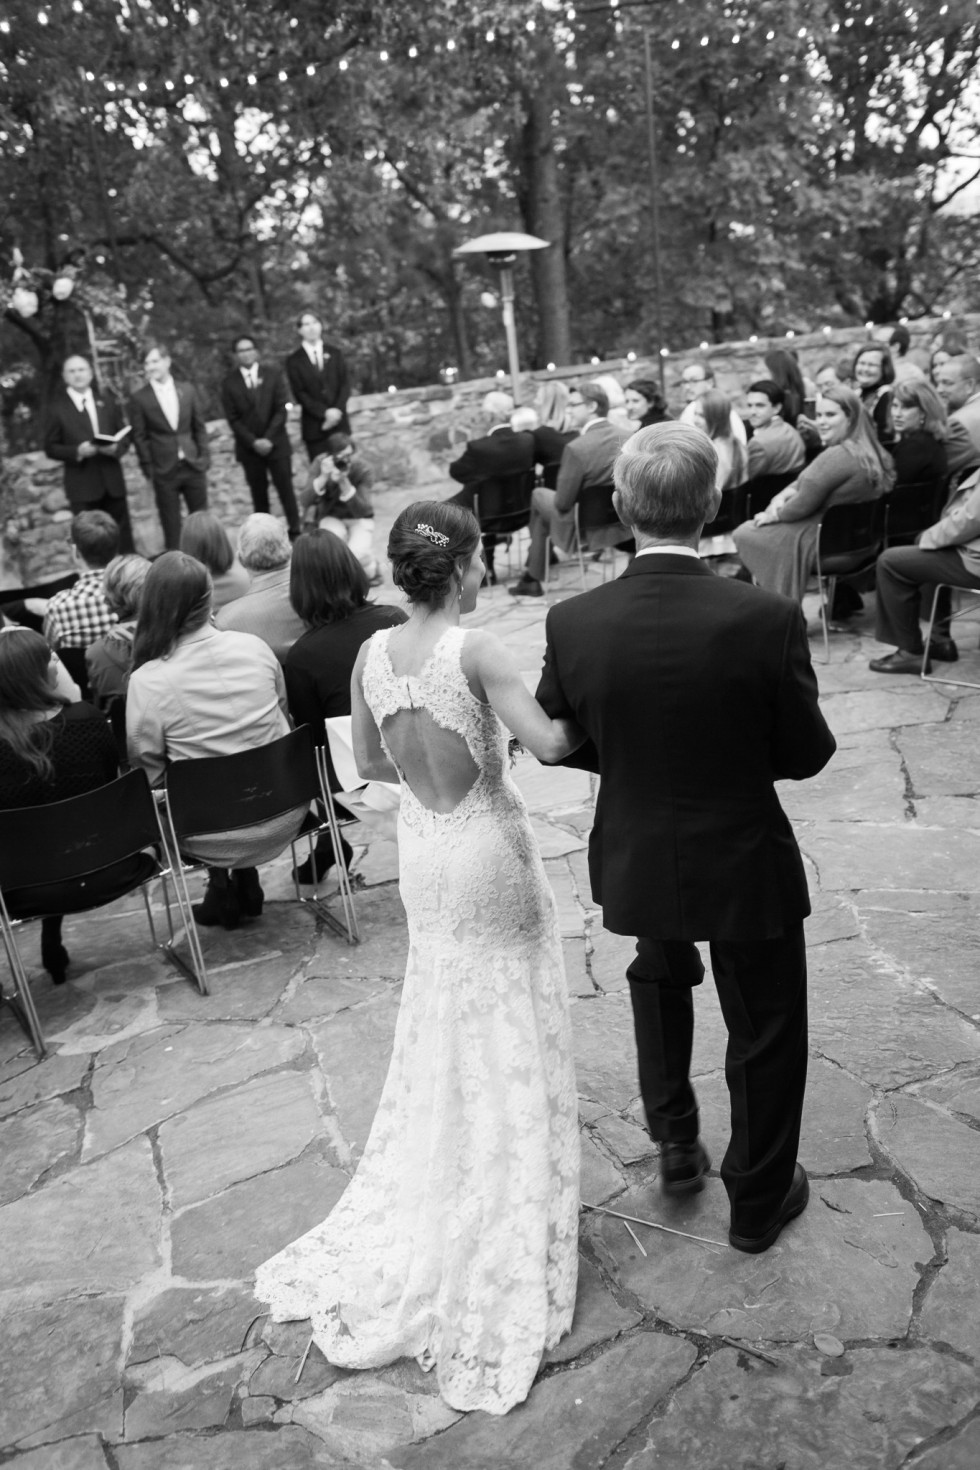
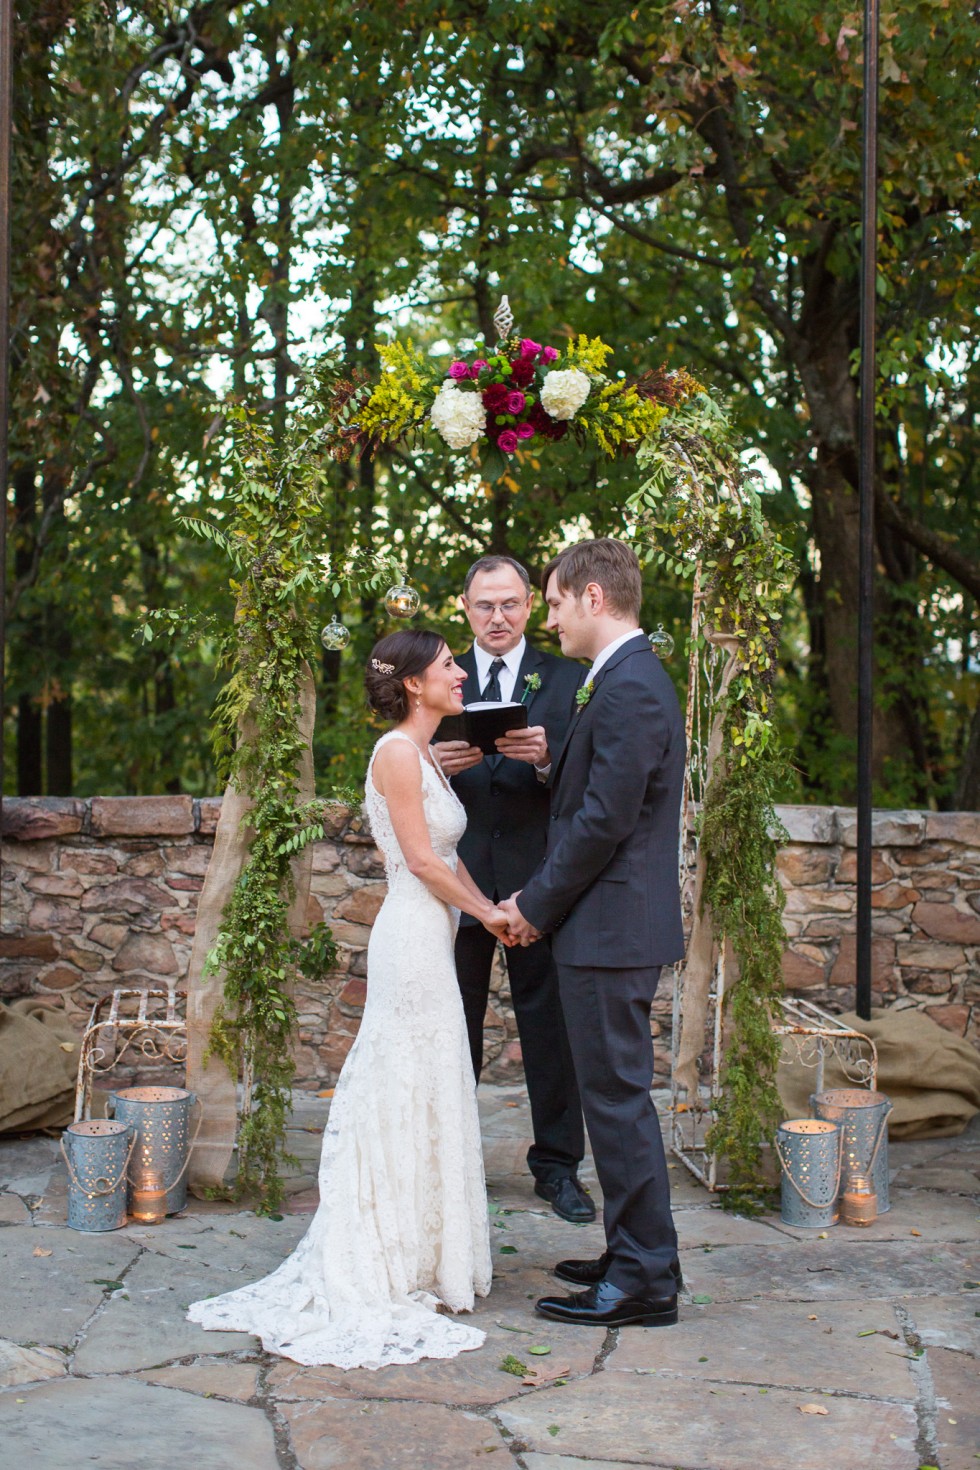
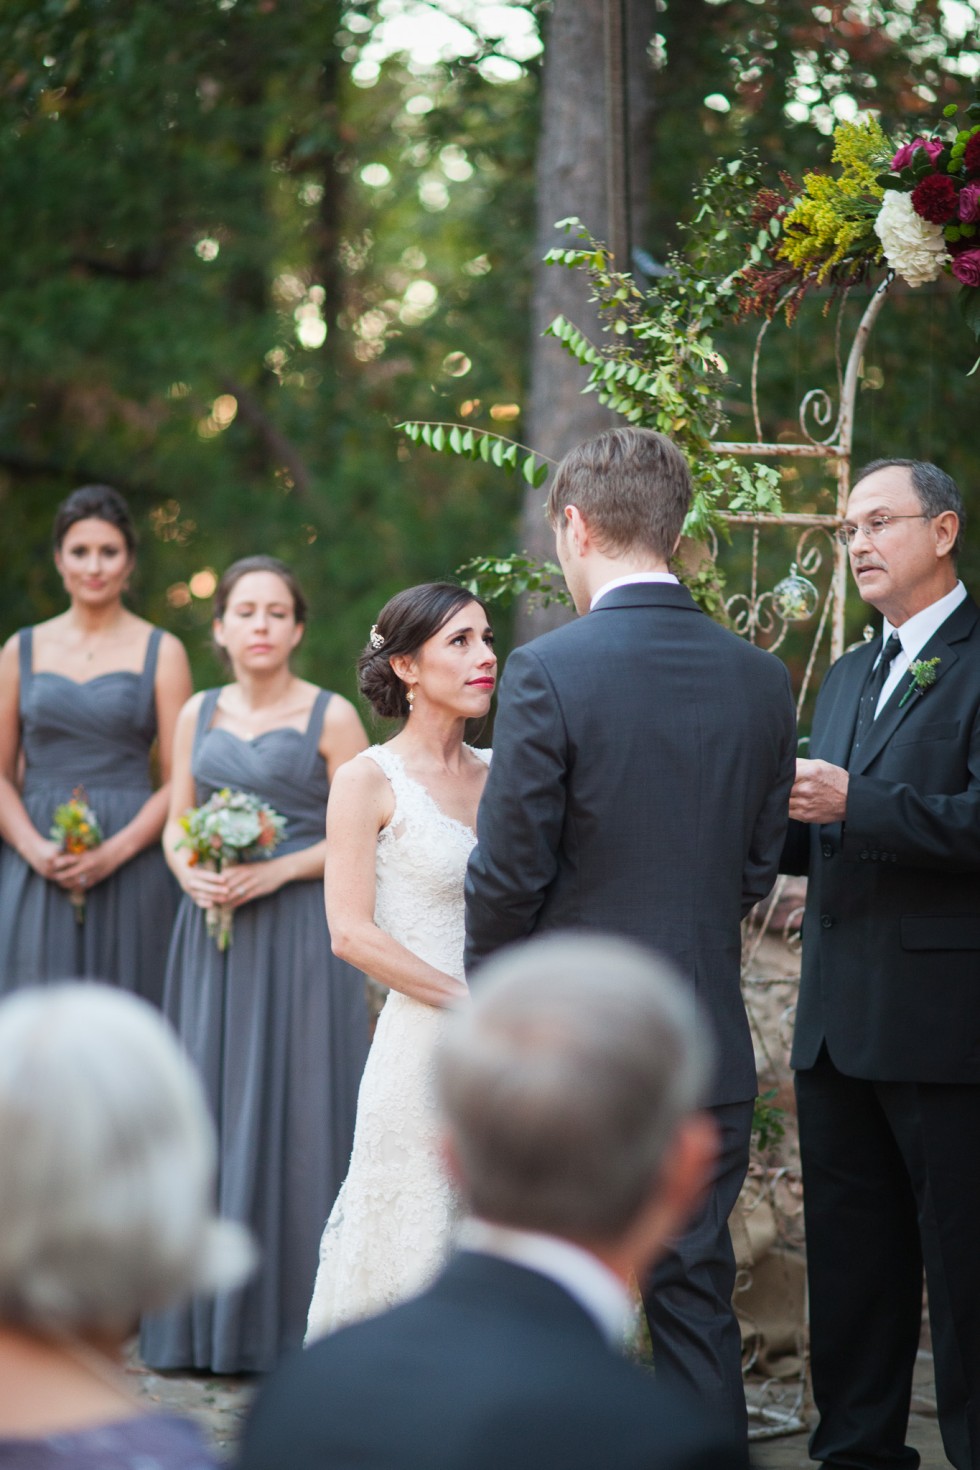
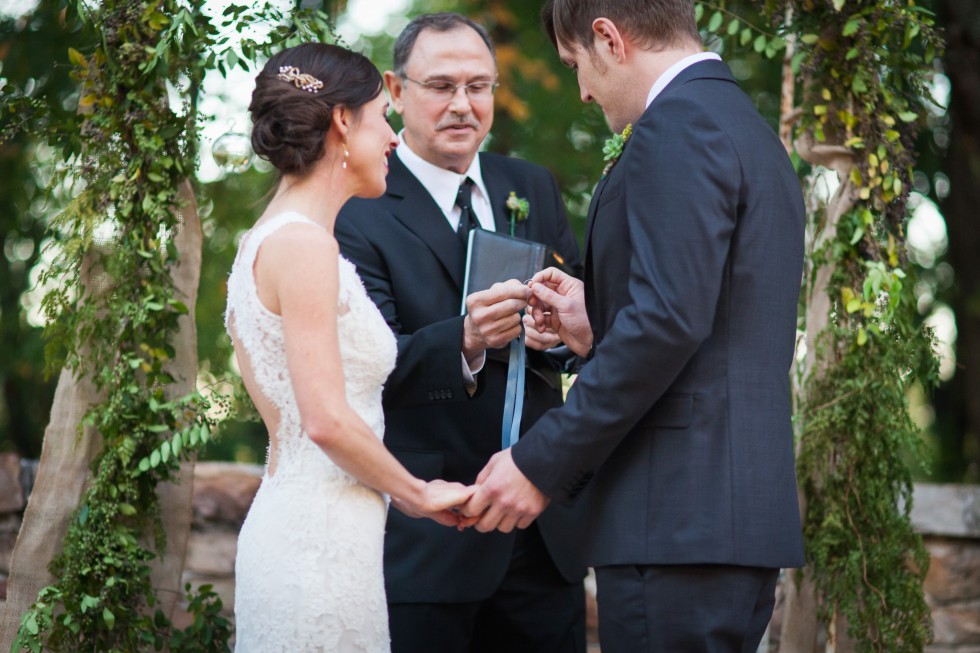
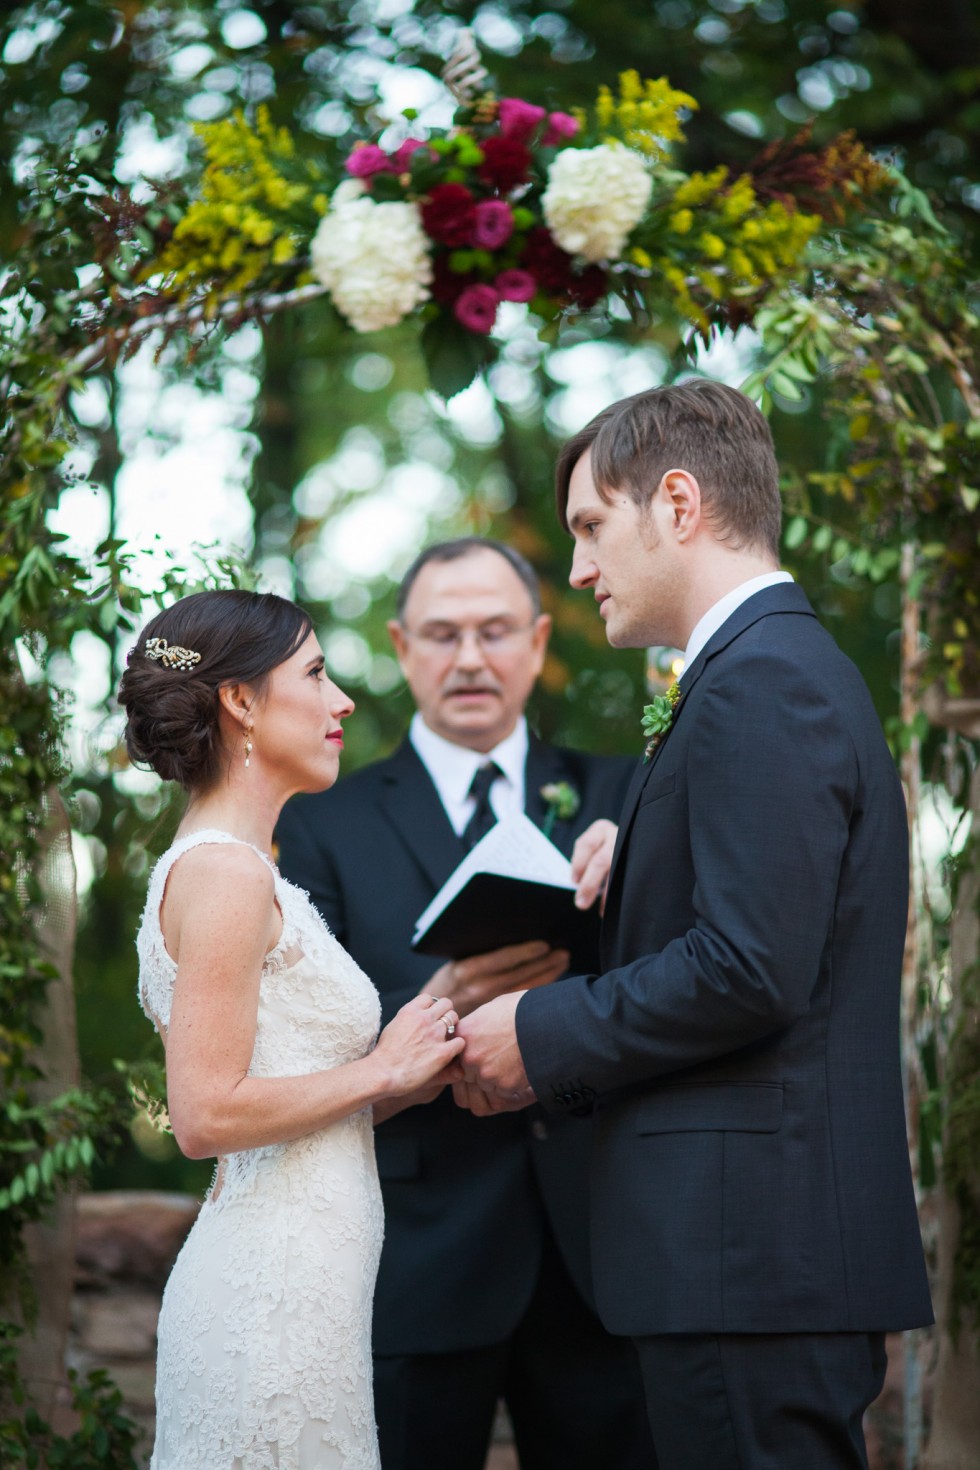
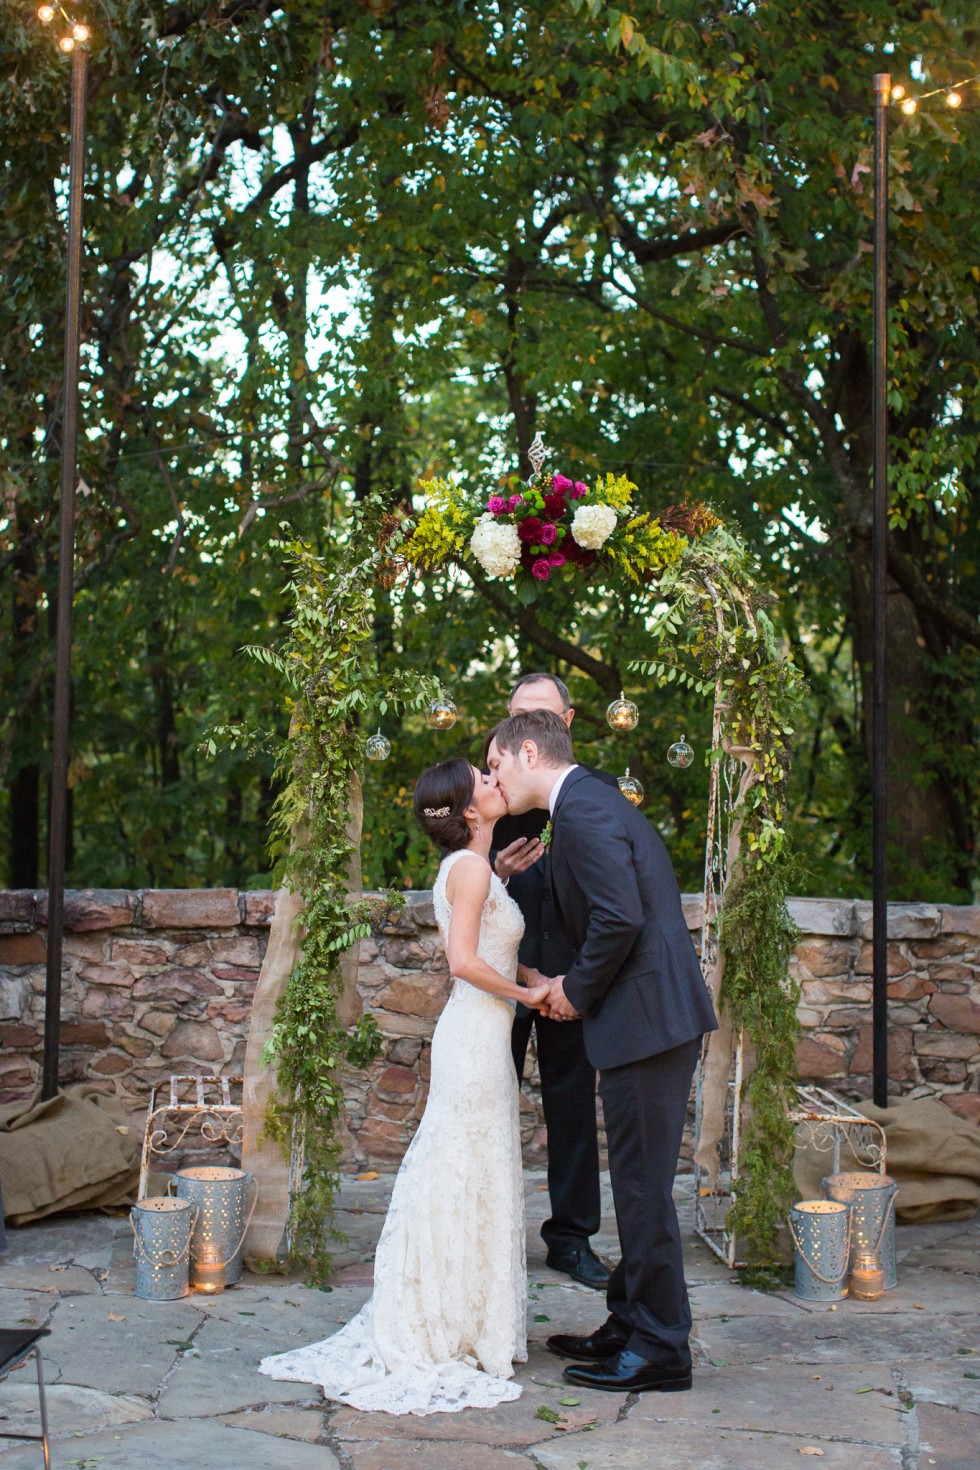
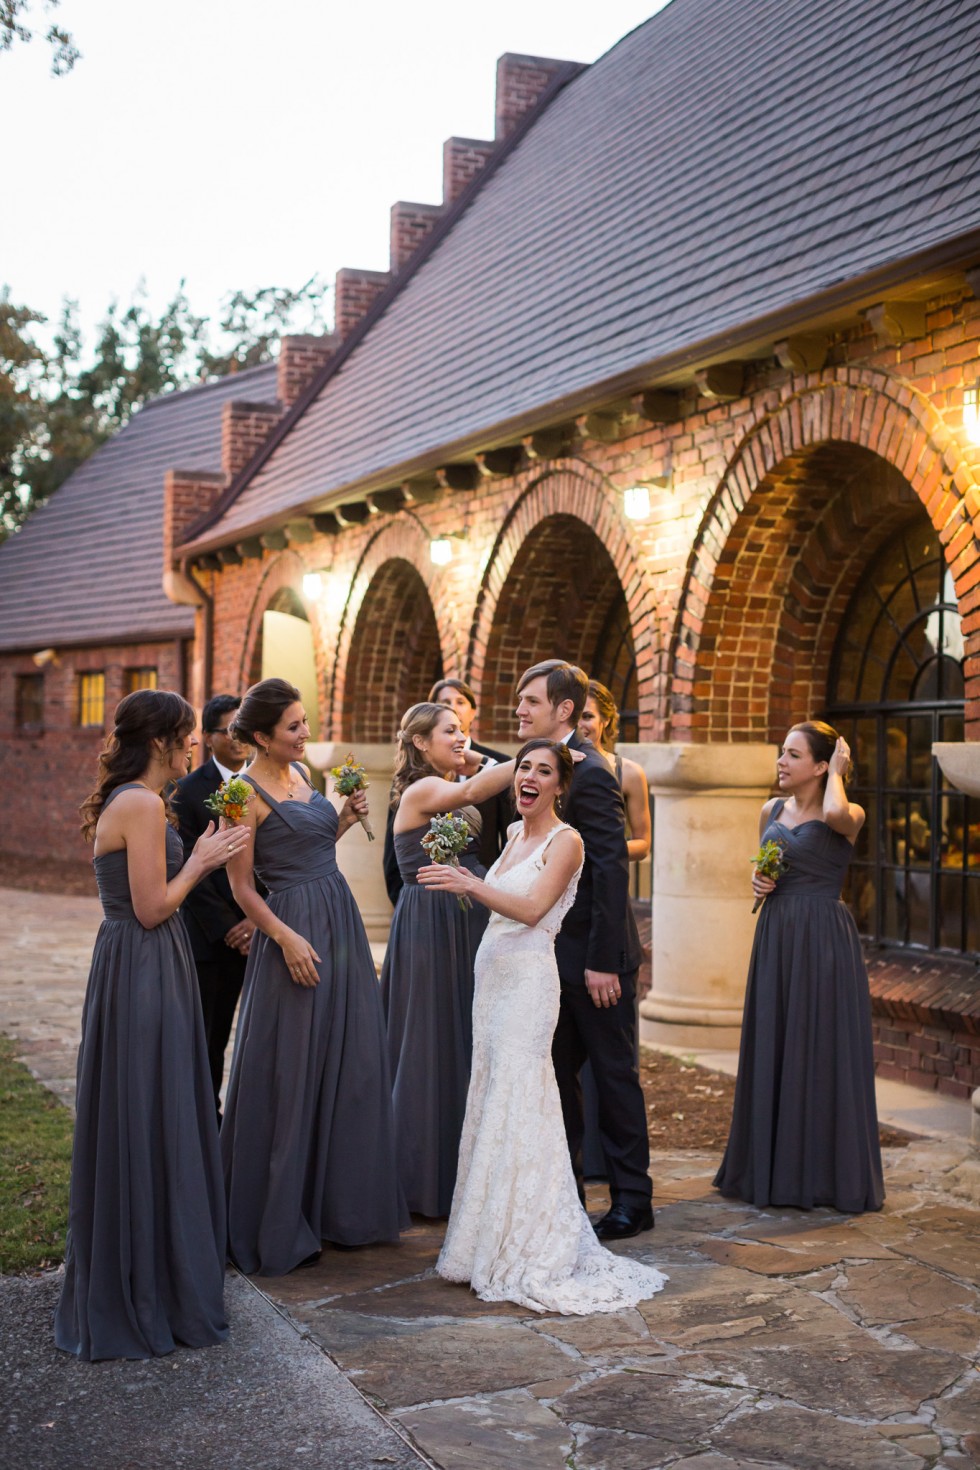
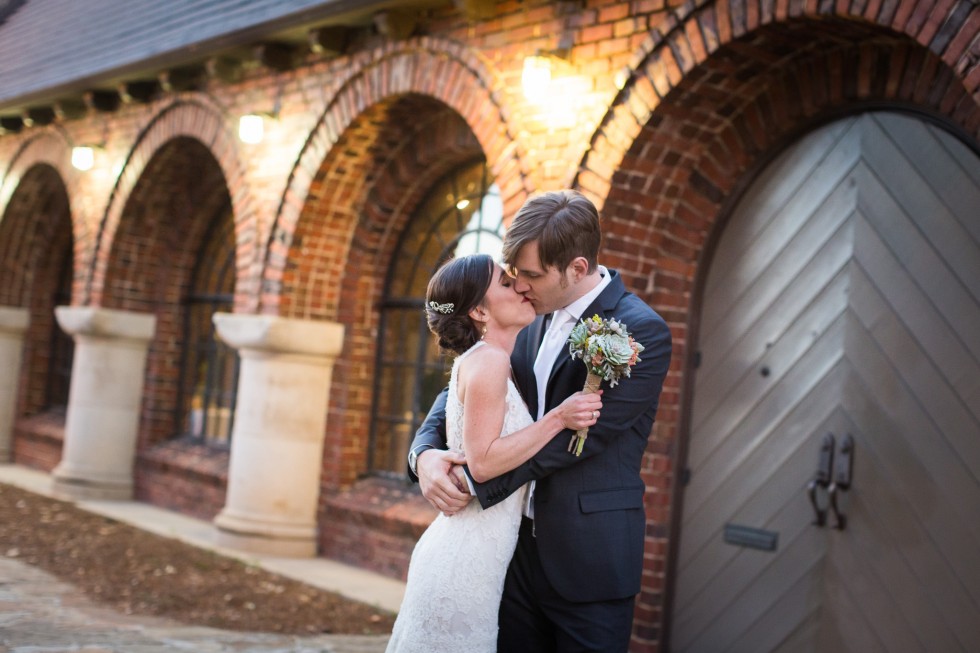
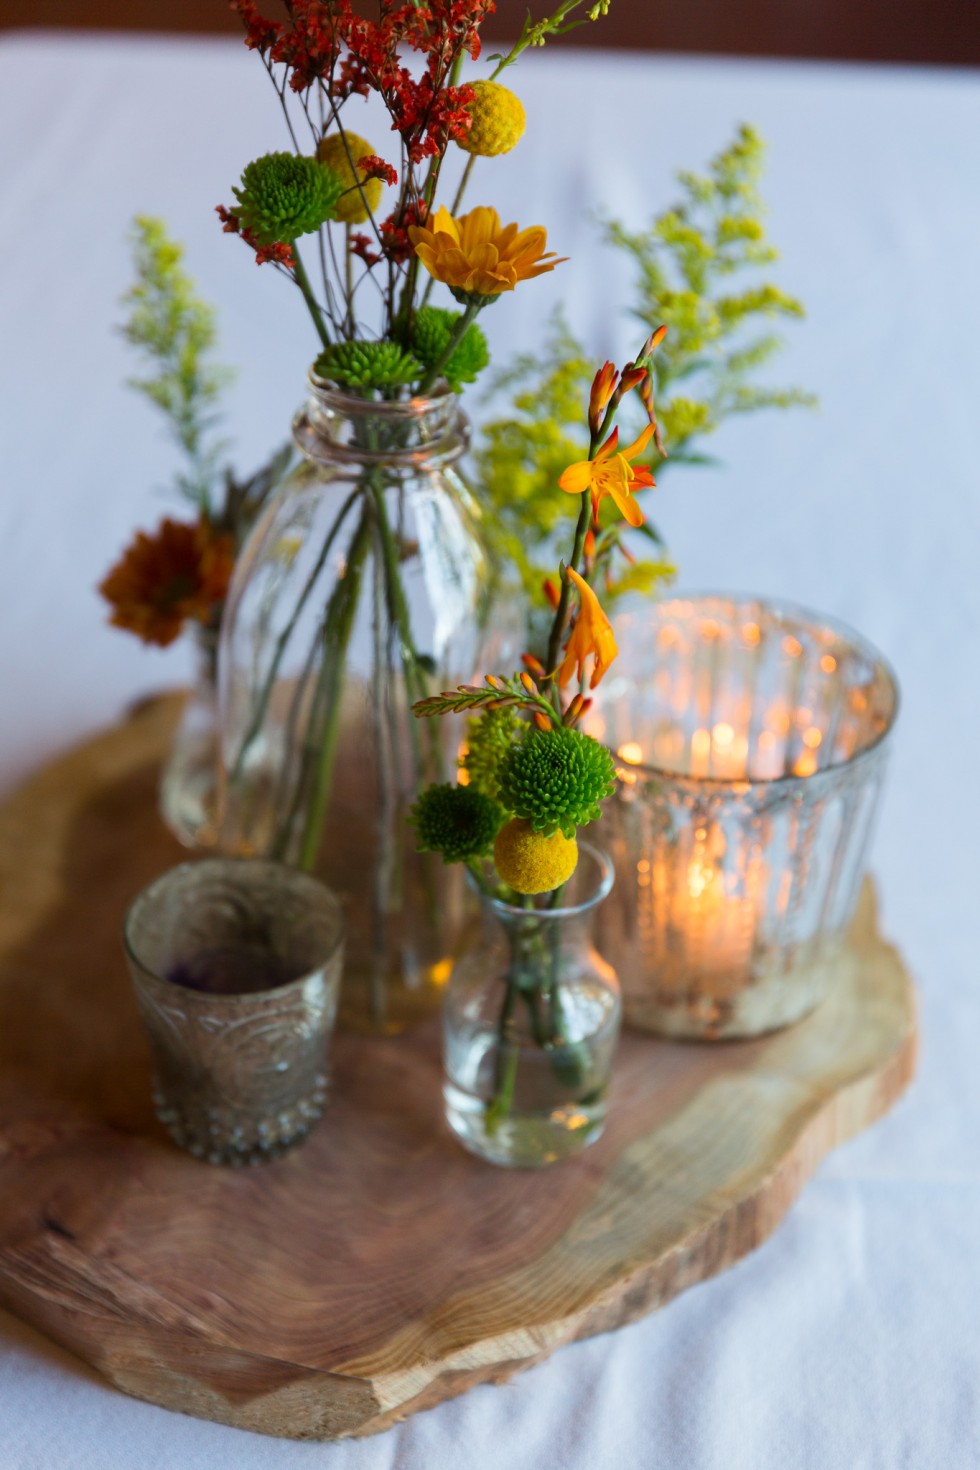
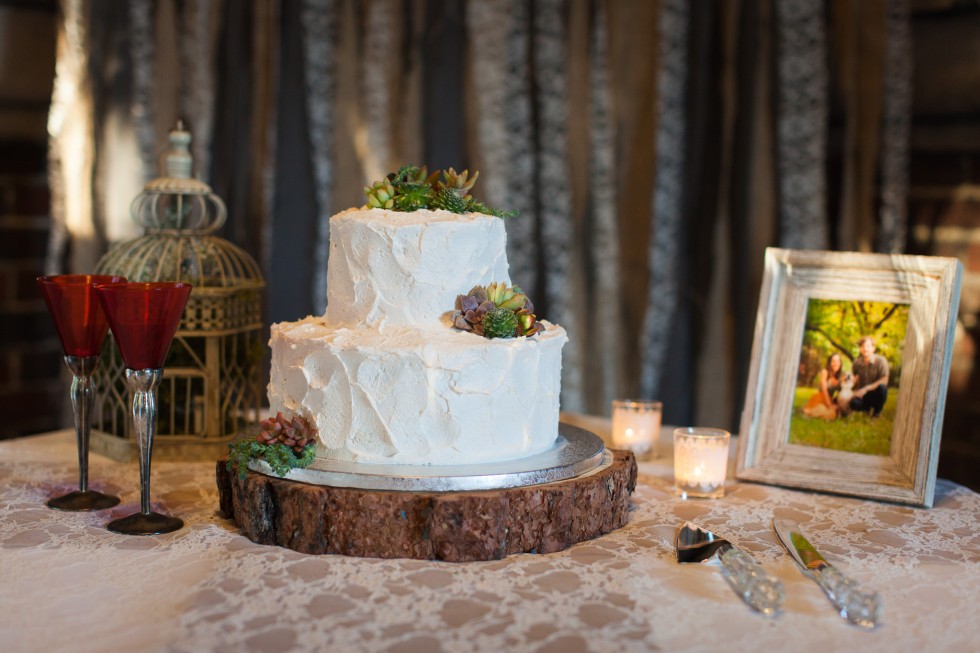
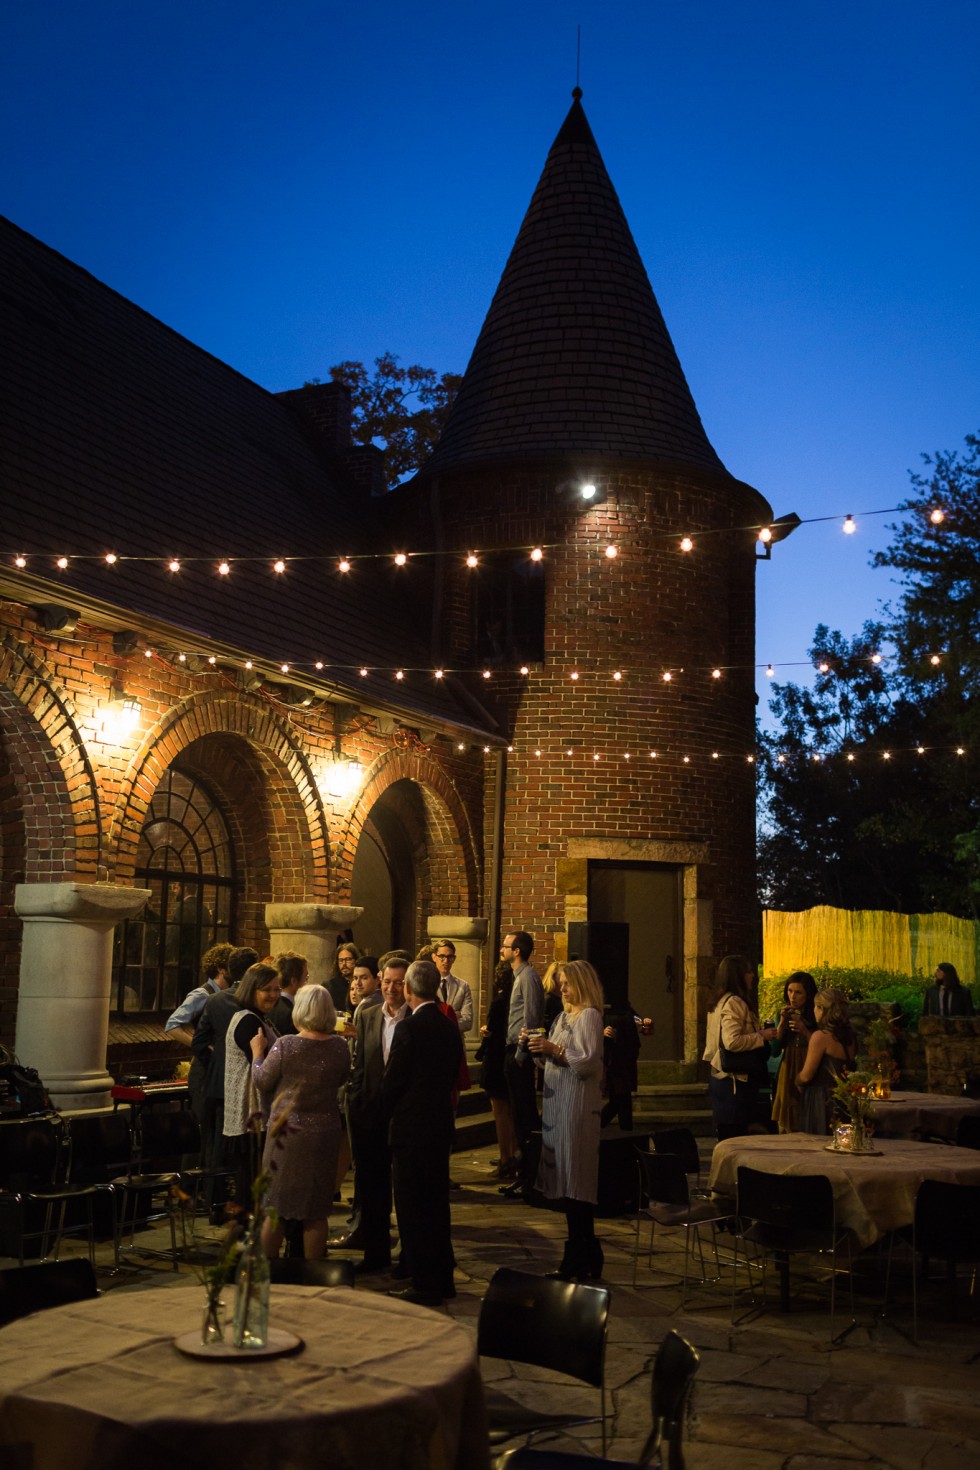
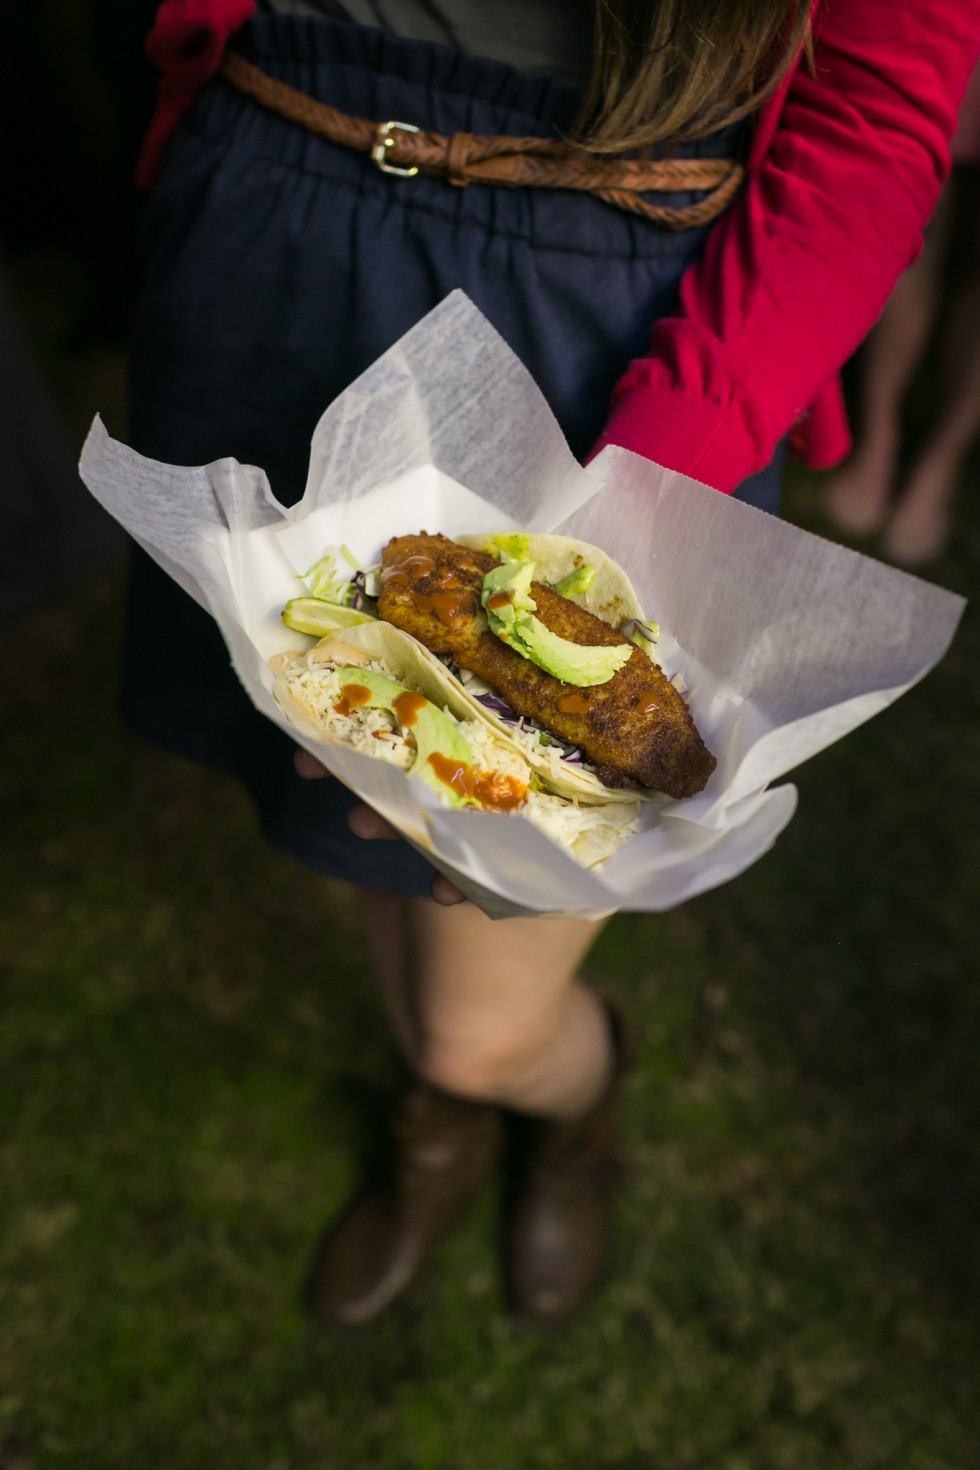
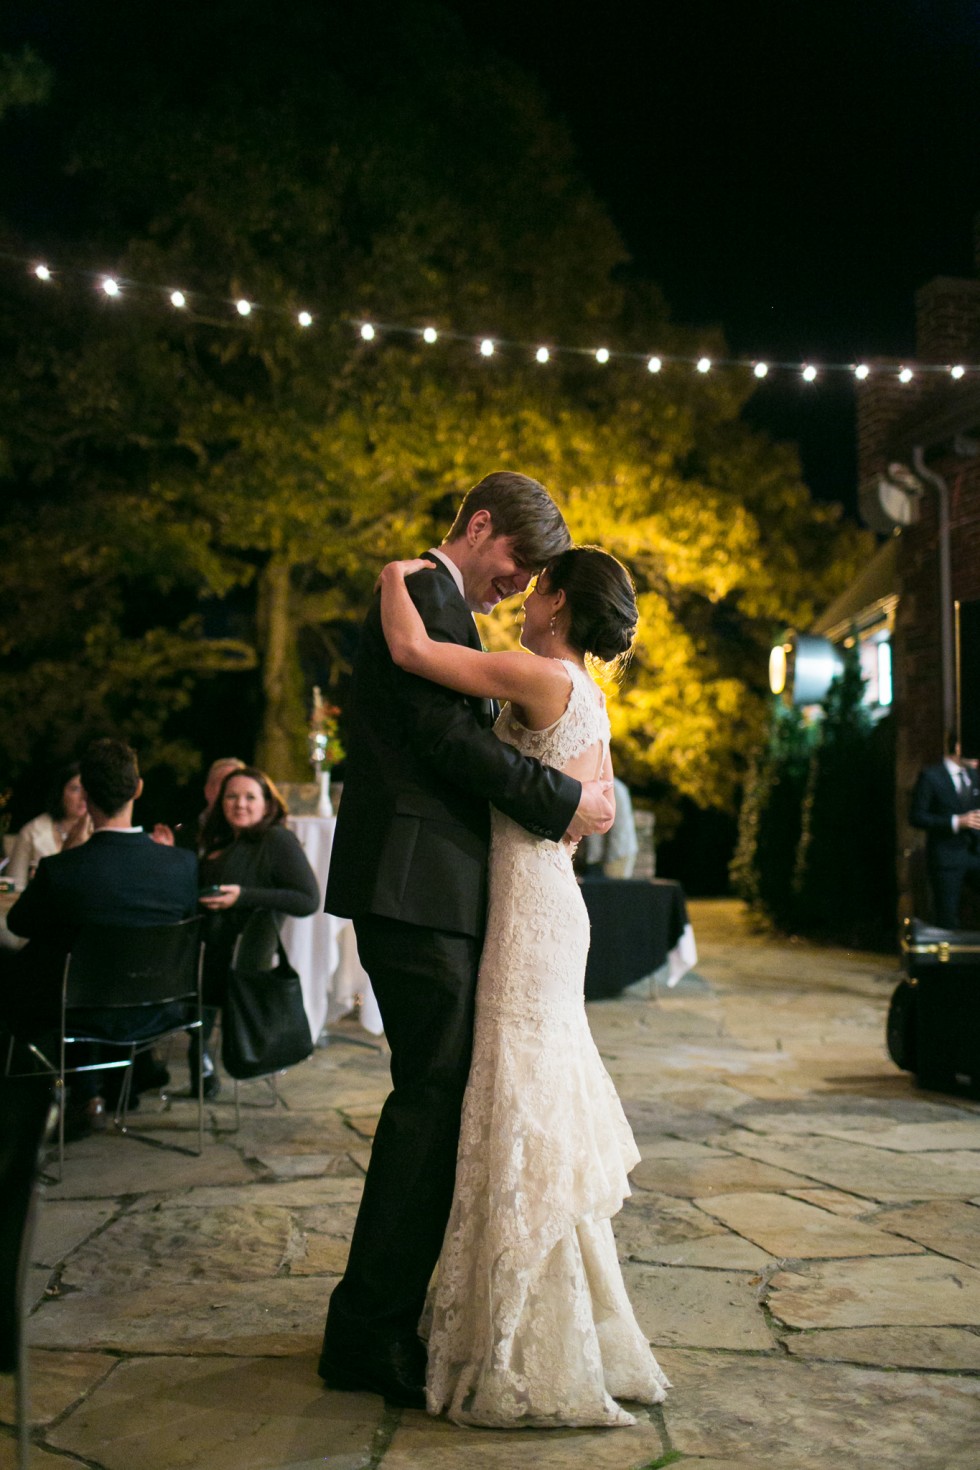
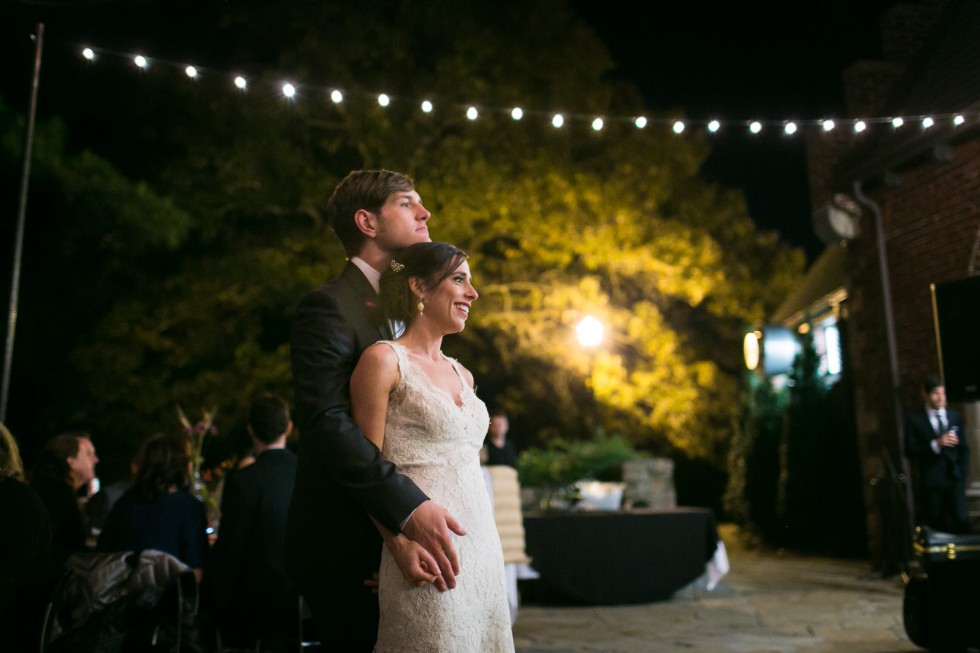
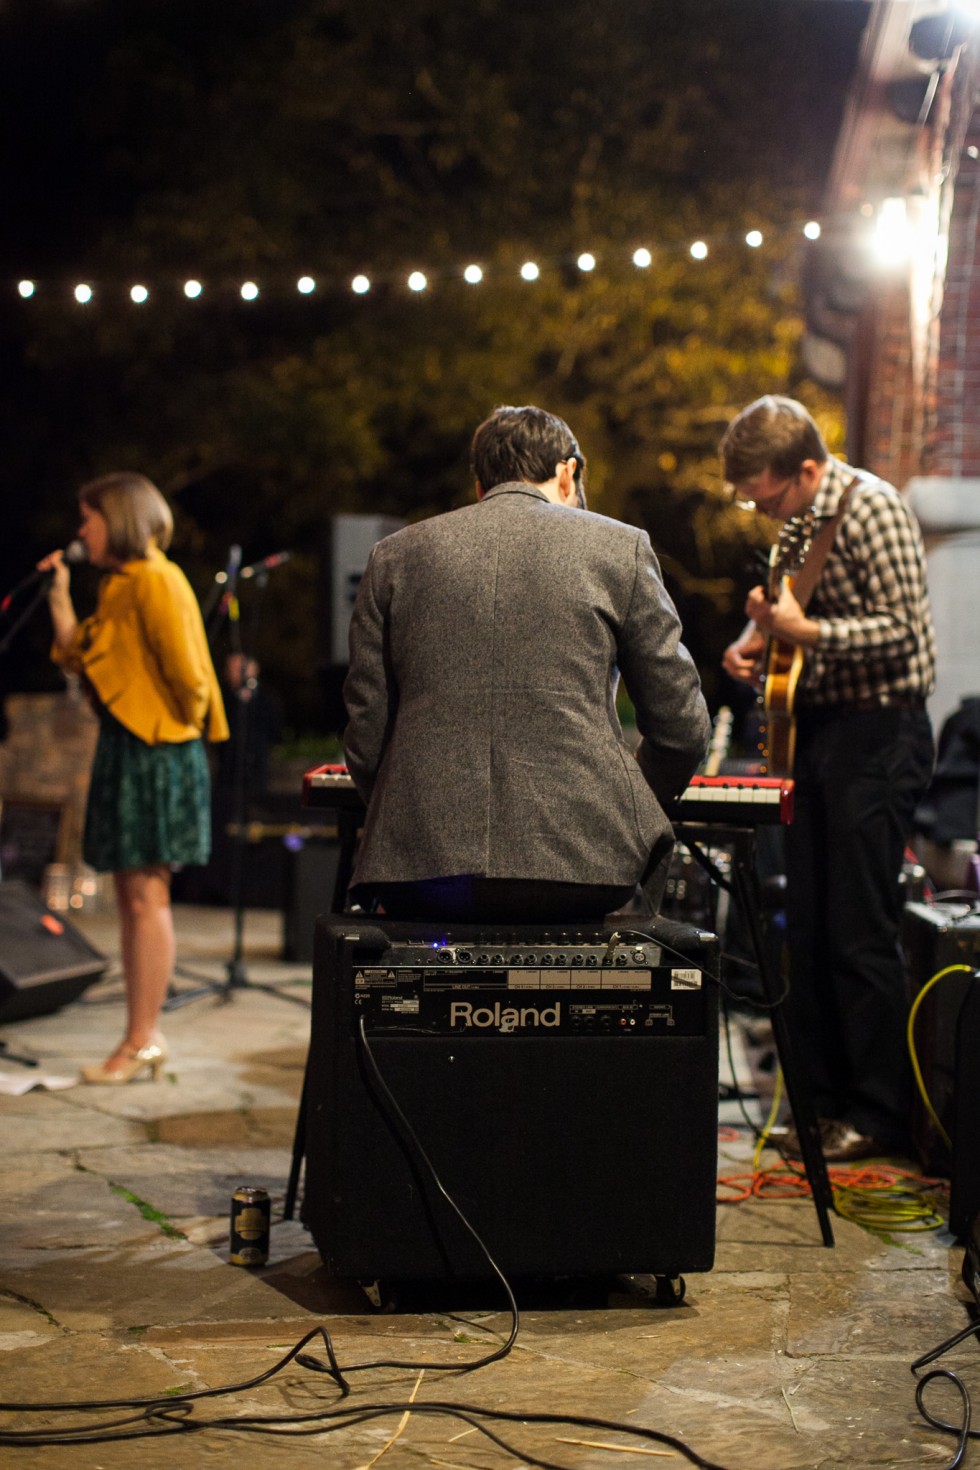
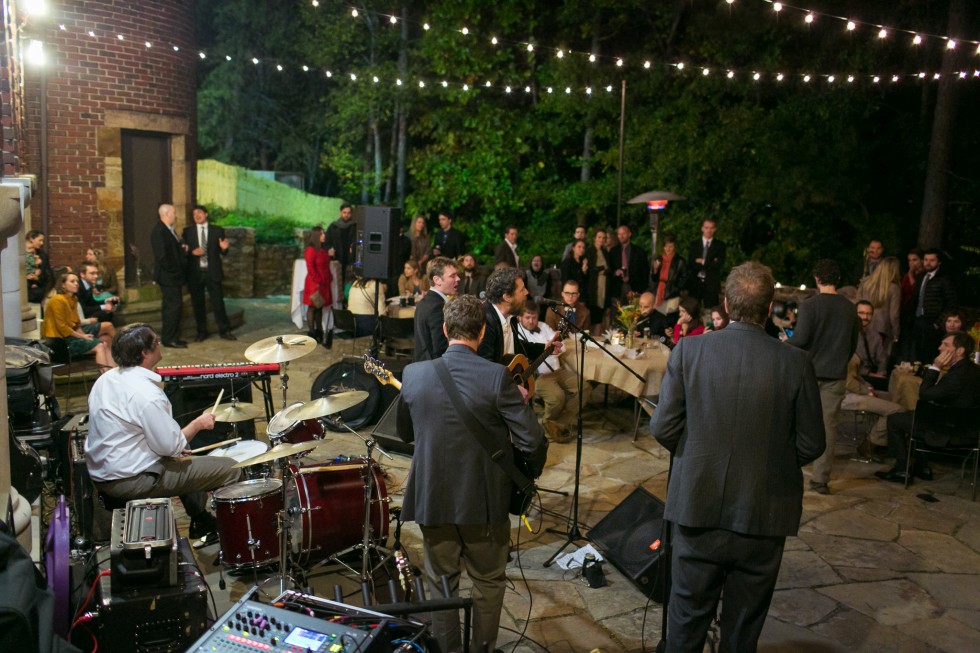
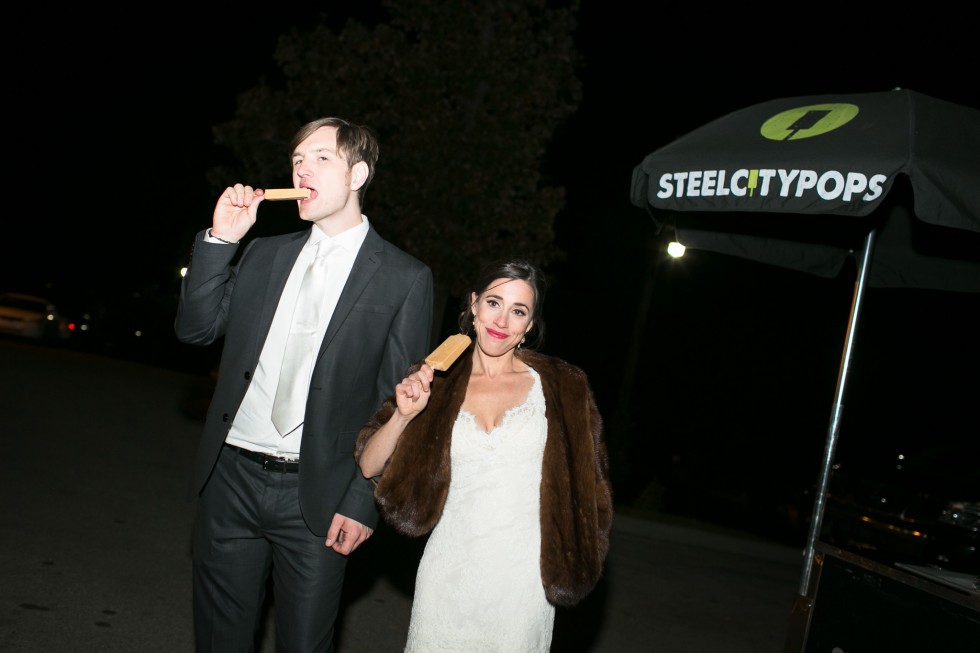
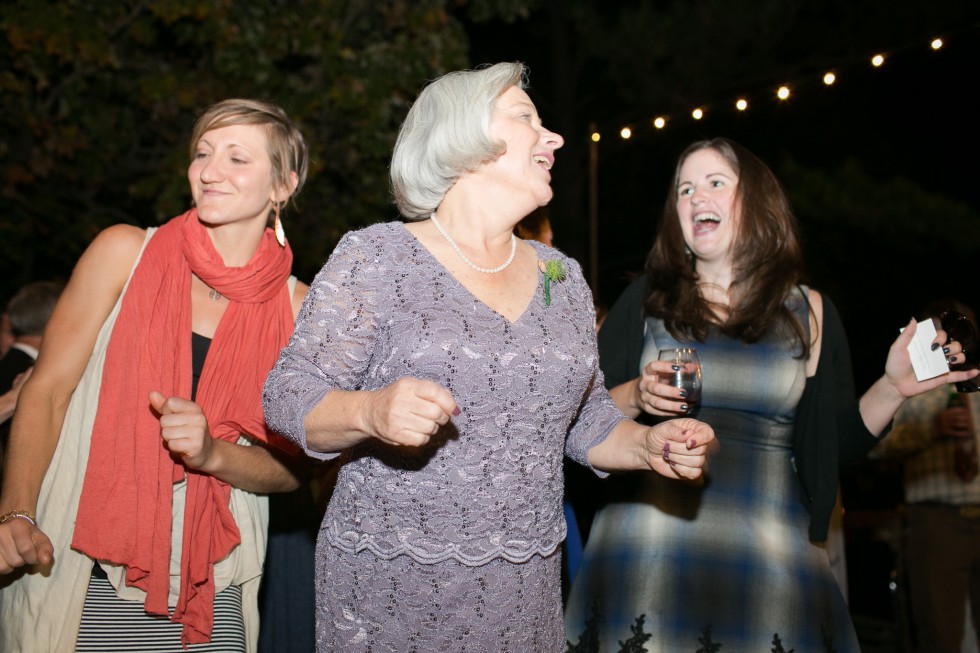
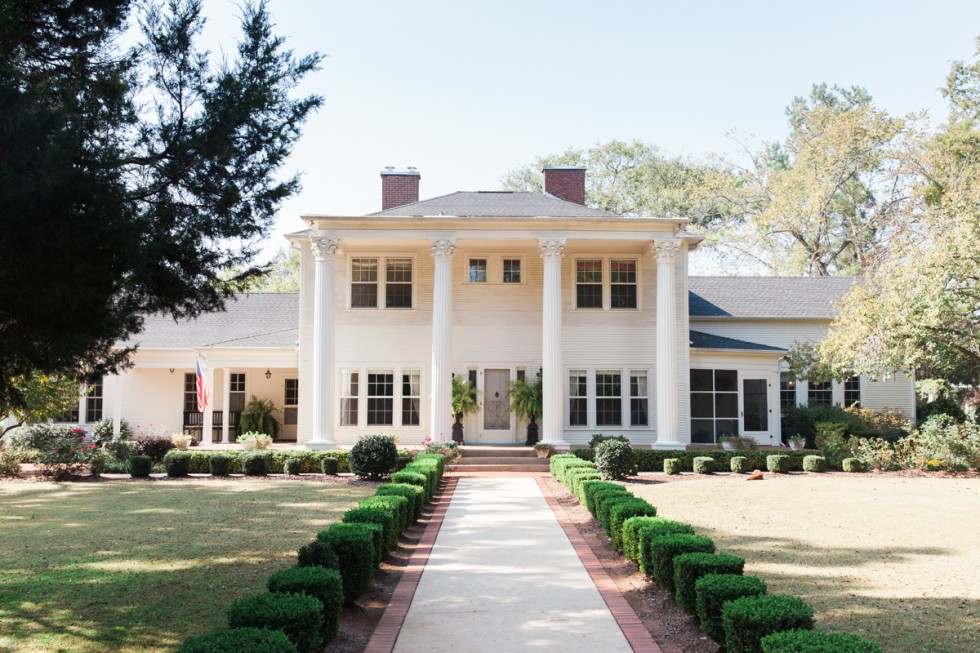
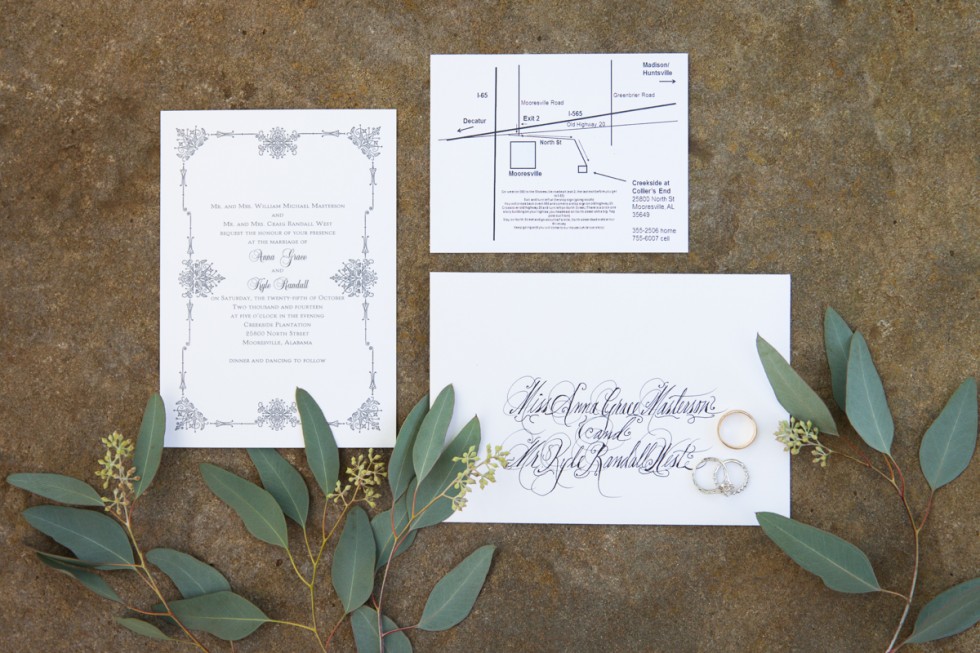
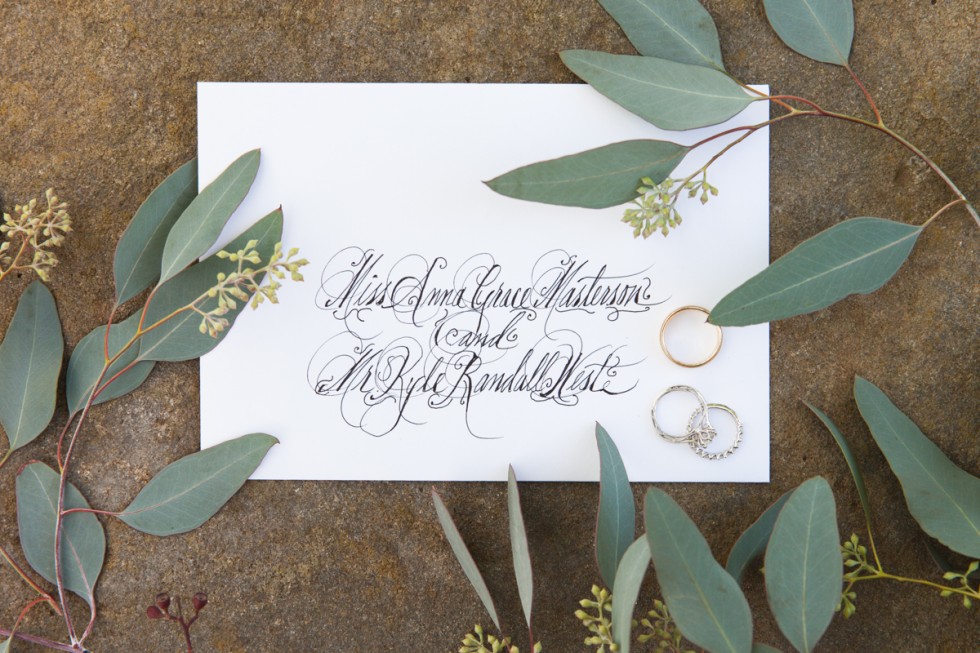
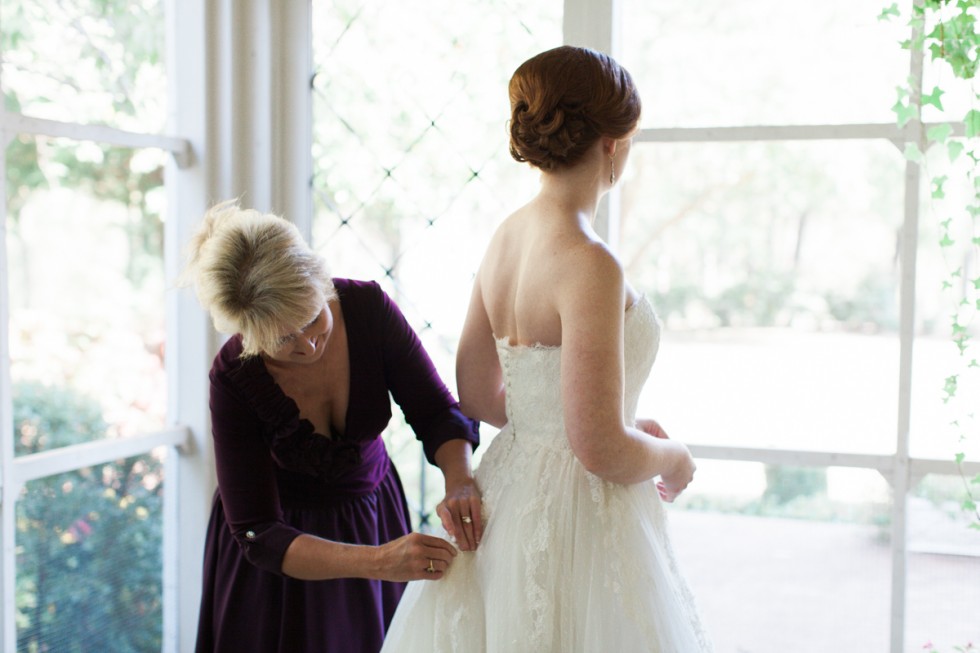
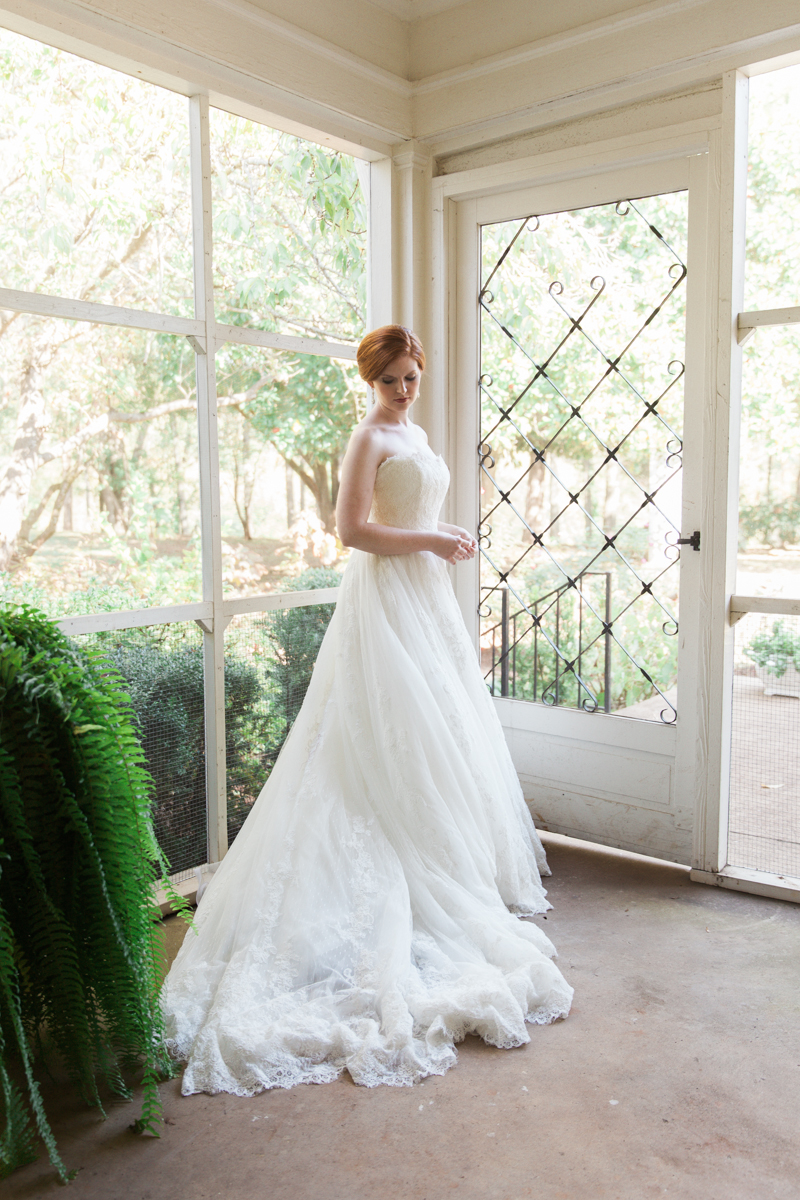
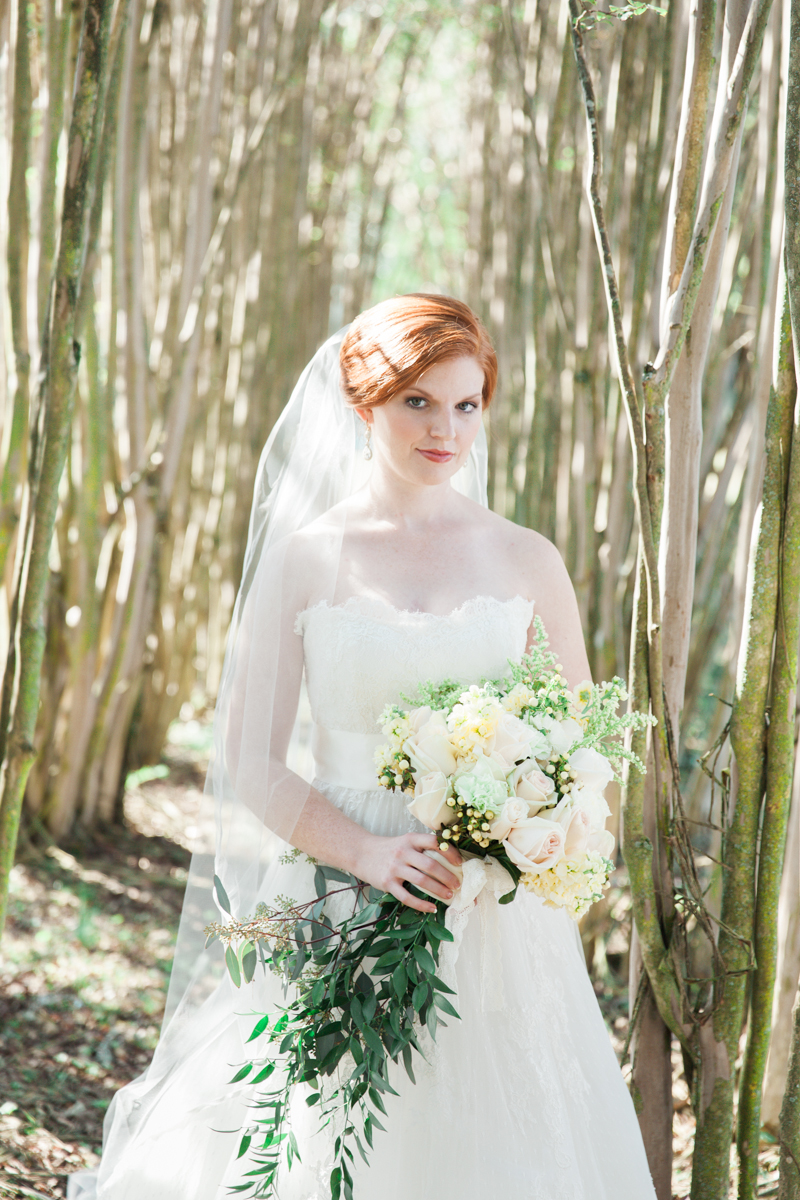
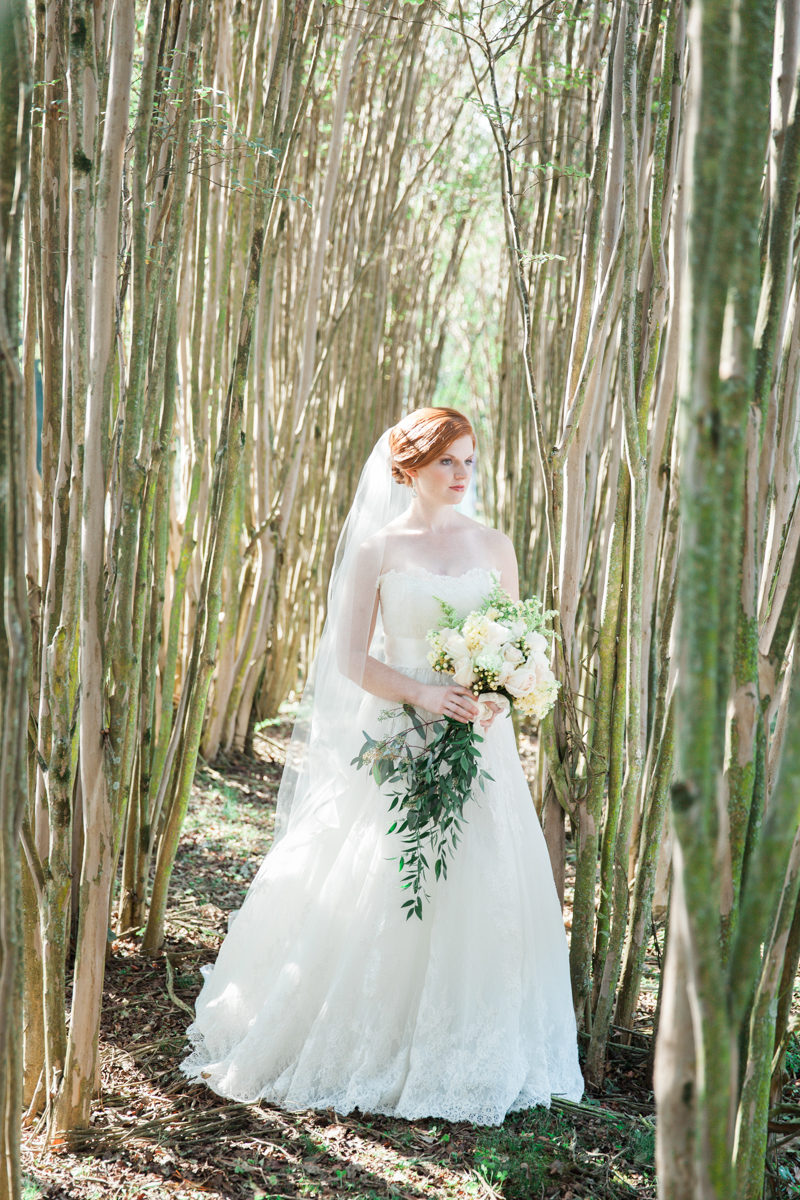
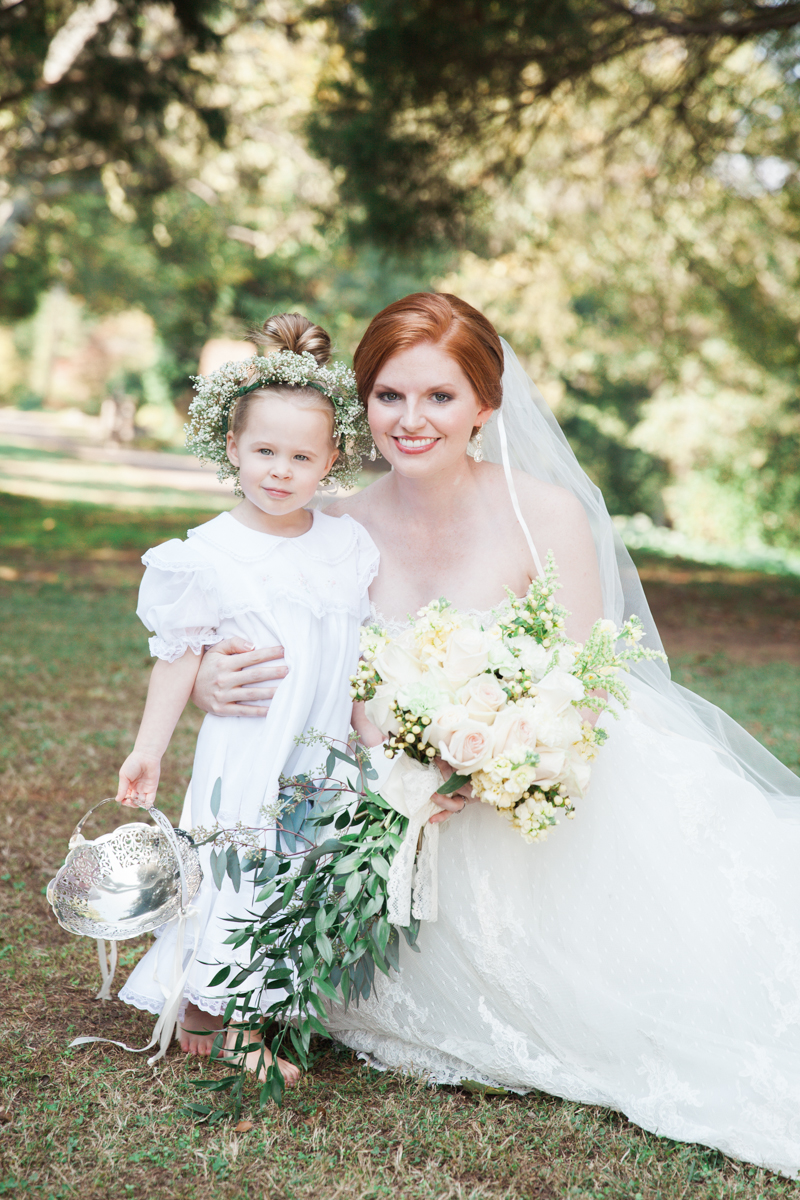
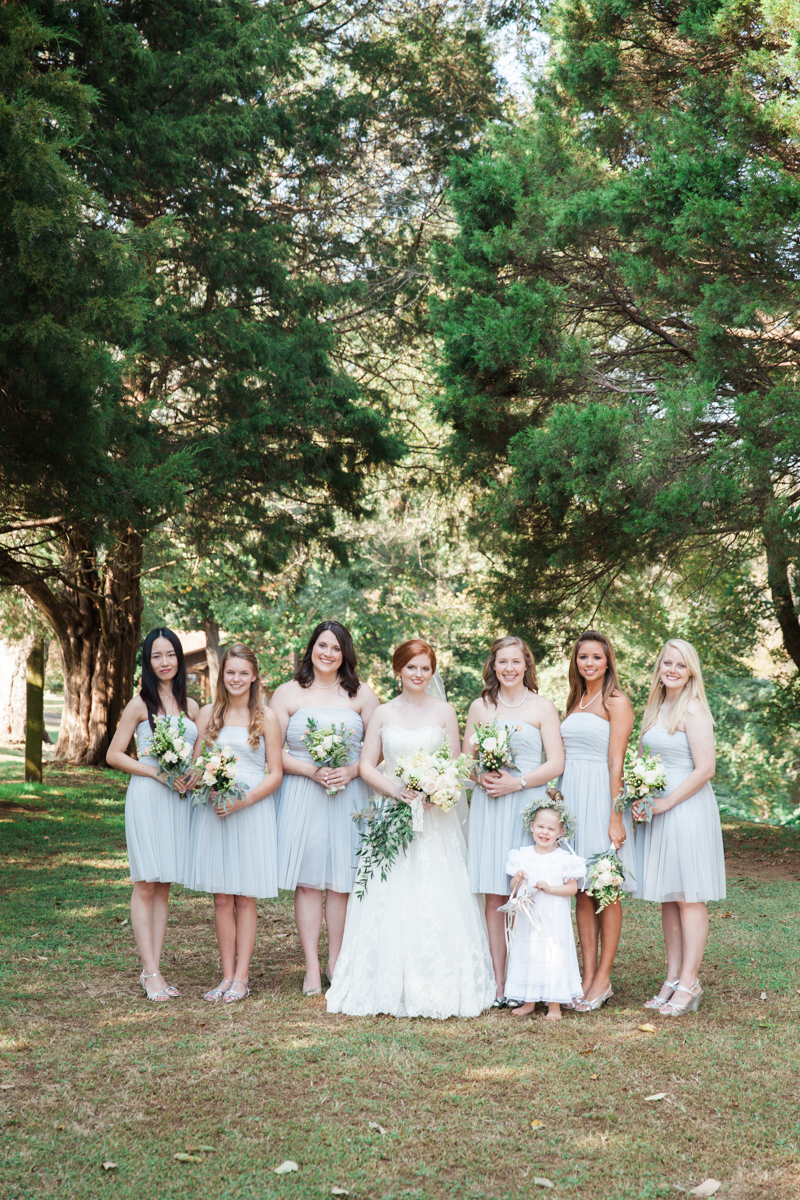
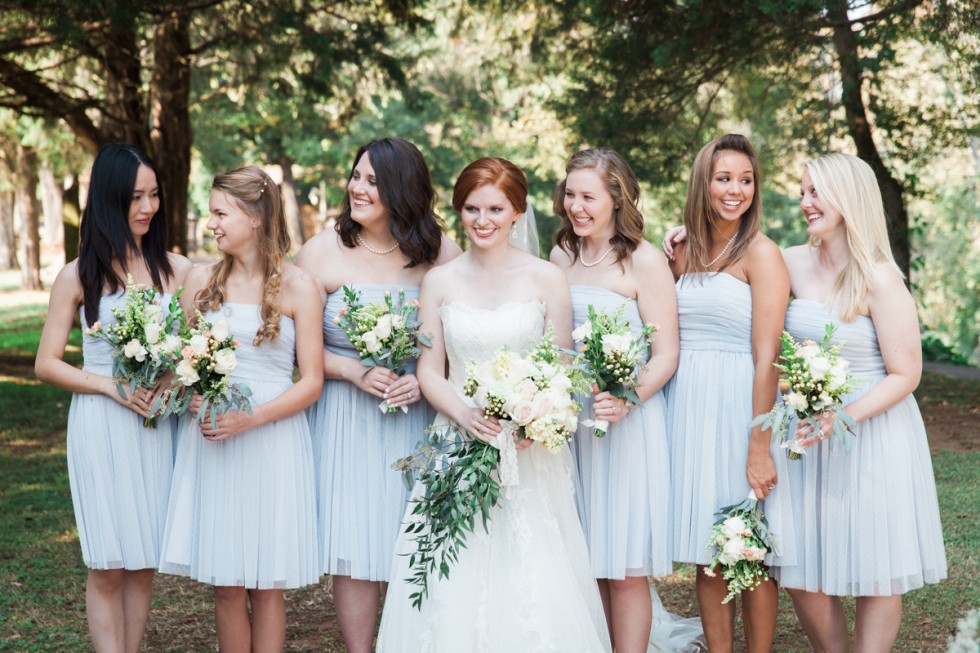
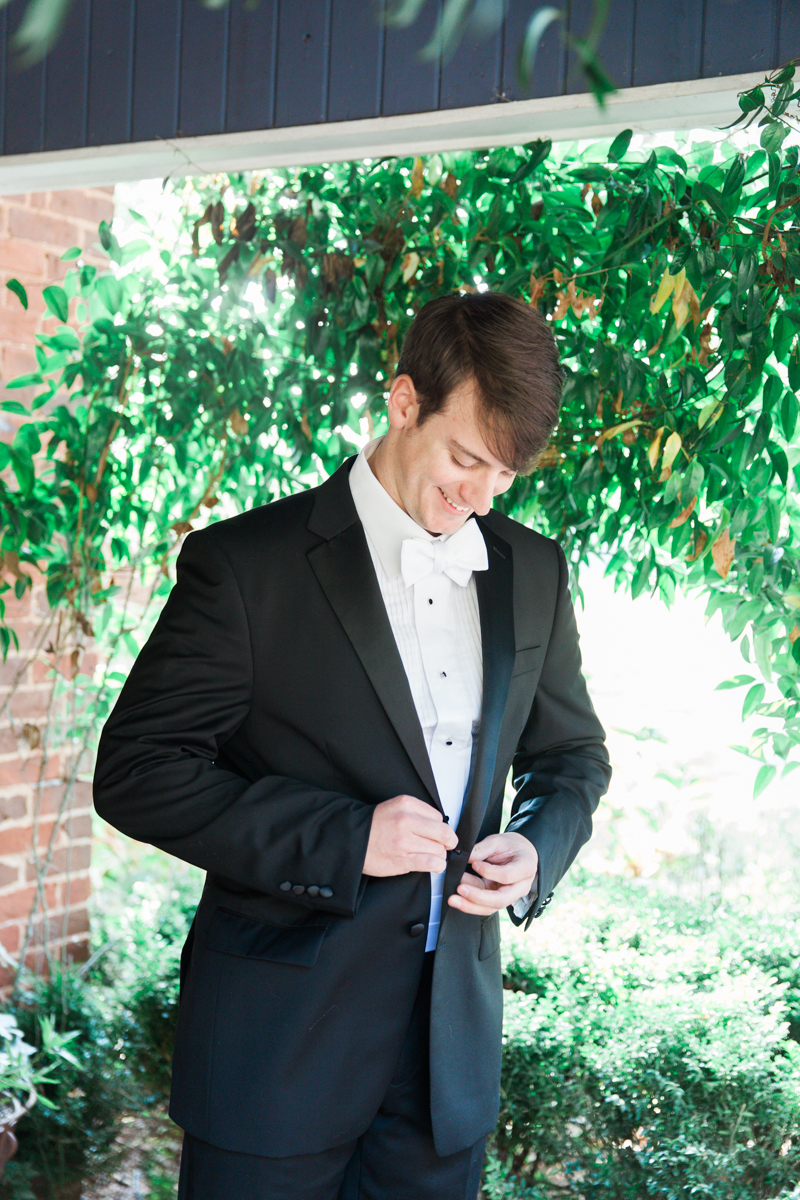
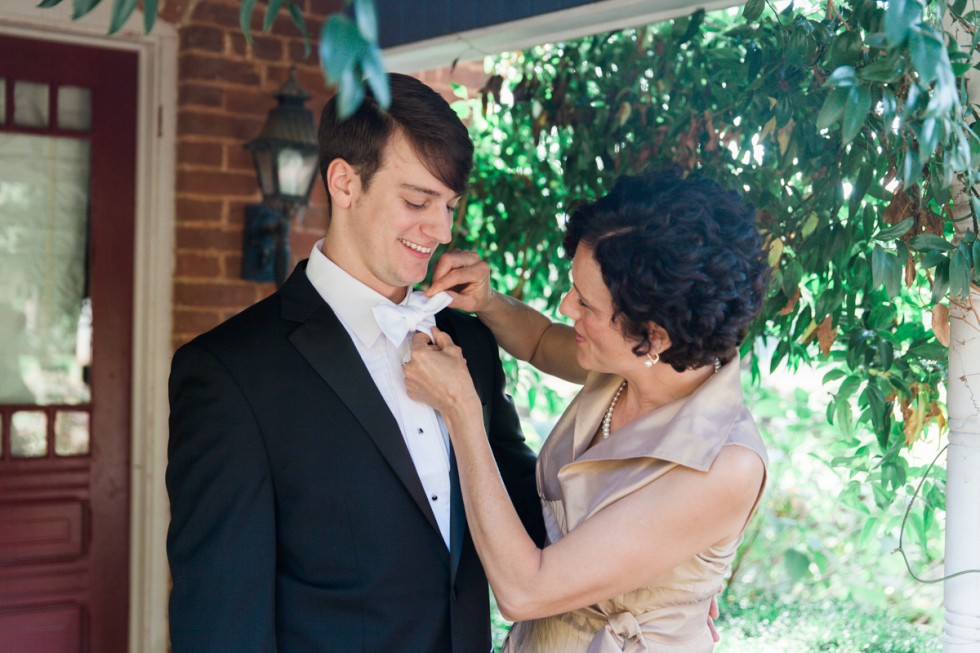
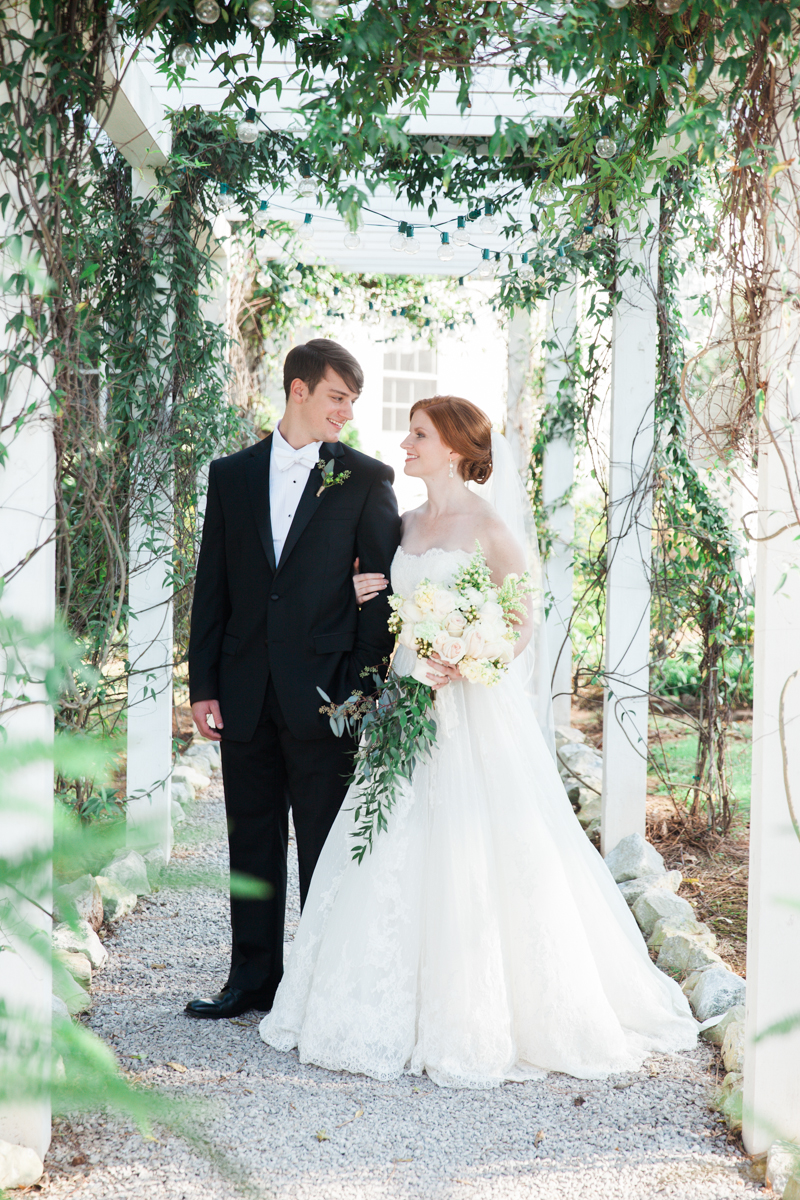
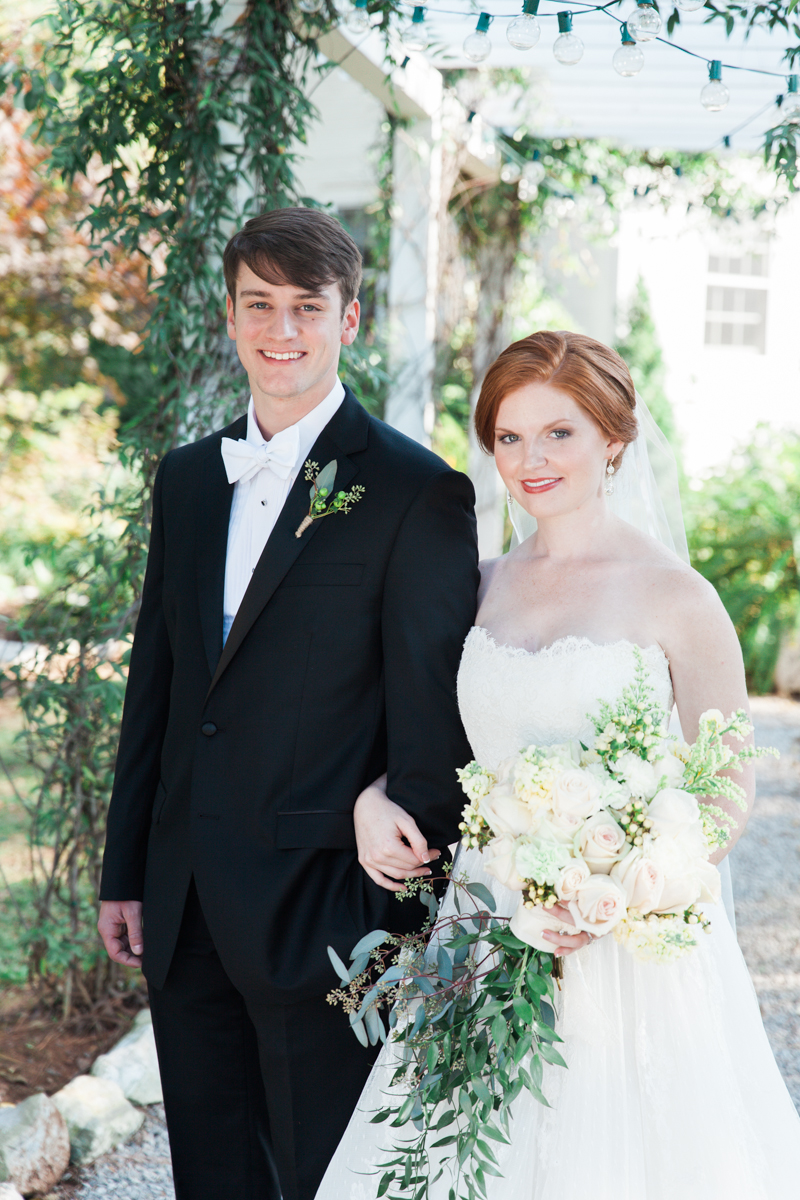
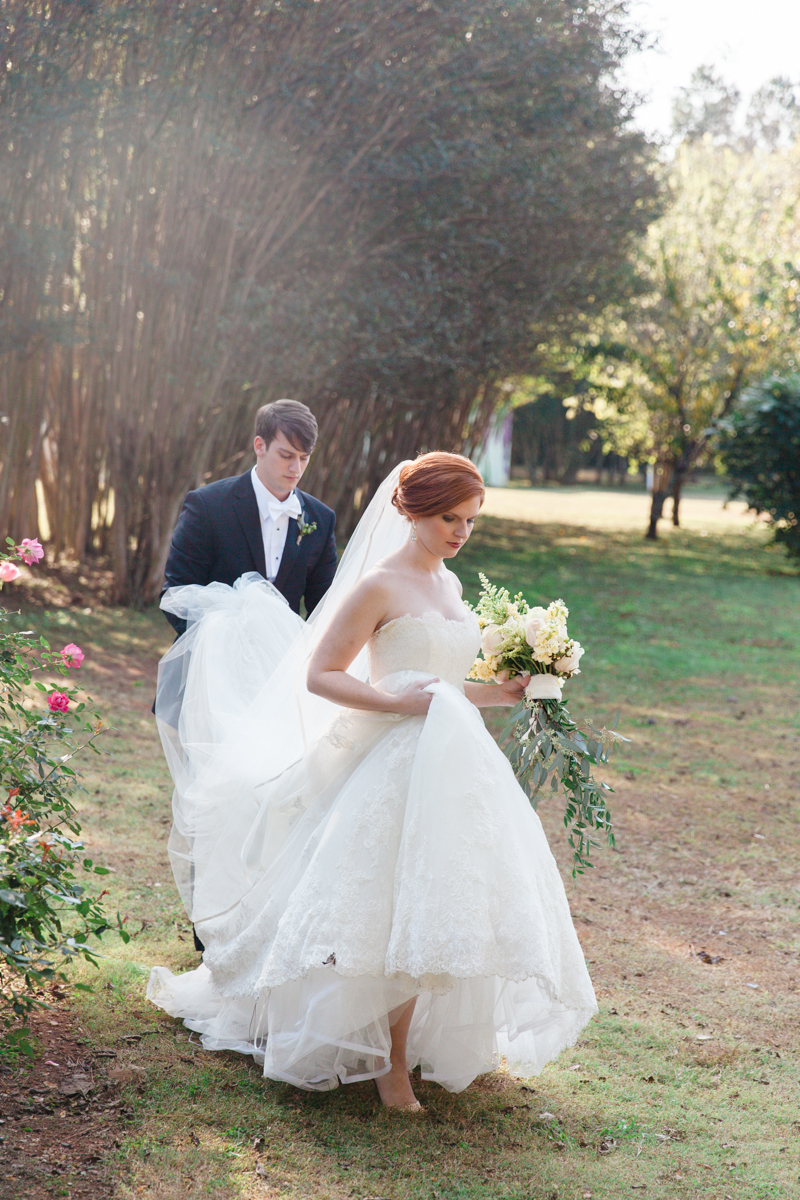
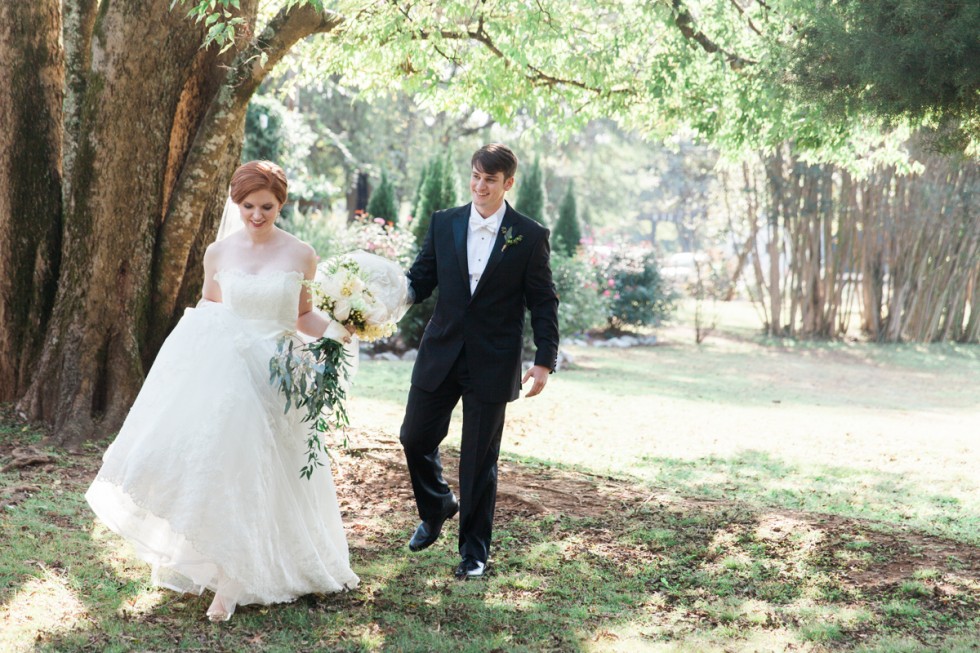
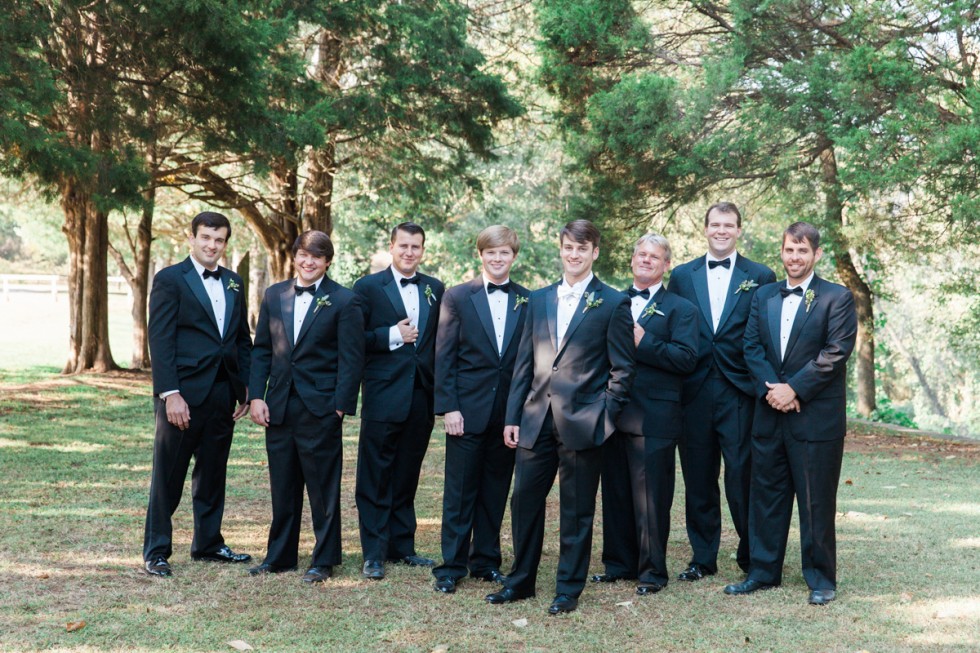
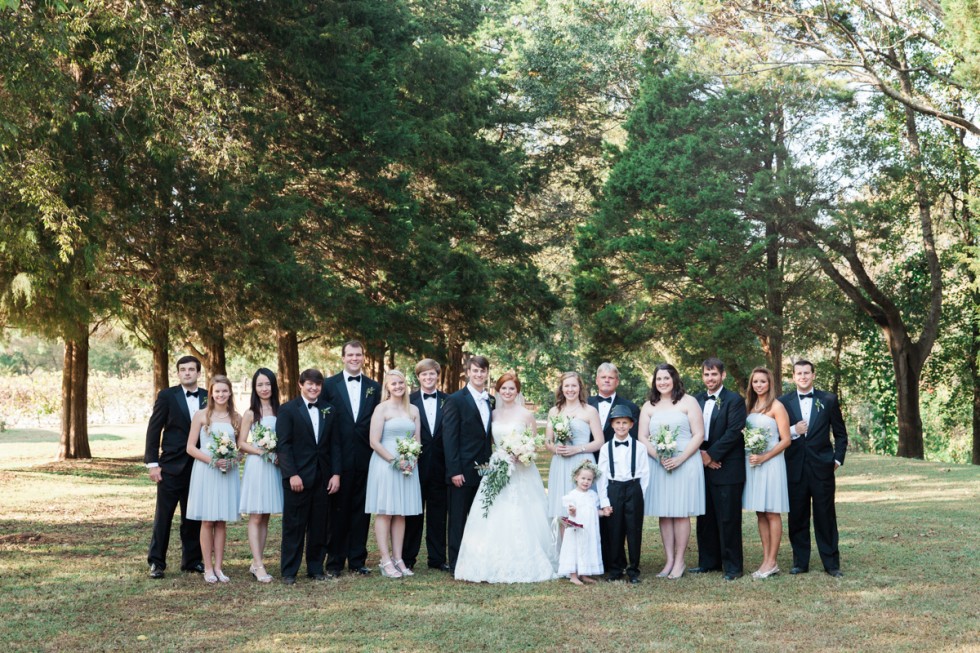
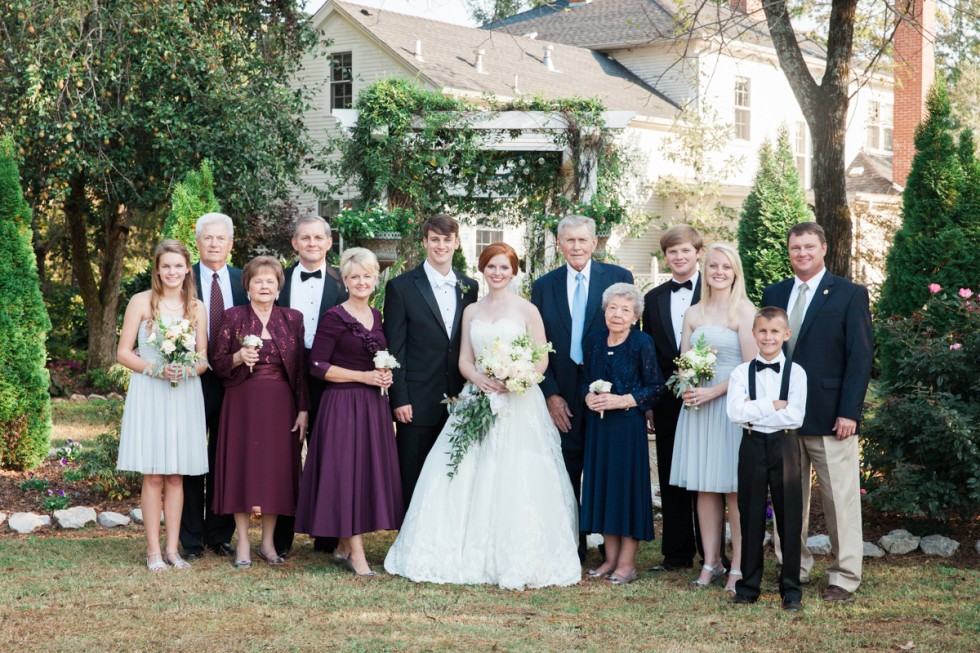
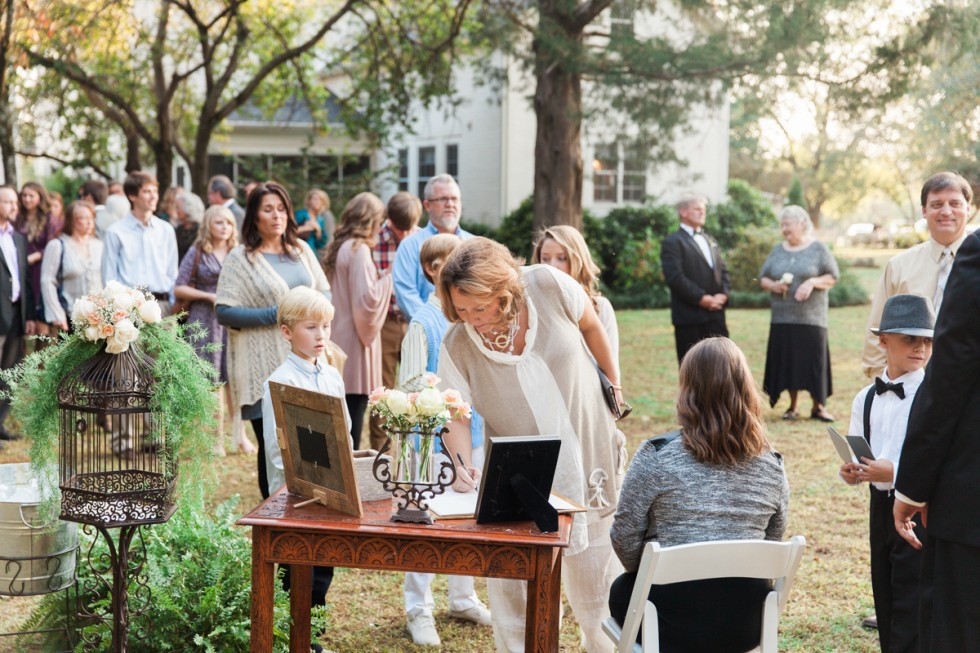
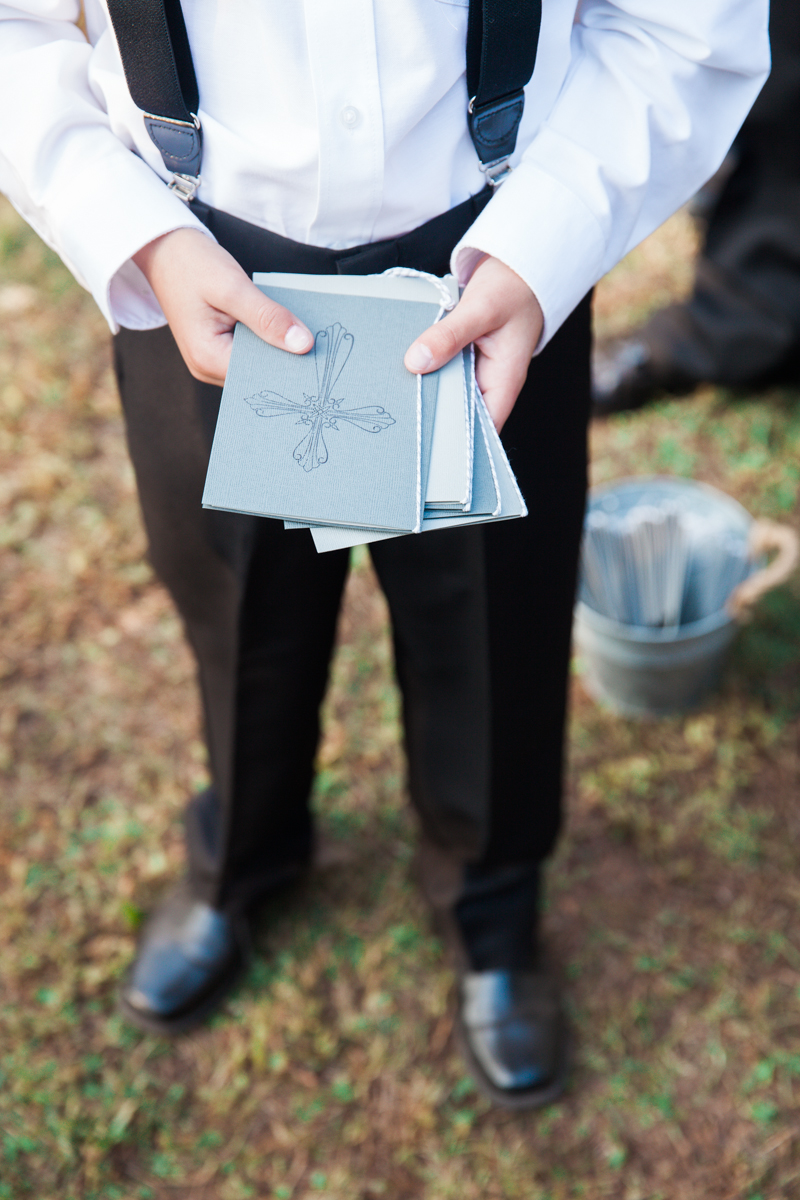
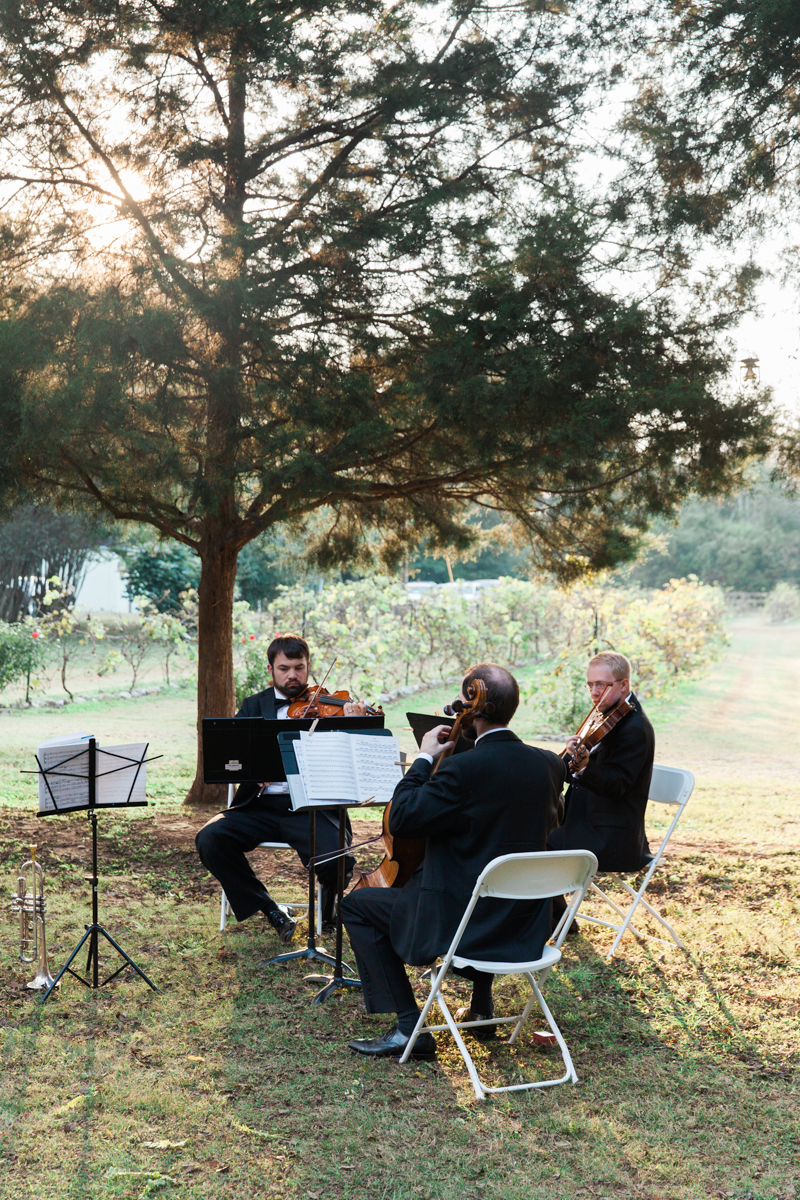
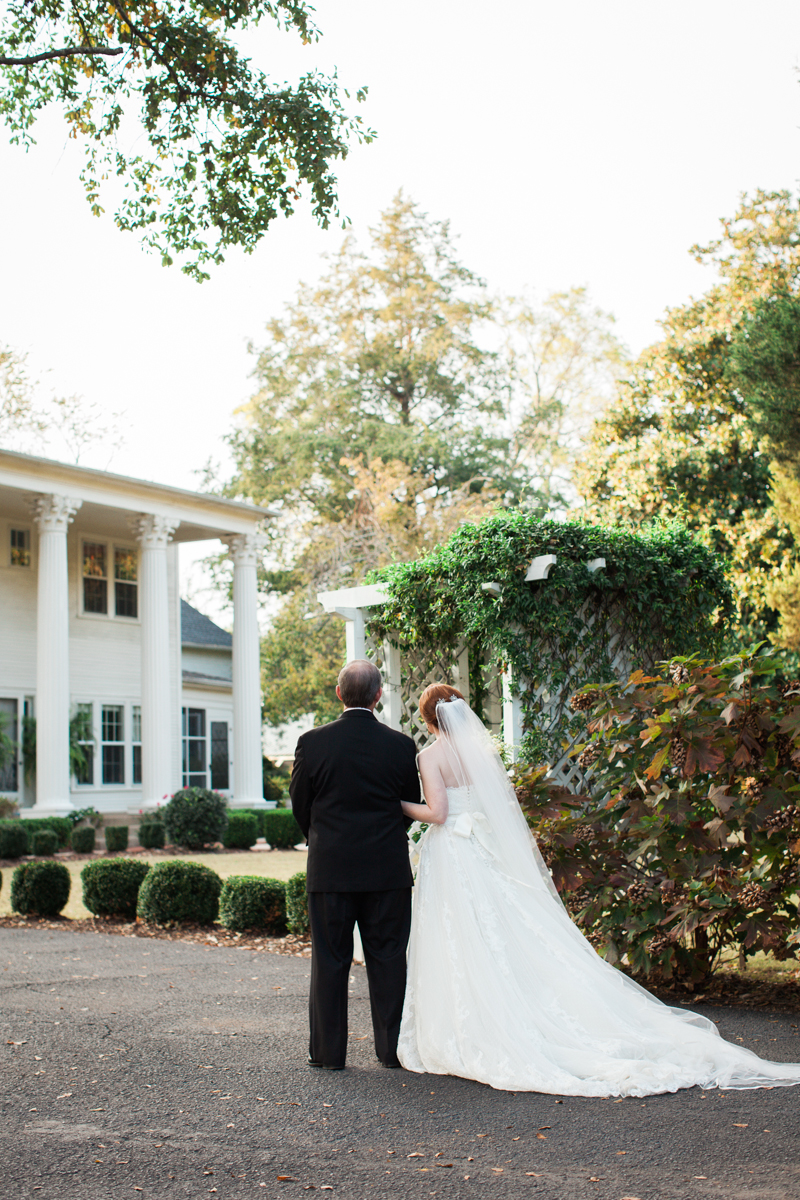
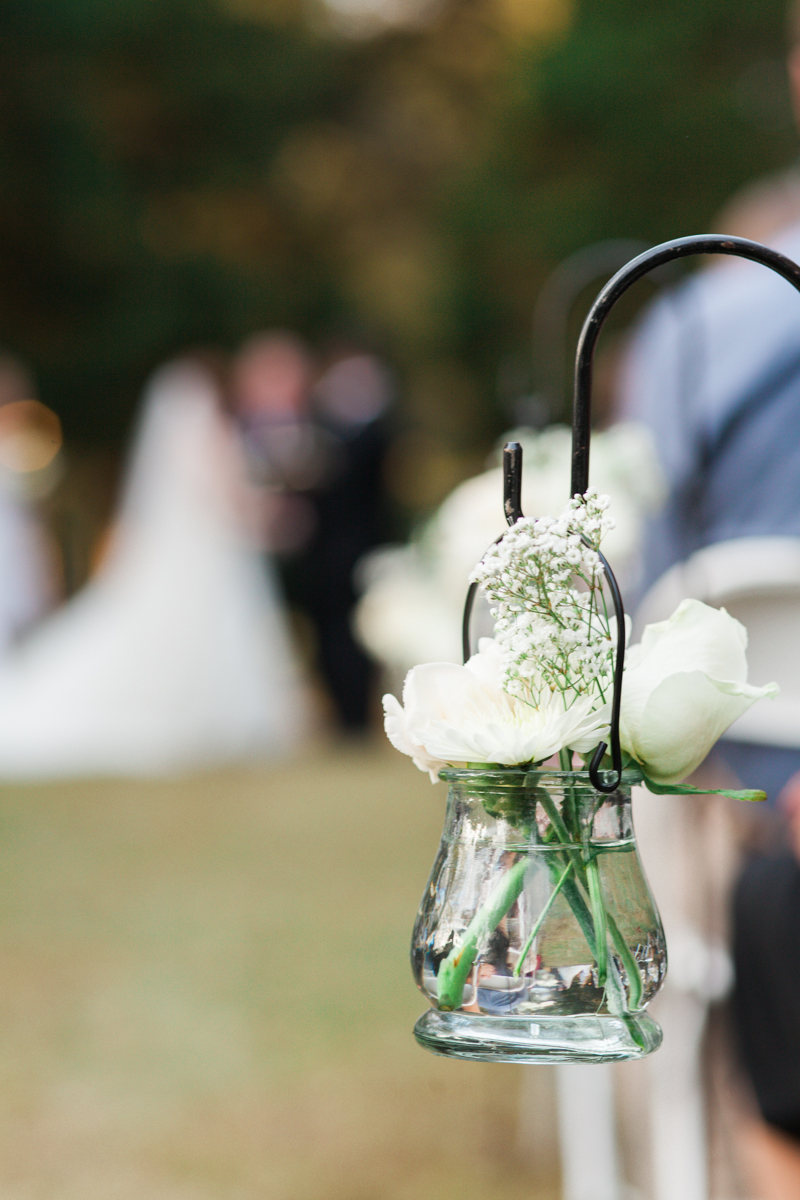
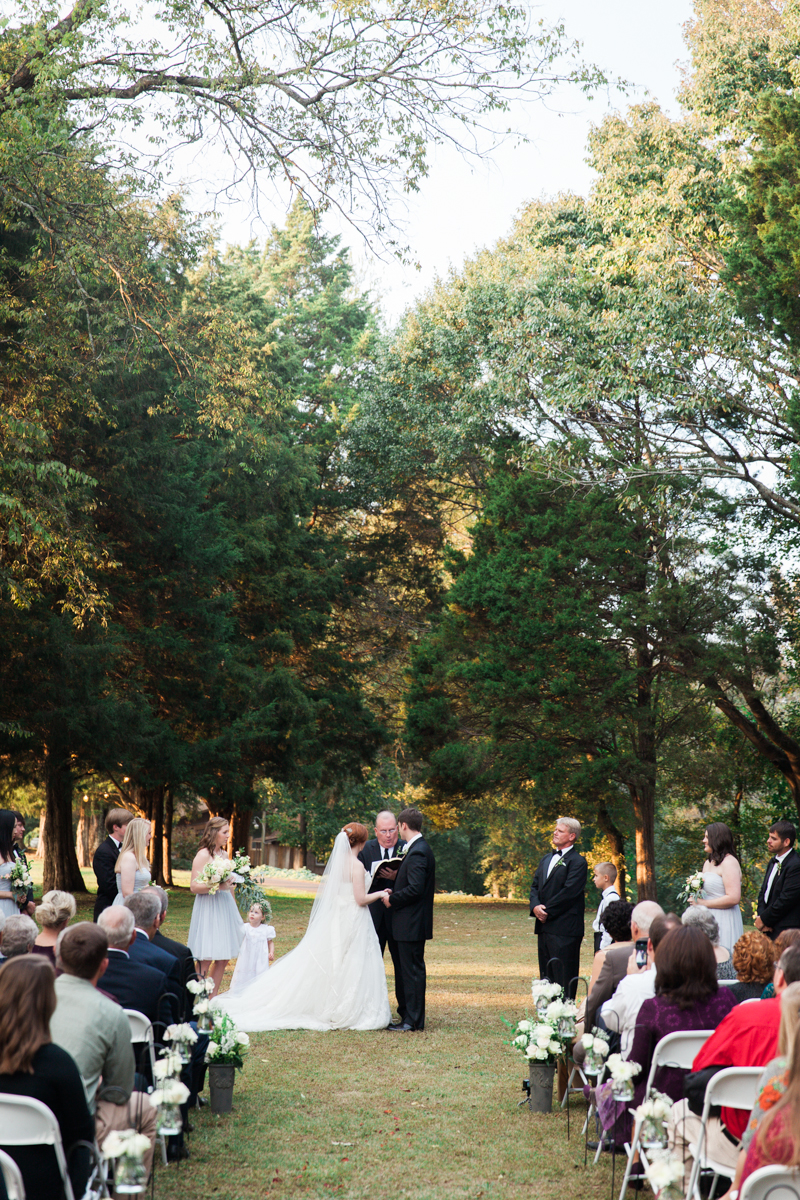
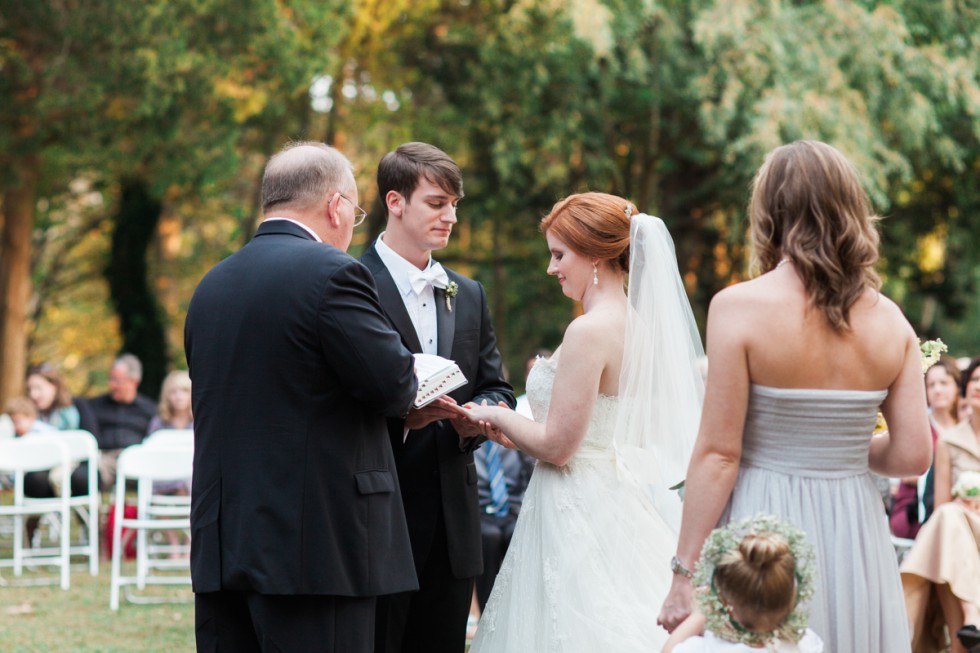
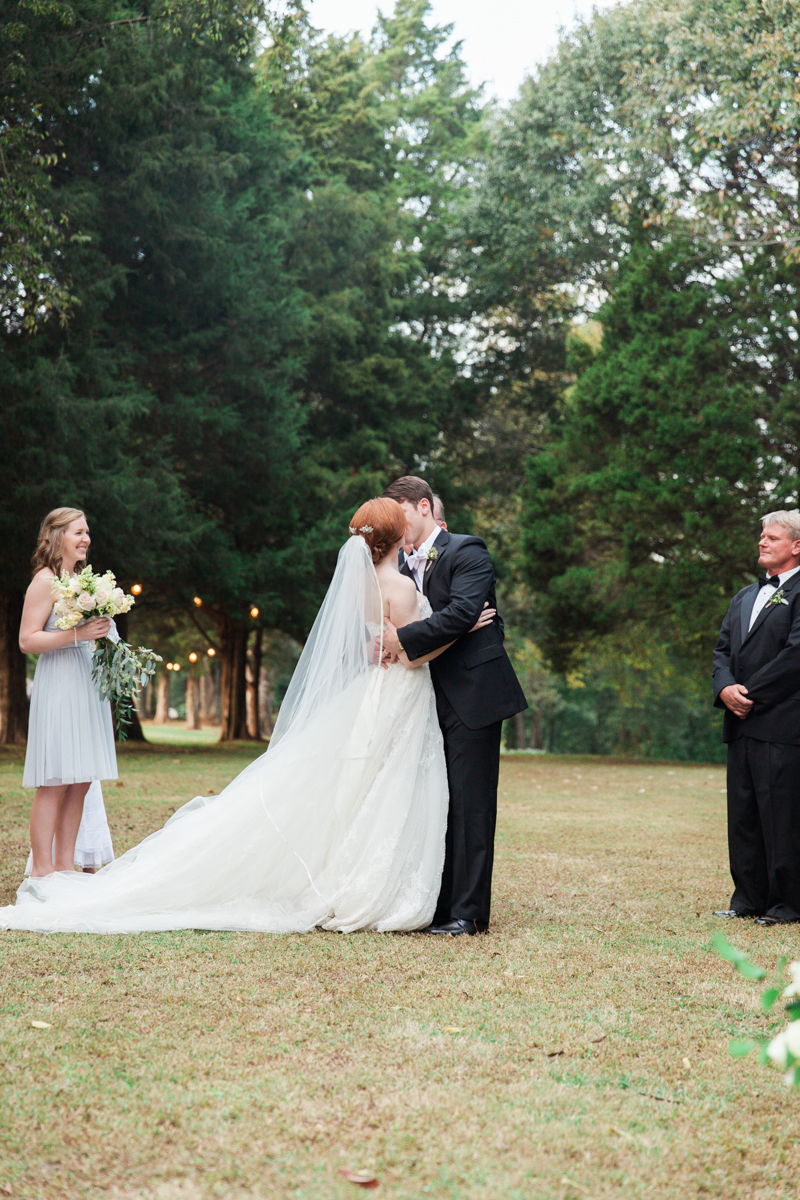
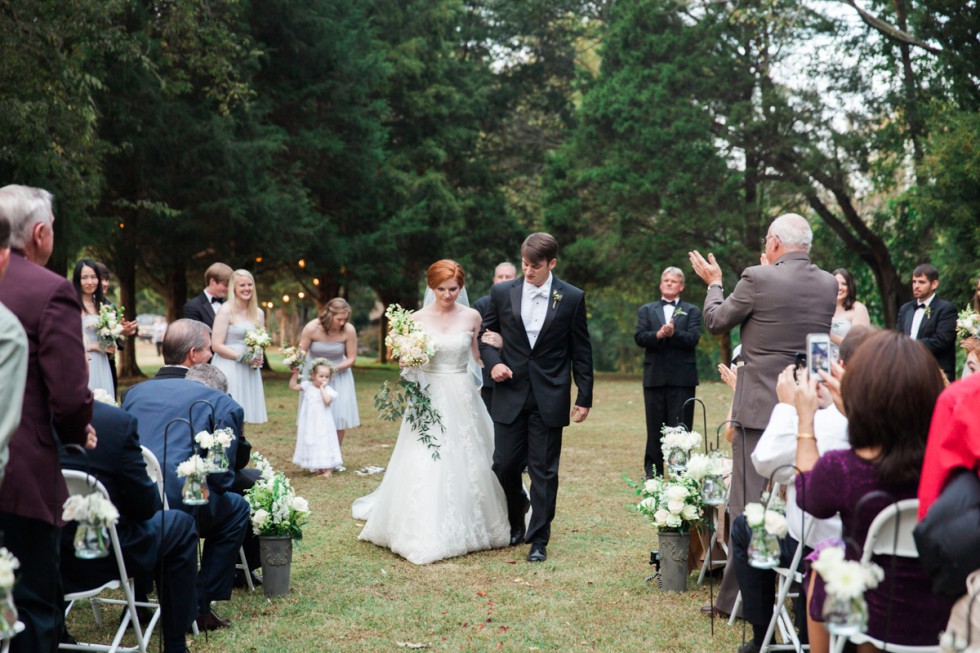
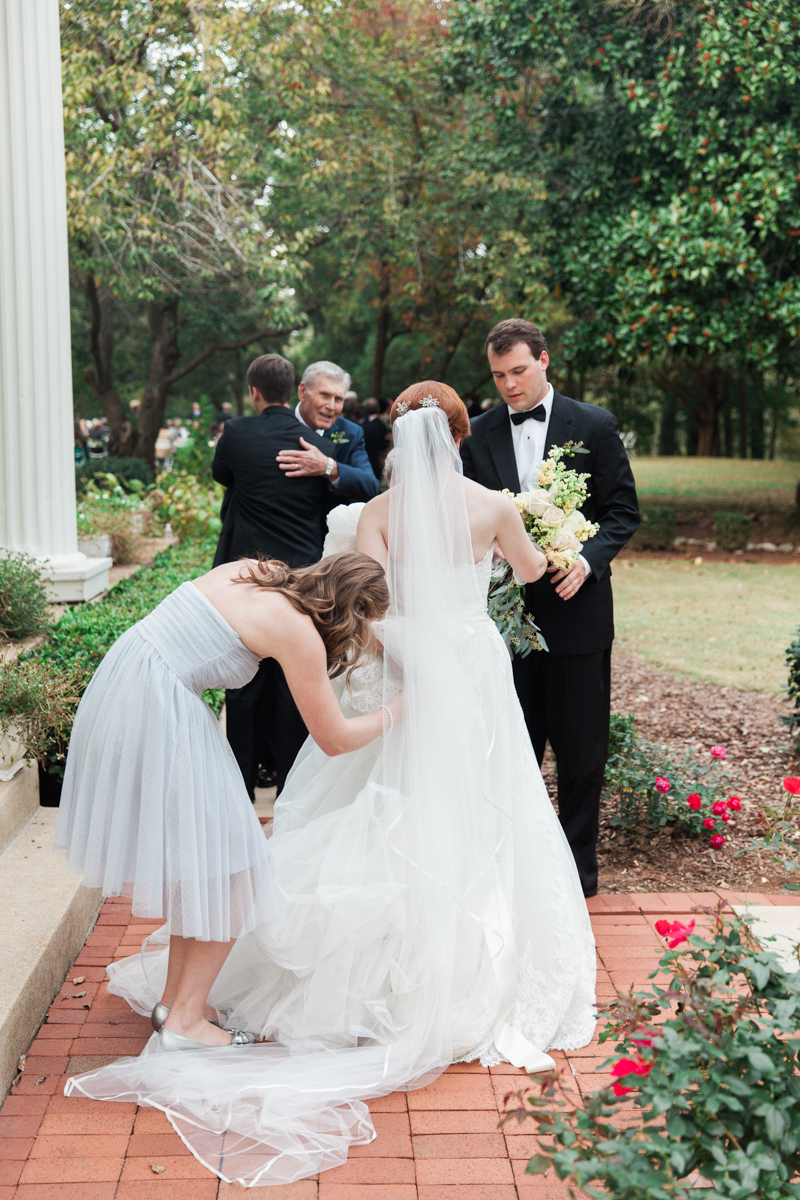
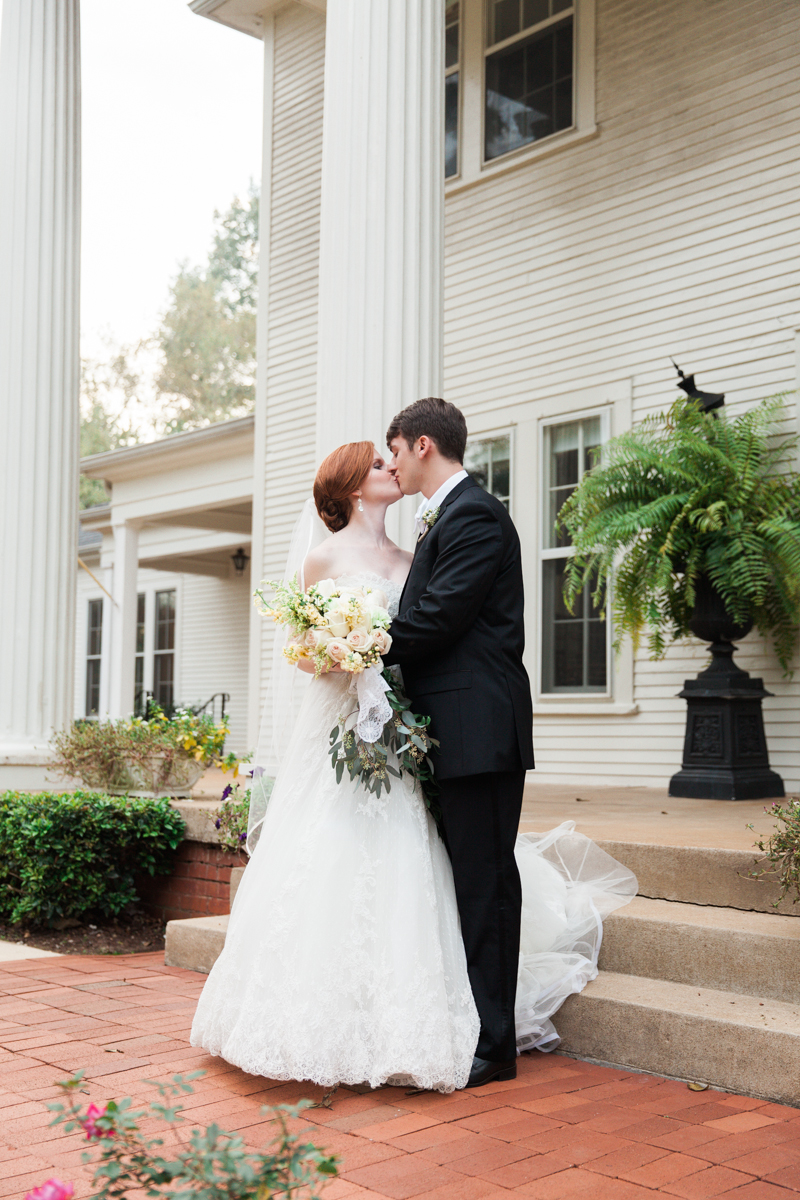
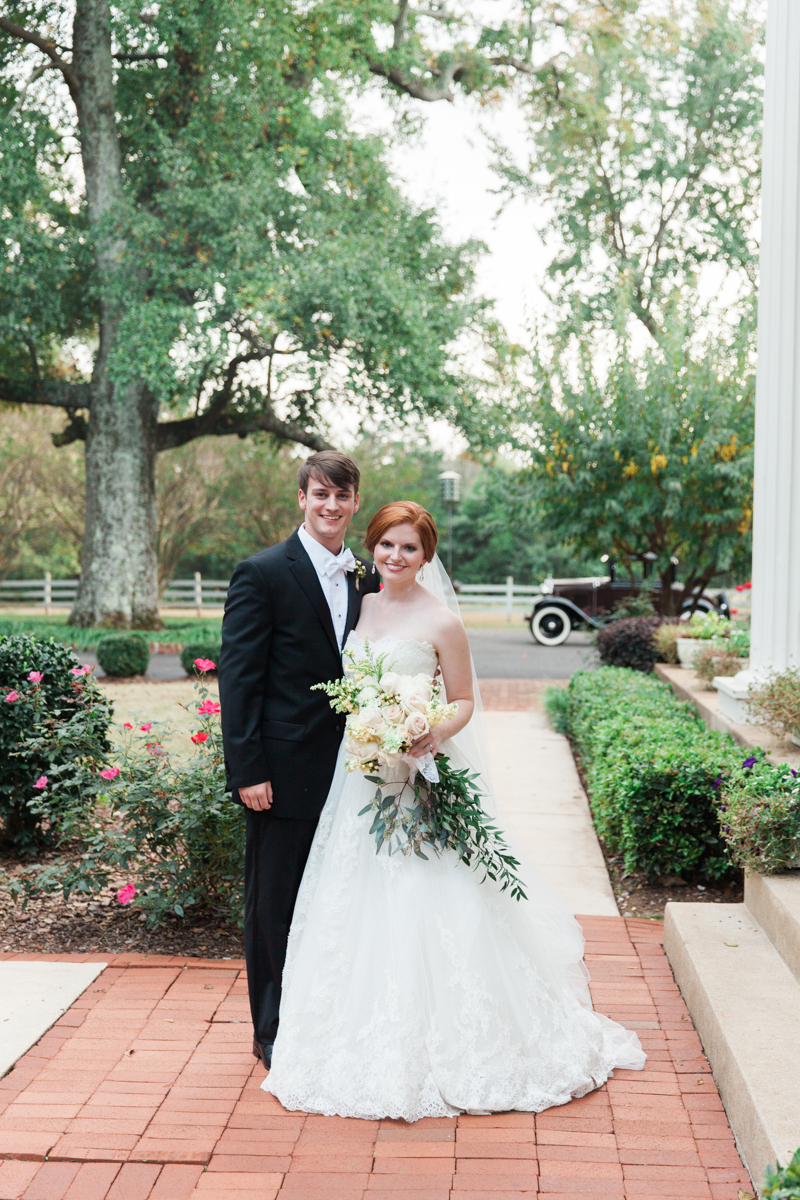
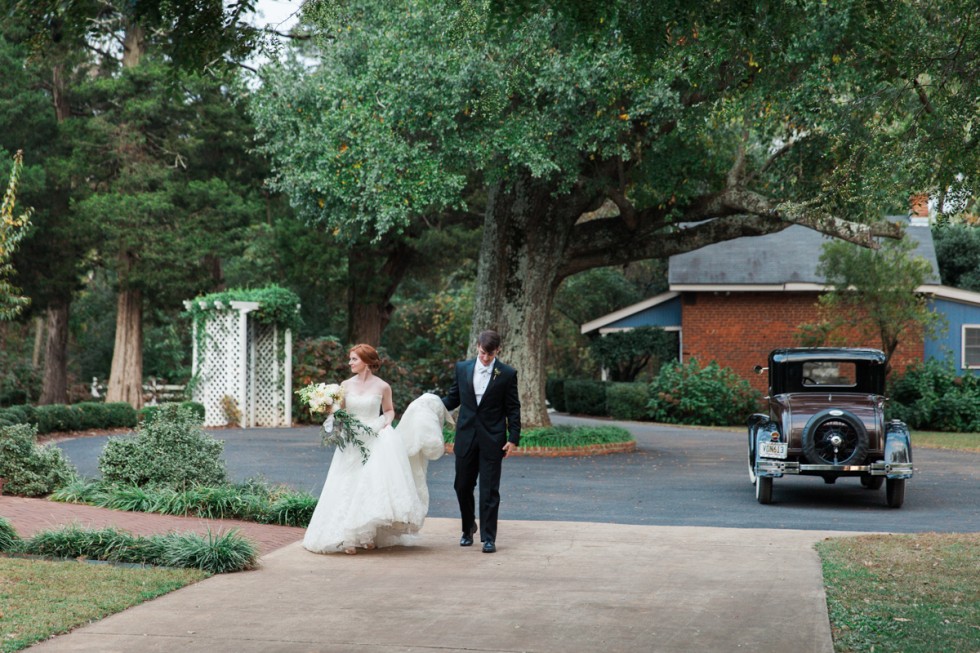
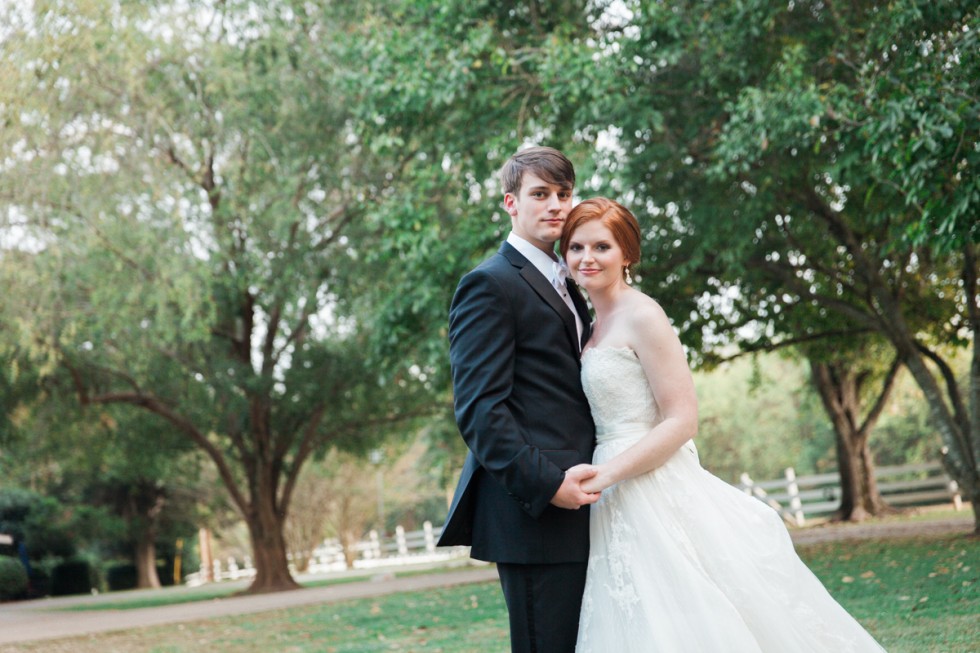
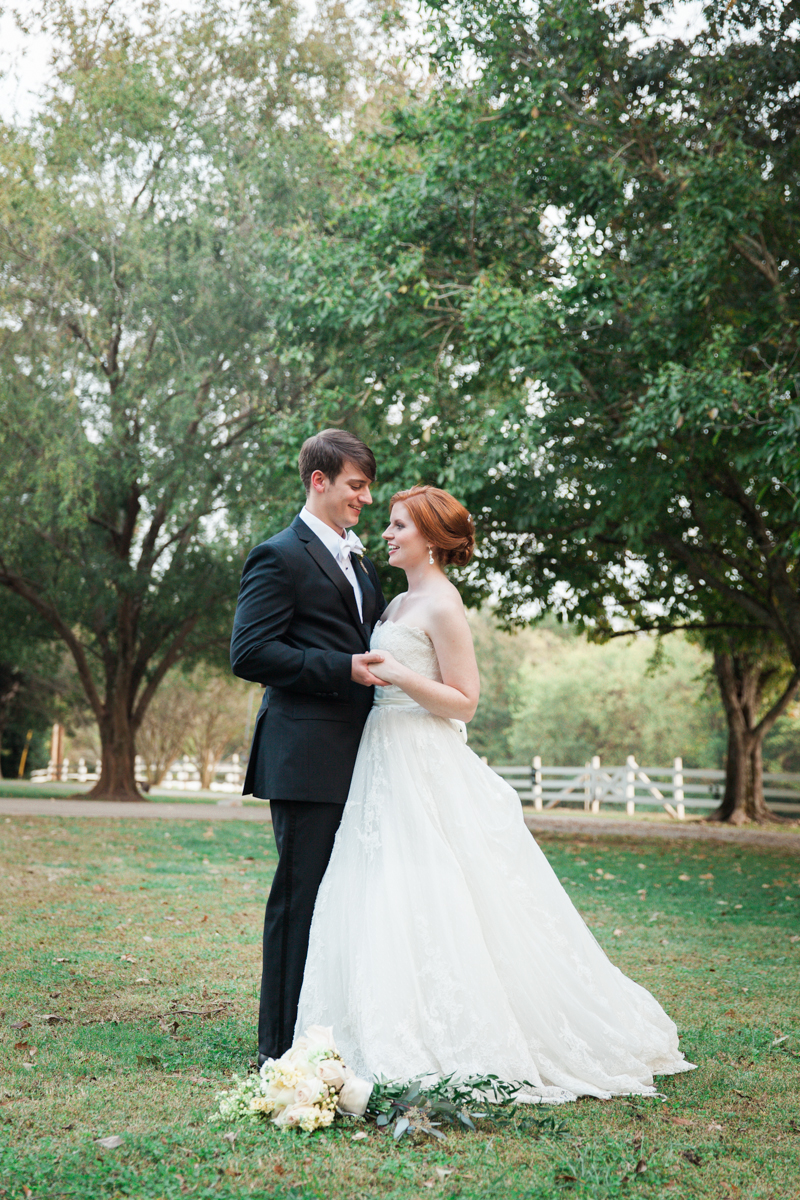
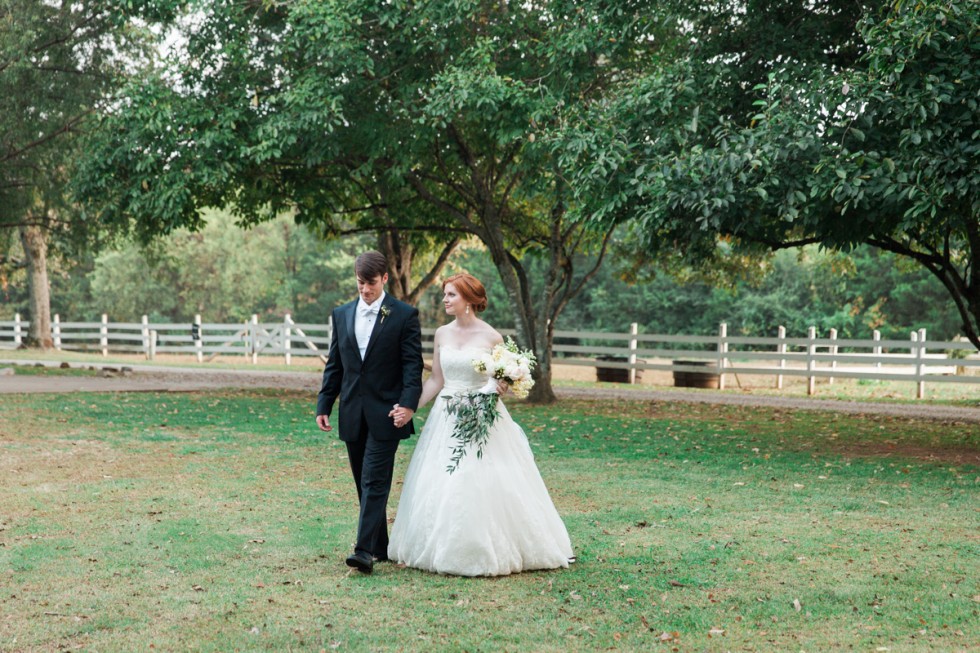
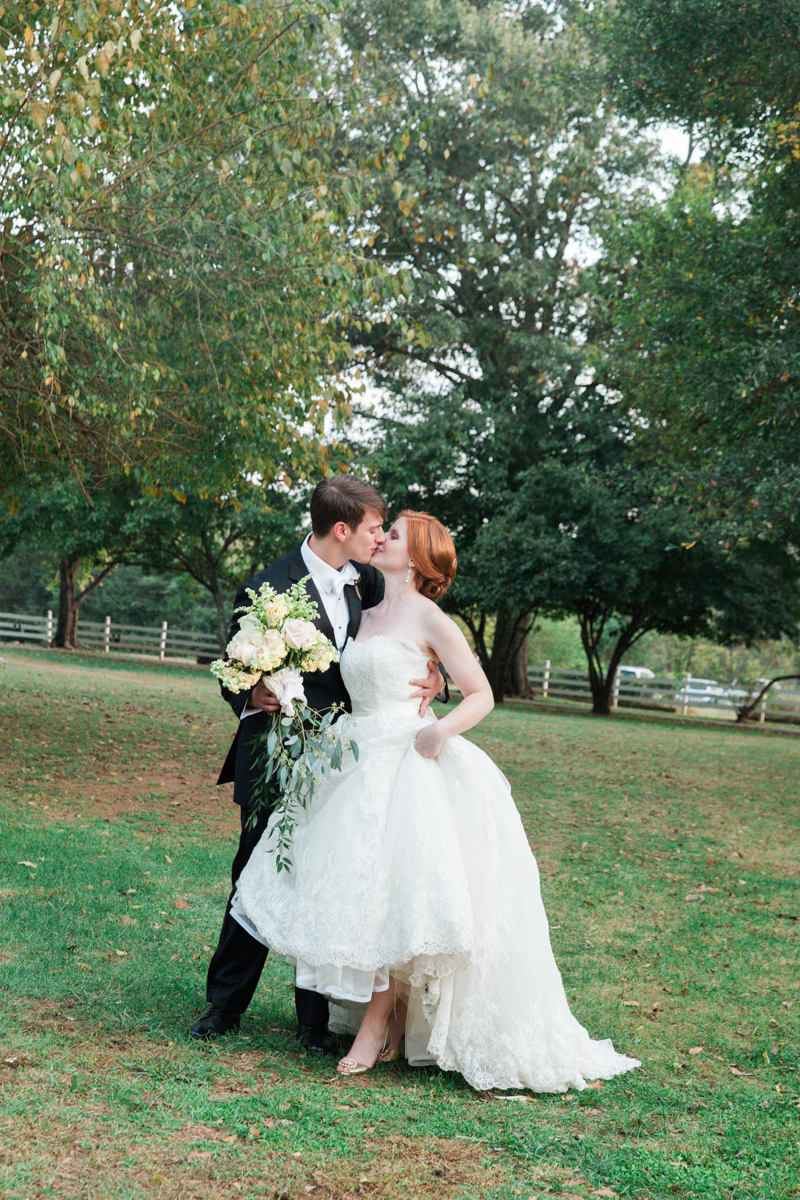
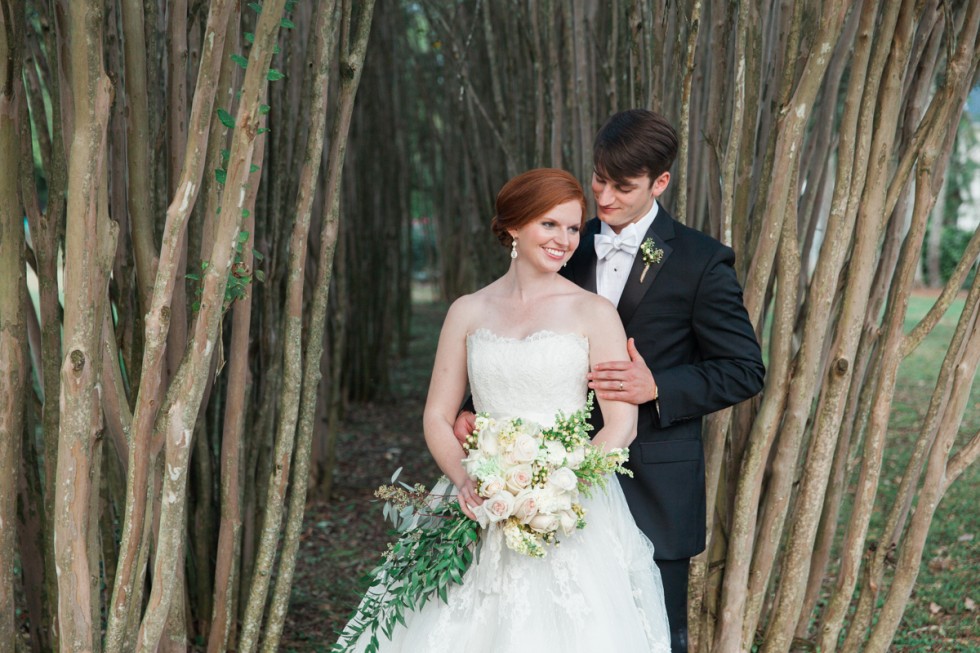
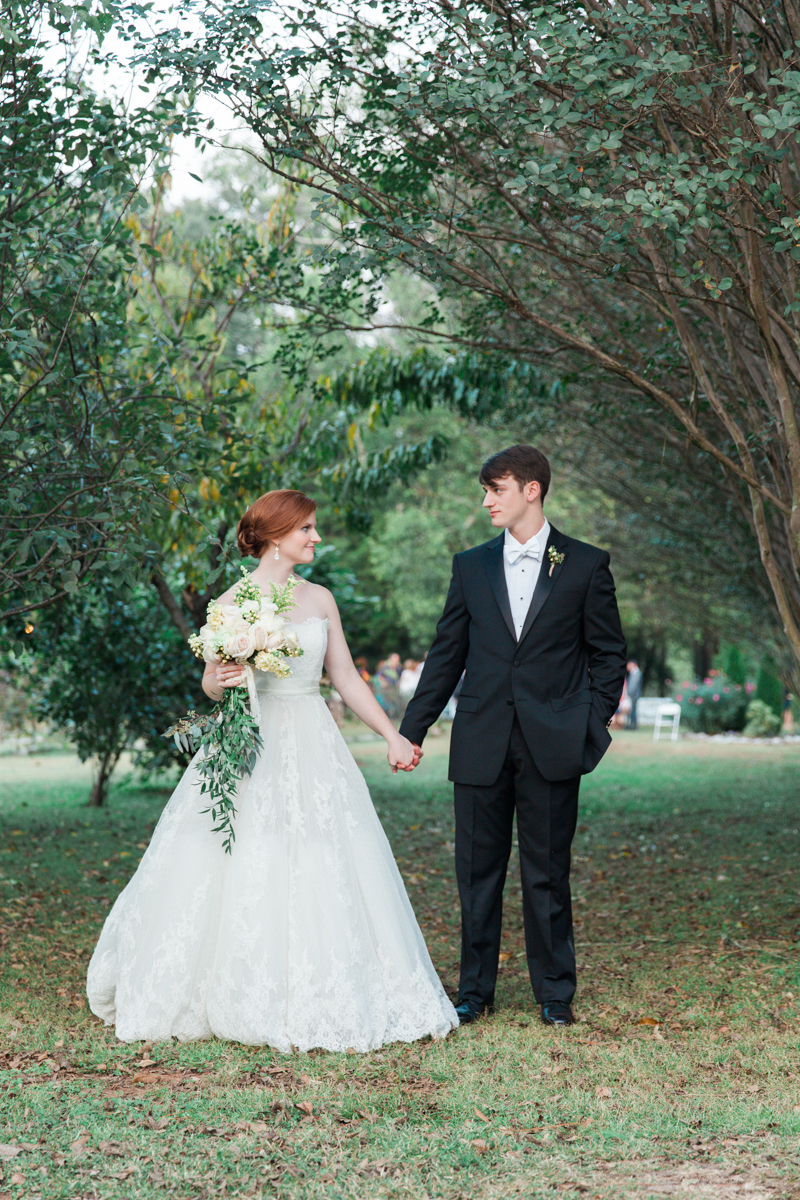
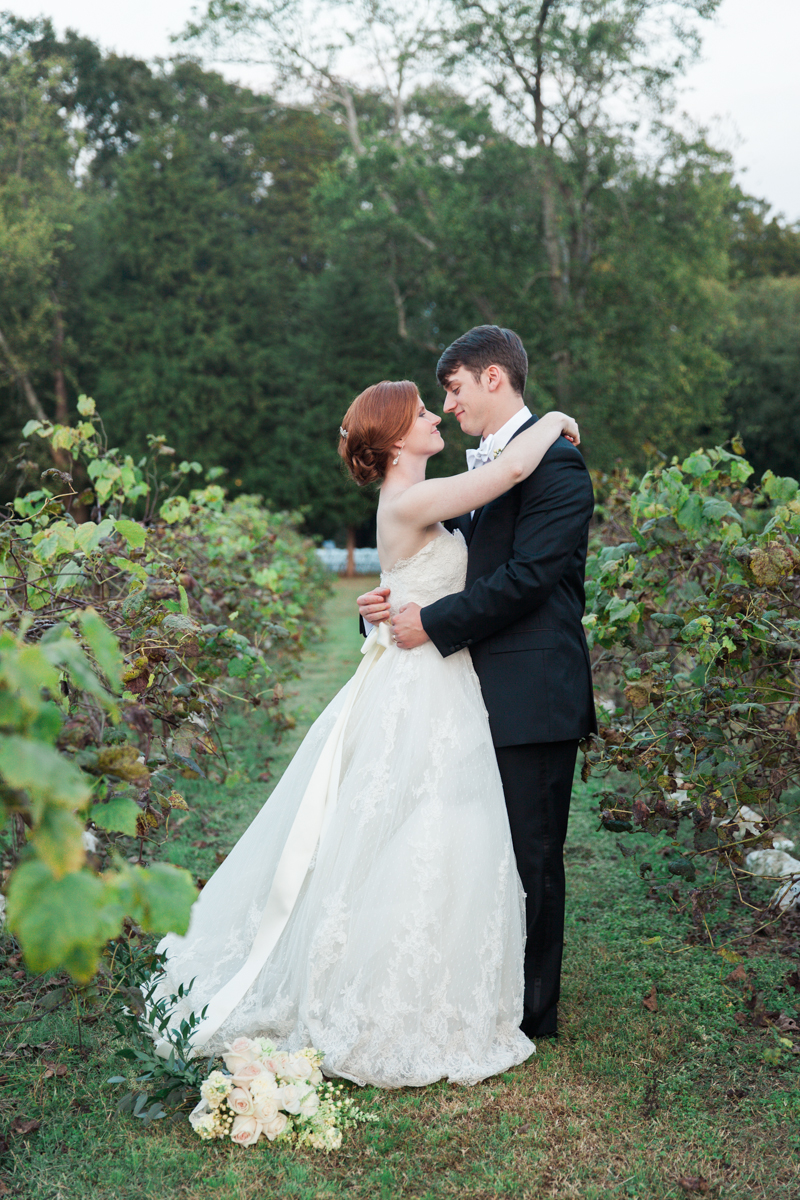
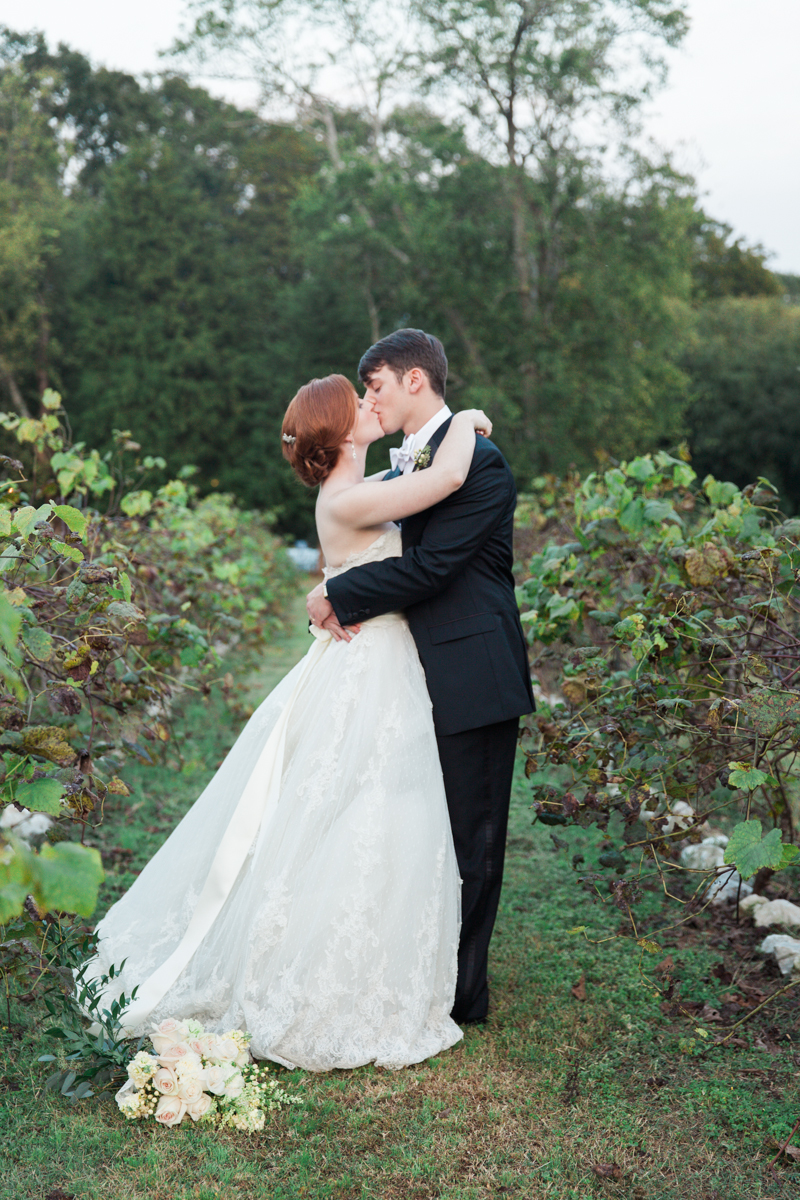
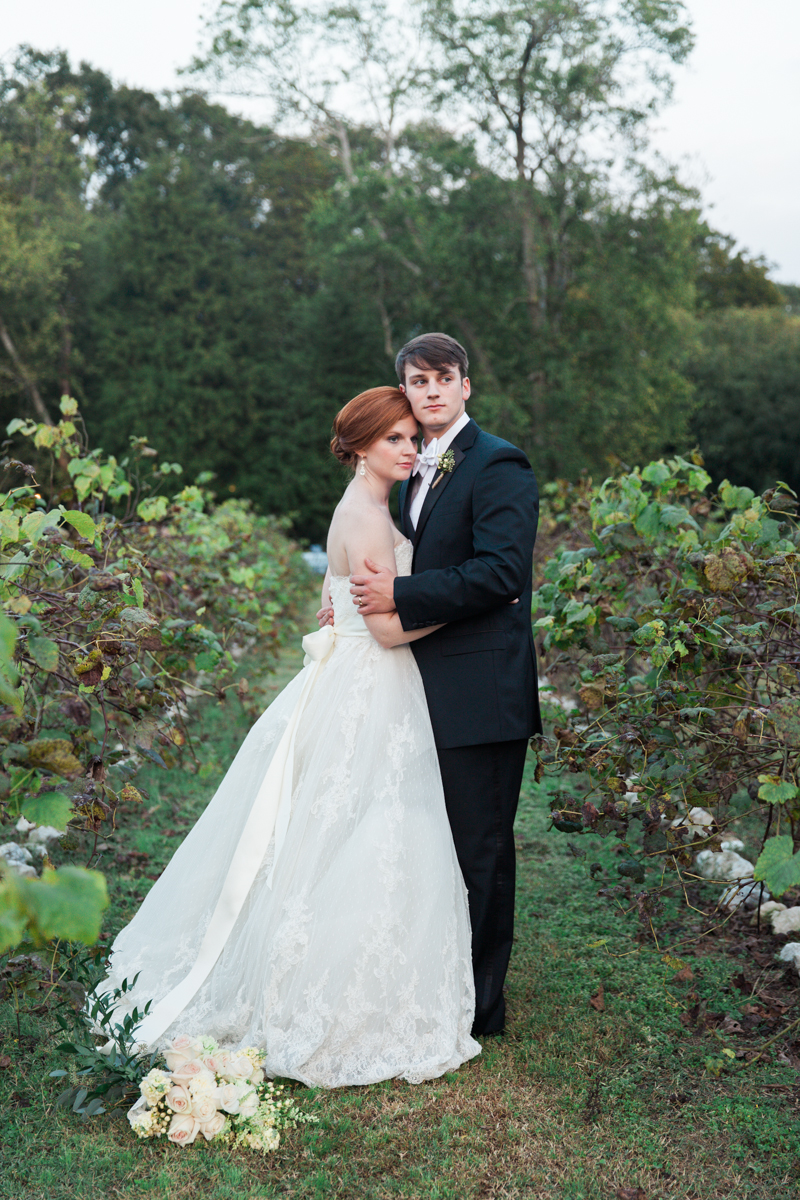
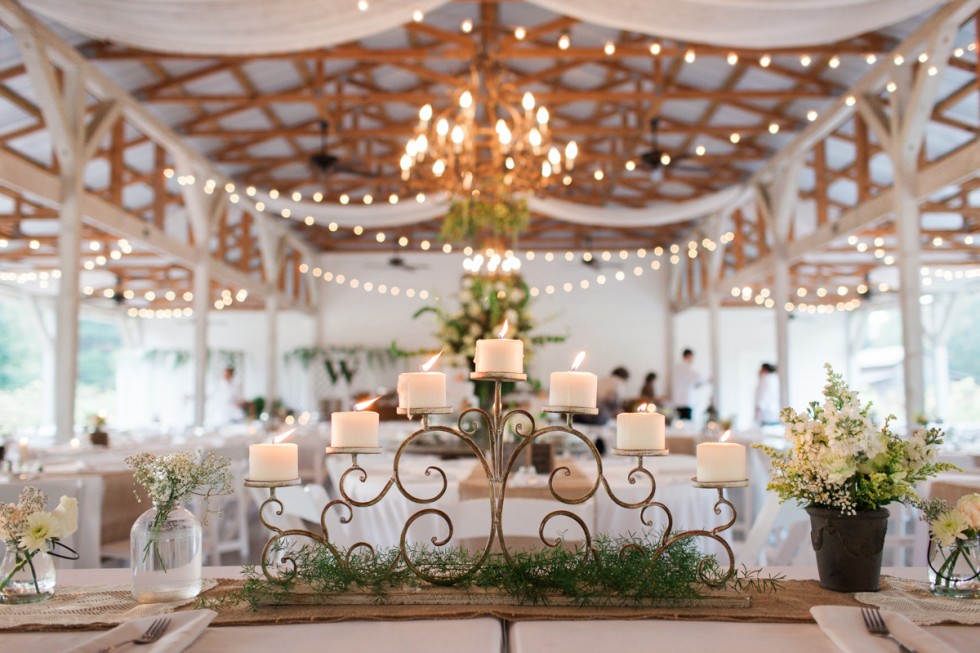
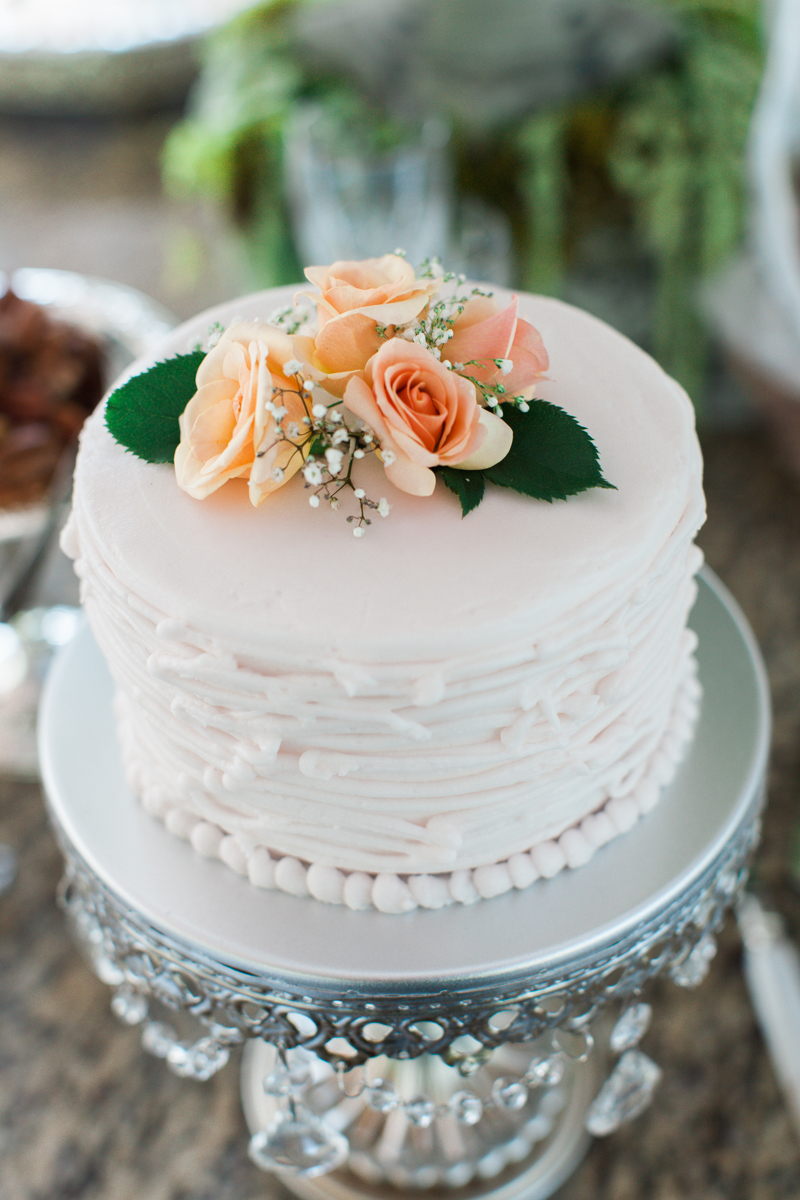
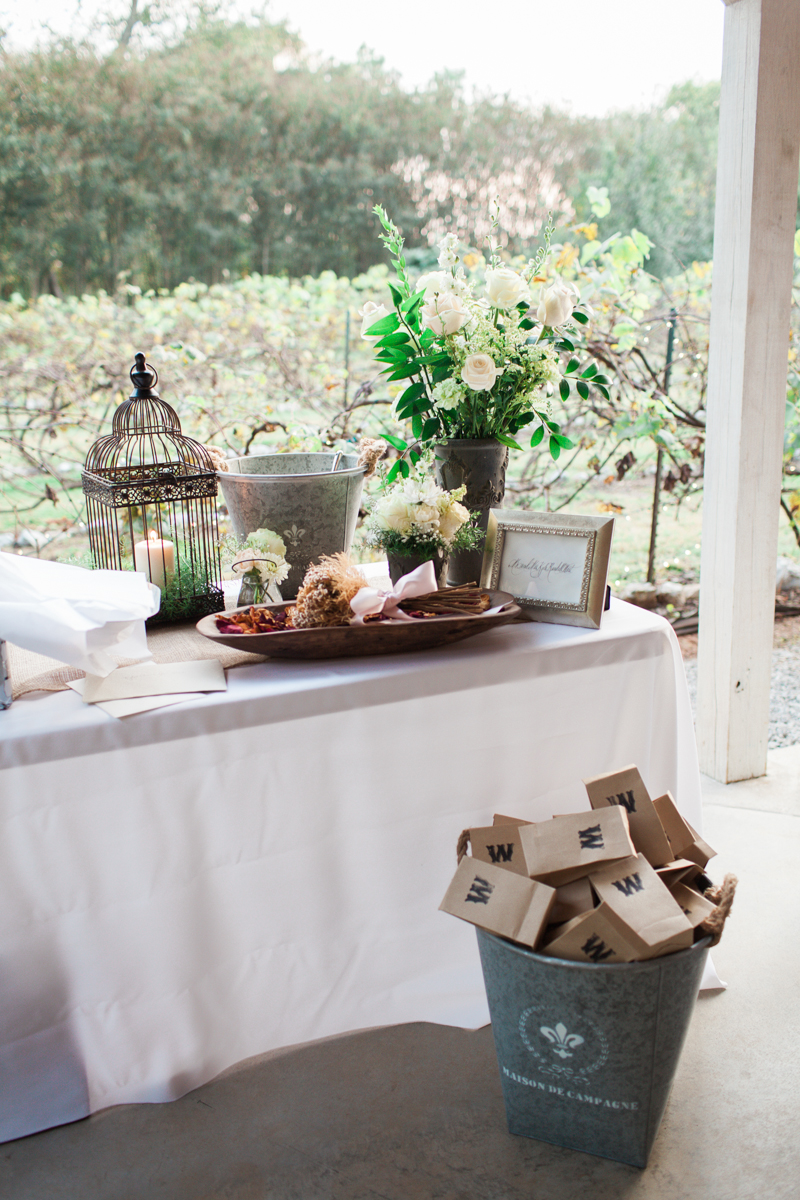
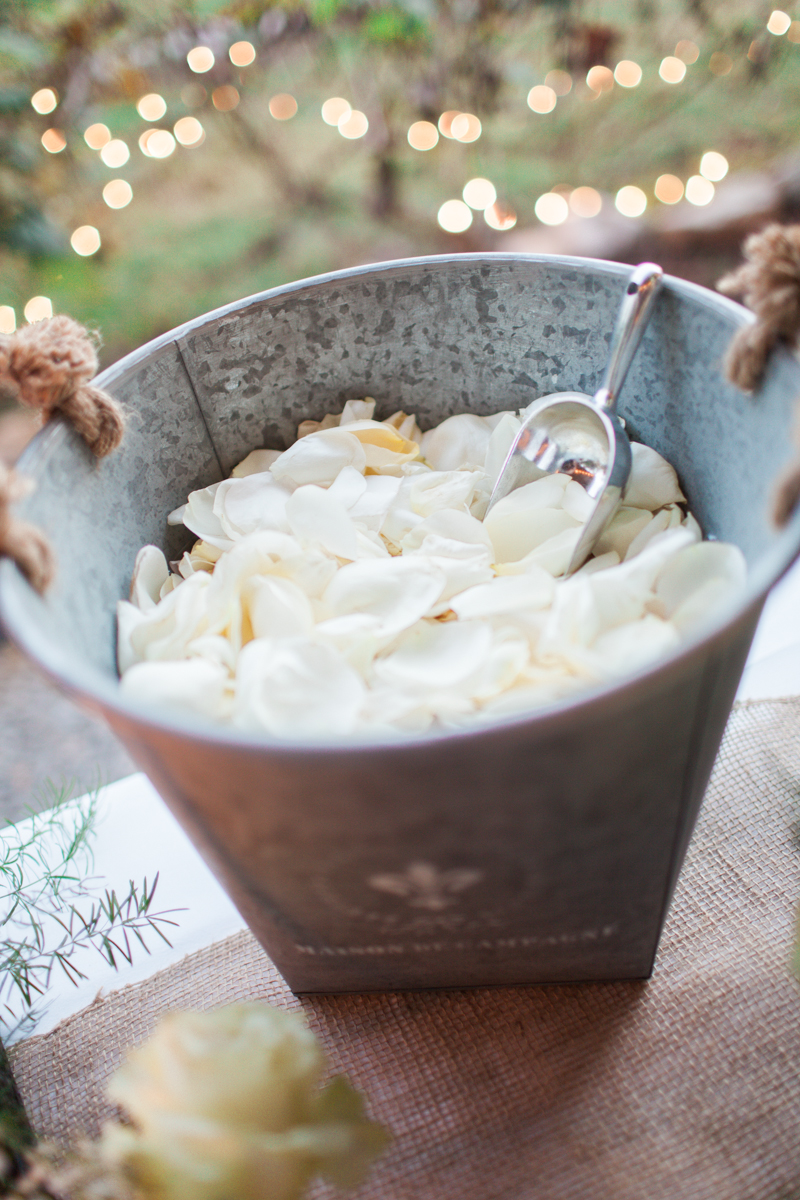
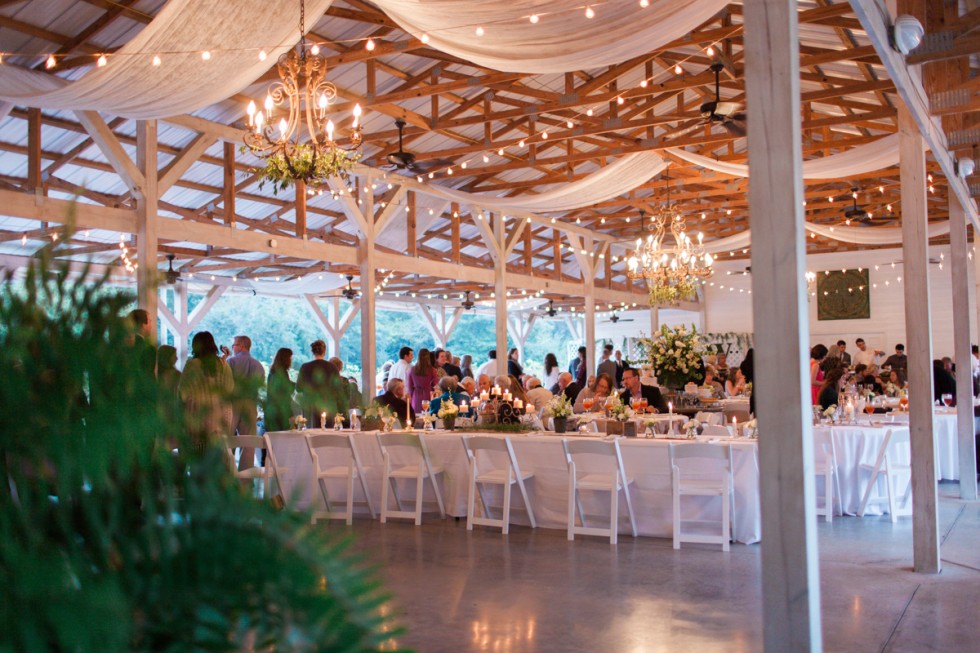
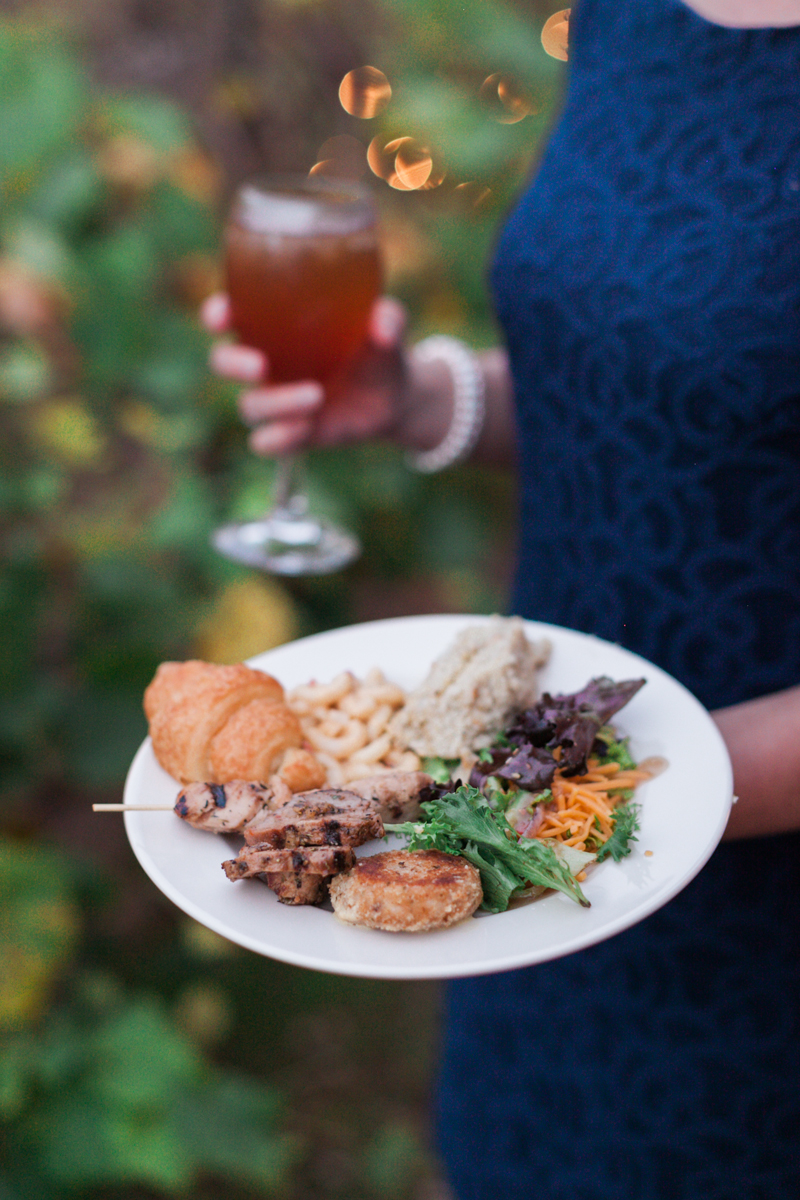
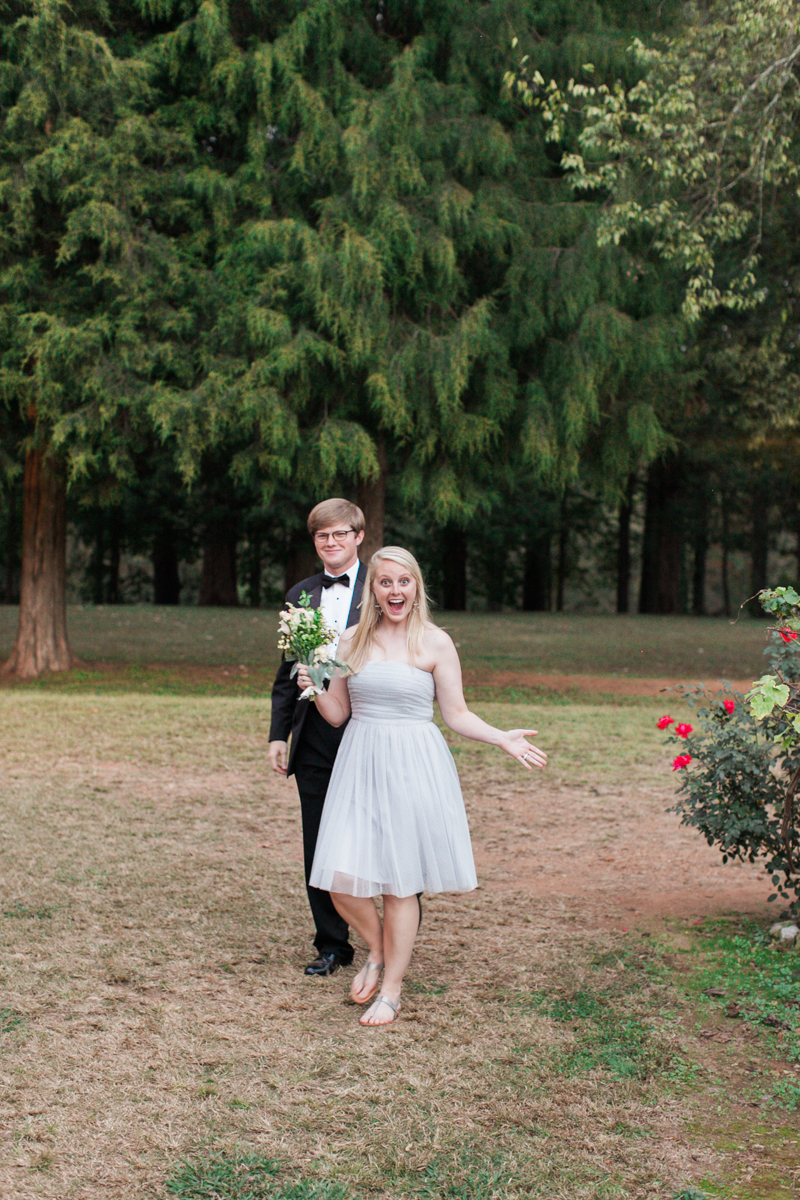
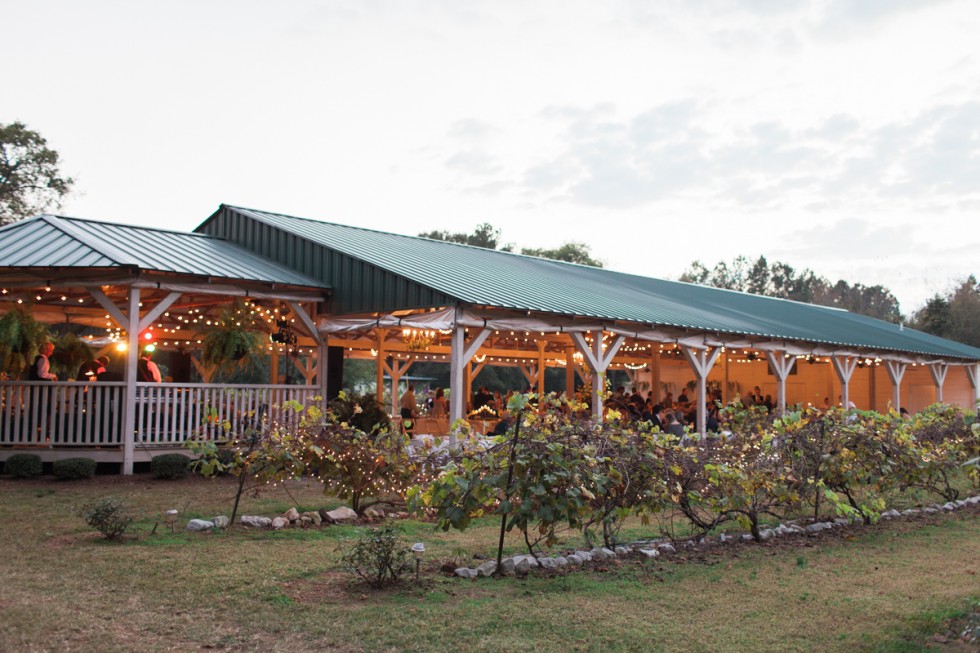
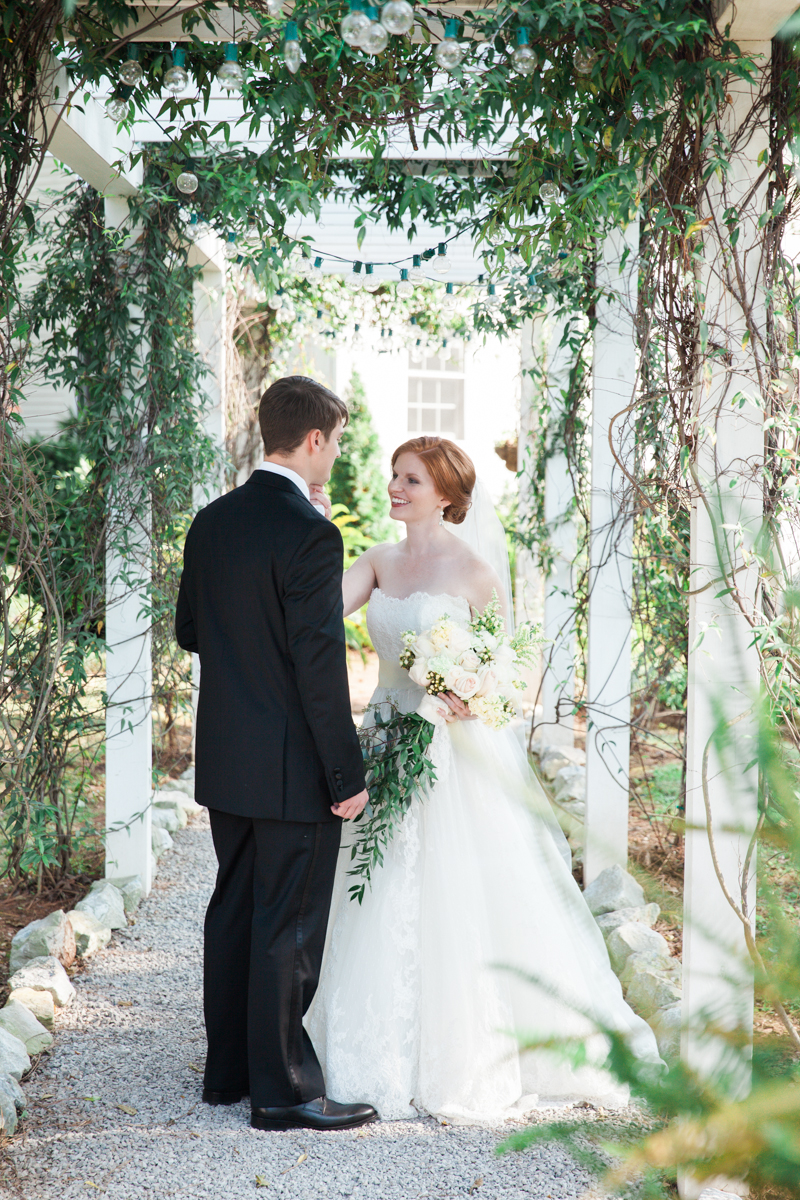
Photographing friends weddings is always a bit terrifying because you really want it to be perfect. So we were thrilled and a little bit nervous when Alison and Browan asked us to photograph their wedding. The ceremony was a crisp beautiful fall day at the perfectly quaint Avondale Villa in North Birmingham. The dusk time ceremony was led by Alison and Browan’s dog Jake pulling the flower girl down the aisle which made everyone laugh. The reception was full of local treasures including a mexican food truck, Steel City Pops for dessert and a healthy dose of the best of music in Alabama including a set from Browan’s band, Saint Paul and the Broken Bones.
blog-A&Bwedding-1blog-A&Bwedding-2blog-A&Bwedding-6blog-A&Bwedding-3blog-A&Bwedding-11blog-A&Bwedding-18blog-A&Bwedding-17blog-A&Bwedding-14

blog-A&Bwedding-20blog-A&Bwedding-23 blog-A&Bwedding-22 blog-A&Bwedding-24 blog-A&Bwedding-26 blog-A&Bwedding-28 blog-A&Bwedding-29 blog-A&Bwedding-31 blog-A&Bwedding-30blog-A&Bwedding-32 blog-A&Bwedding-34 blog-A&Bwedding-39blog-A&Bwedding-37
blog-A&Bwedding-42 blog-A&Bwedding-43 blog-A&Bwedding-46 blog-A&Bwedding-47 blog-A&Bwedding-48 blog-A&Bwedding-49 blog-A&Bwedding-50 blog-A&Bwedding-52 blog-A&Bwedding-53 blog-A&Bwedding-54 blog-A&Bwedding-56 blog-A&Bwedding-57
blog-A&Bwedding-59 blog-A&Bwedding-62blog-A&Bwedding-64

blog-A&Bwedding-68blog-A&Bwedding-65 blog-A&Bwedding-66 blog-A&Bwedding-69 blog-A&Bwedding-70 blog-A&Bwedding-71 blog-A&Bwedding-72 blog-A&Bwedding-73 blog-A&Bwedding-74 blog-A&Bwedding-75 blog-A&Bwedding-80blog-A&Bwedding-77blog-A&Bwedding-60blog-A&Bwedding-61blog-A&Bwedding-63 blog-A&Bwedding-84 blog-A&Bwedding-86 blog-A&Bwedding-87 blog-A&Bwedding-88 blog-A&Bwedding-89 blog-A&Bwedding-90 blog-A&Bwedding-91 blog-A&Bwedding-93 blog-A&Bwedding-94 blog-A&Bwedding-95
blog-A&Bwedding-98blog-A&Bwedding-97 blog-A&Bwedding-100 blog-A&Bwedding-101
blog-A&Bwedding-103 blog-A&Bwedding-105 blog-A&Bwedding-106 blog-A&Bwedding-109

Pumpkin Cheesecake

pumpkincheesecake-blog-21

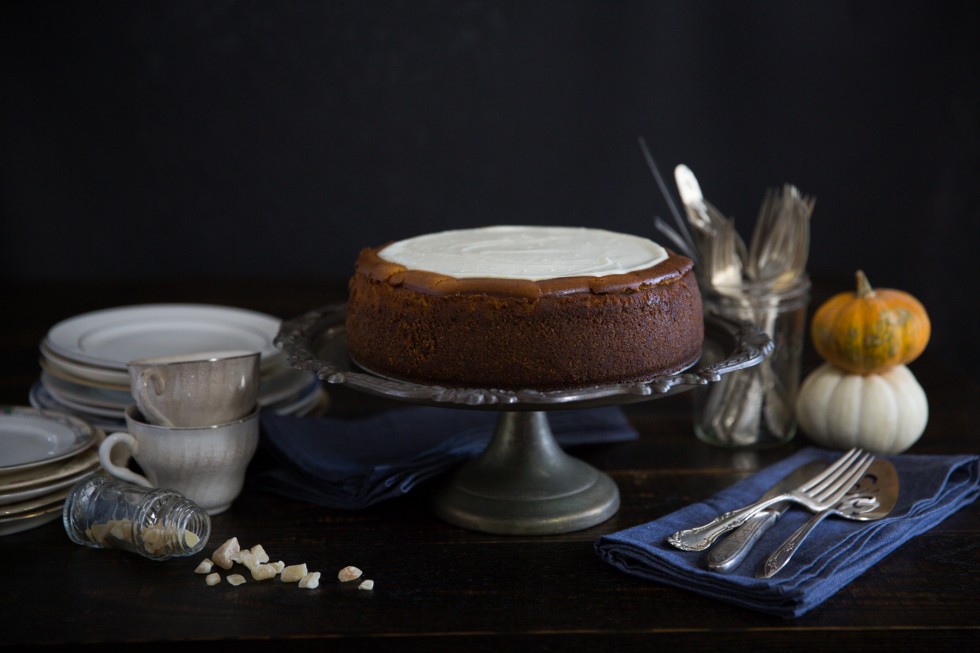
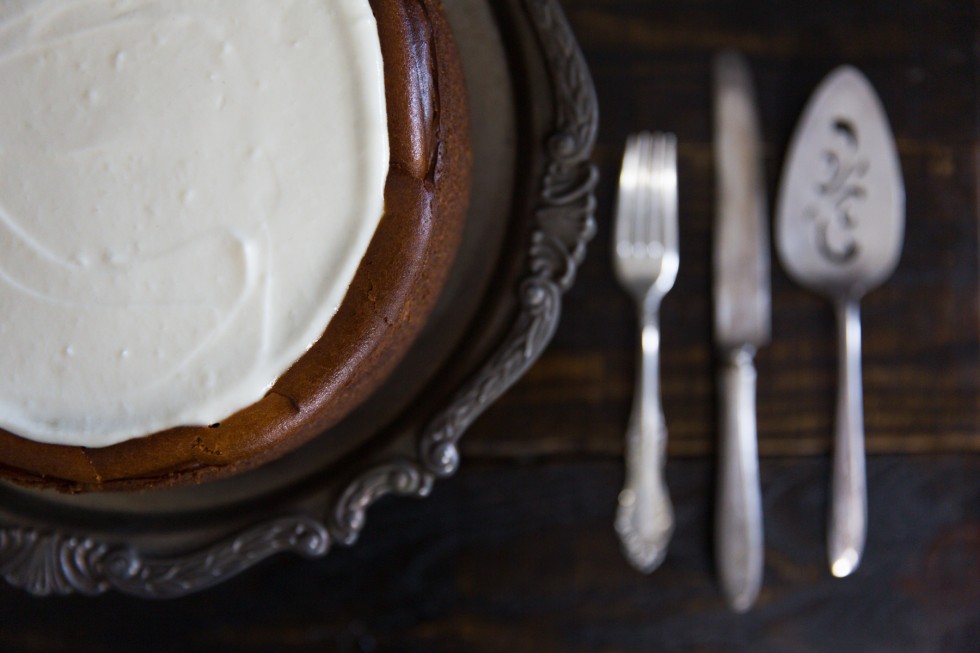
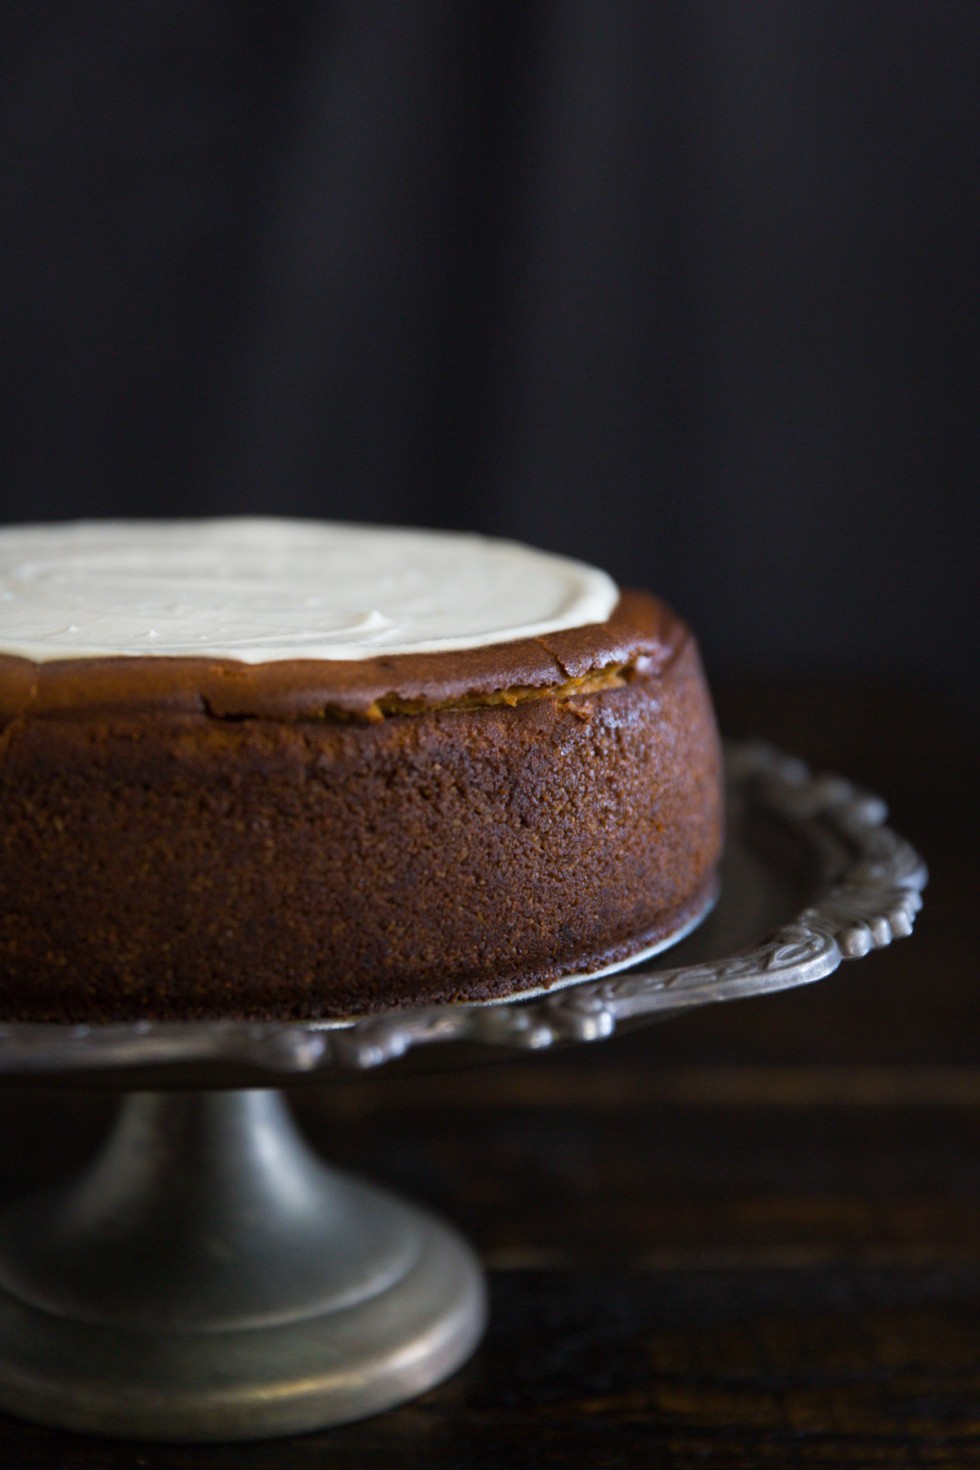
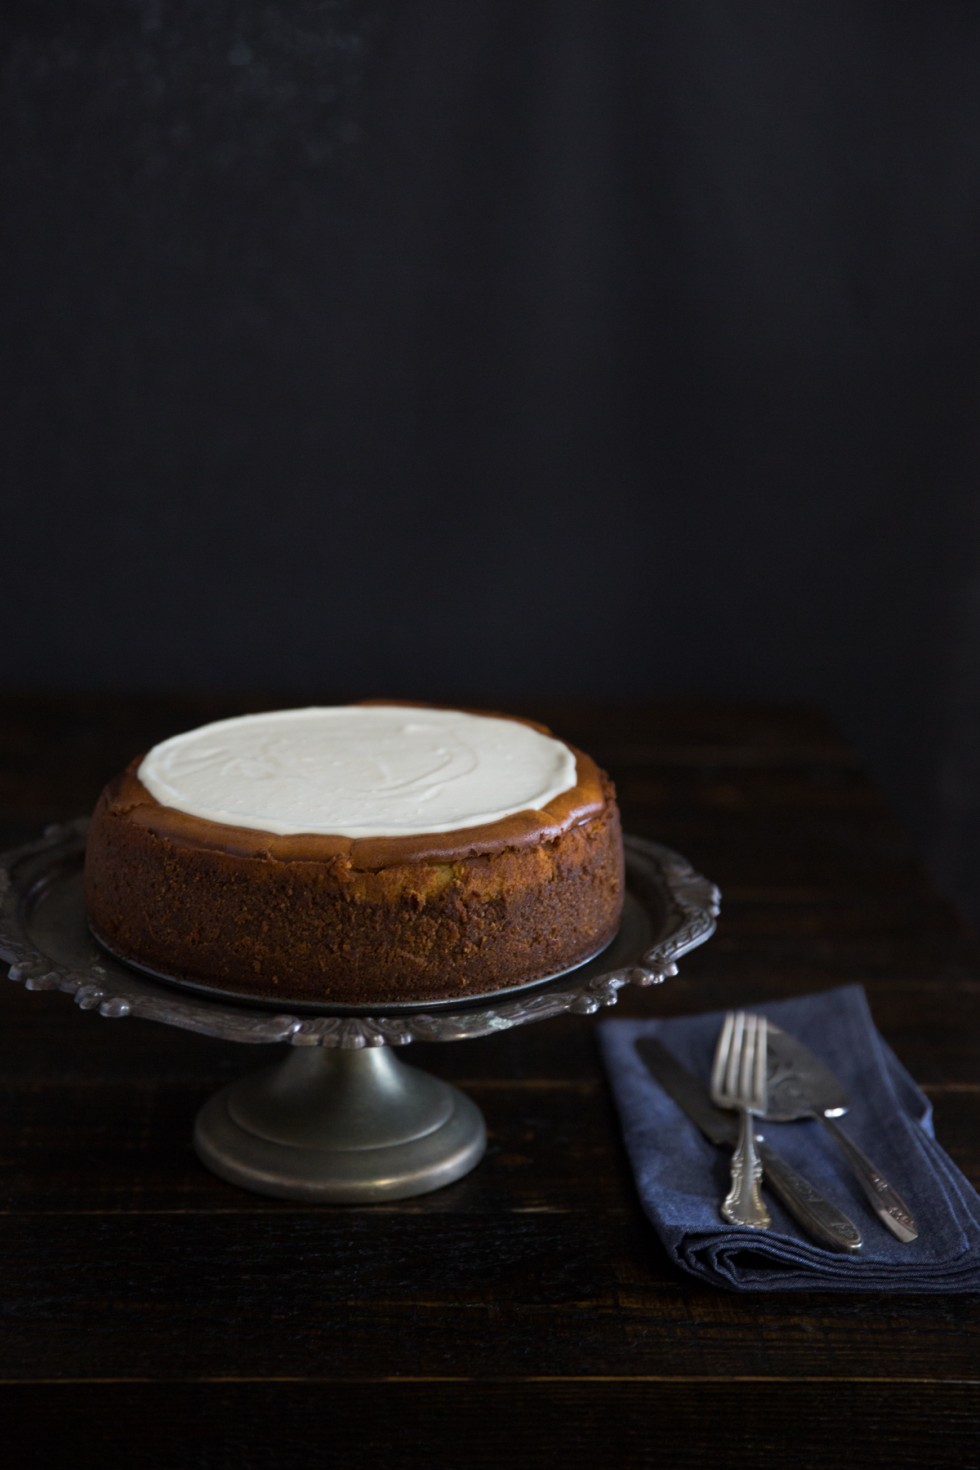
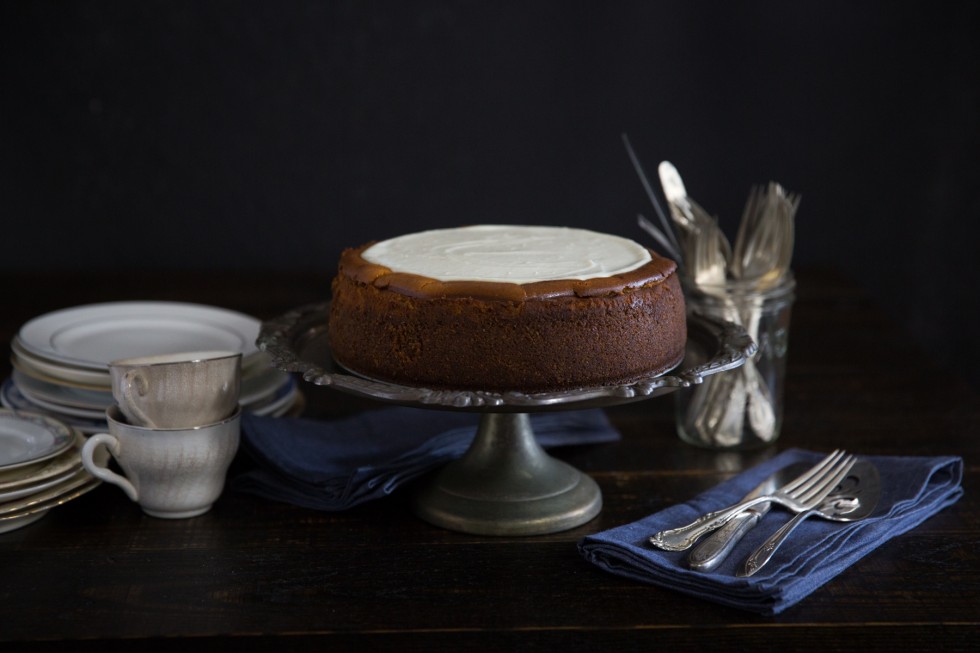
Ok, so tis’ the season for pumpkin spice everything so bare with me on this one. Fall is the time of season that I feel I come alive. I love the cool crisp air, the changing colors, and the holiday decor. Summers in Alabama are hot and muggy so, I guess I feel like I can finally breath when Autumn gets here. For the first time in about six years my mom and I live within ten minuets of each other so baking and spending time together is a must for this Thanksgiving. She was kind enough to lend her hands. Although, this particular cheesecake was made for a friends Thanksgiving. One of the guests at the dinner actually commented “its like an Autumn hug for my mouth!” so I will take that as a complement! I did make a few modifications to the recipe below, I added a little clove and some bourbon (we are in the south). I hope you all will enjoy my process and I hope you will try it out!
Happy Thanksgiving! – Susan

pumpkincheesecake-blog-1 pumpkincheesecake-blog-2 pumpkincheesecake-blog-3 pumpkincheesecake-blog-4 pumpkincheesecake-blog-5 pumpkincheesecake-blog-6 pumpkincheesecake-blog-7 pumpkincheesecake-blog-8
pumpkincheesecake-blog-10 pumpkincheesecake-blog-9pumpkincheesecake-blog-11
pumpkincheesecake-blog-12pumpkincheesecake-blog-13 pumpkincheesecake-blog-14 pumpkincheesecake-blog-16pumpkincheesecake-blog-15 pumpkincheesecake-blog-18pumpkincheesecake-blog-17 pumpkincheesecake-blog-20pumpkincheesecake-blog-19

pumpkincheesecake-blog-22

Pumpkin Cheesecake with Marshmallow-Sour Cream Topping with Gingersnap Crust

Adapted from Bon Appetit

For crust:

  • Nonstick vegetable oil spray
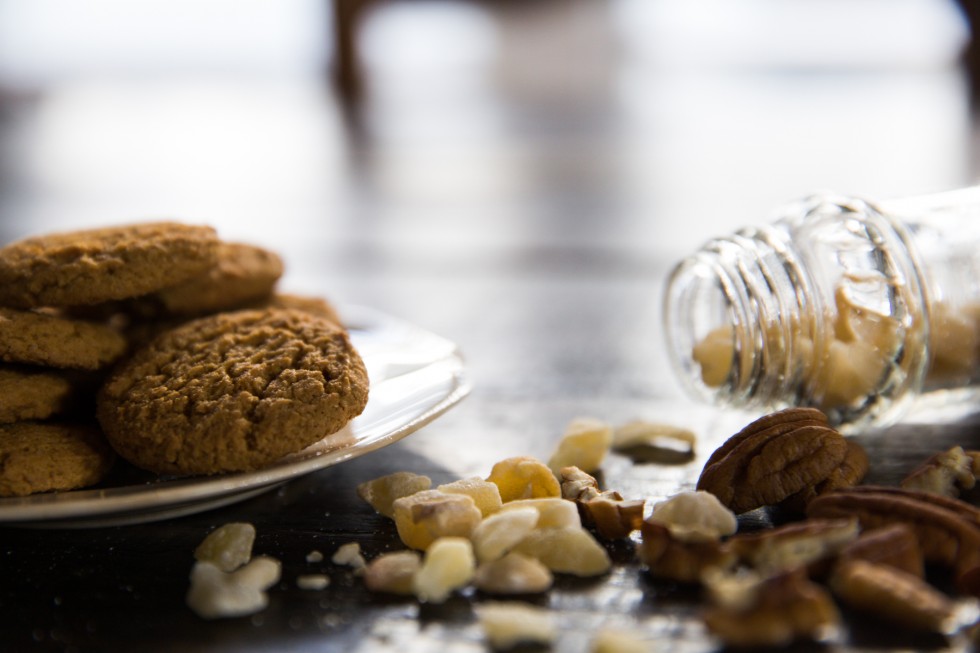
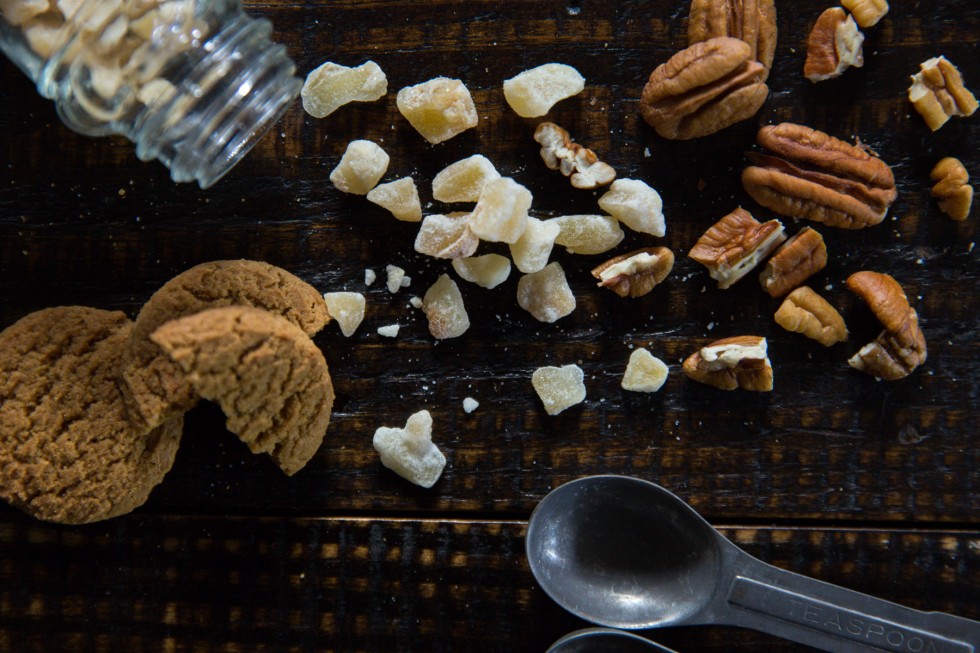
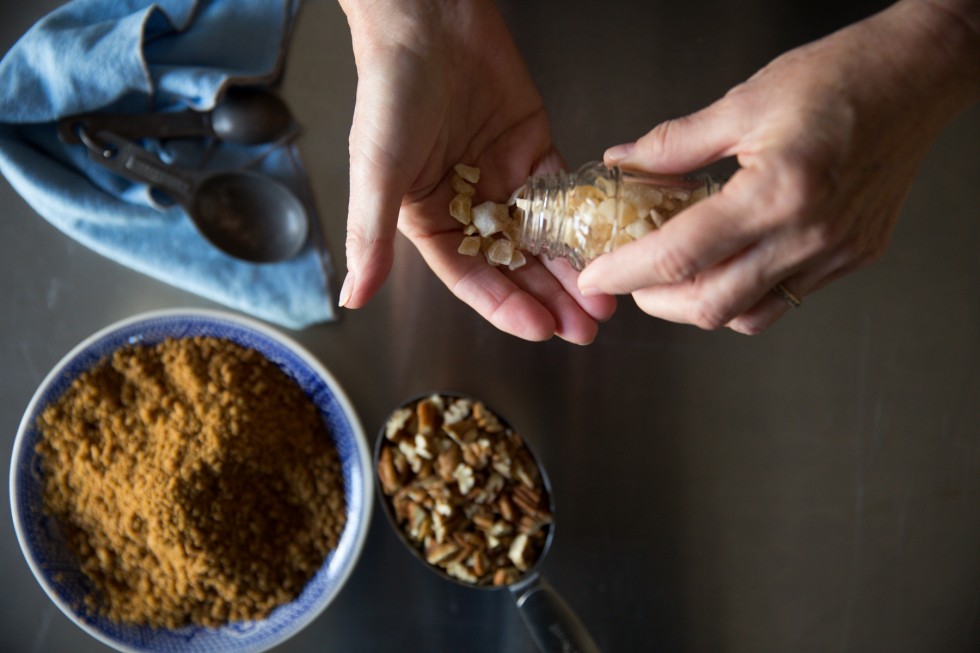
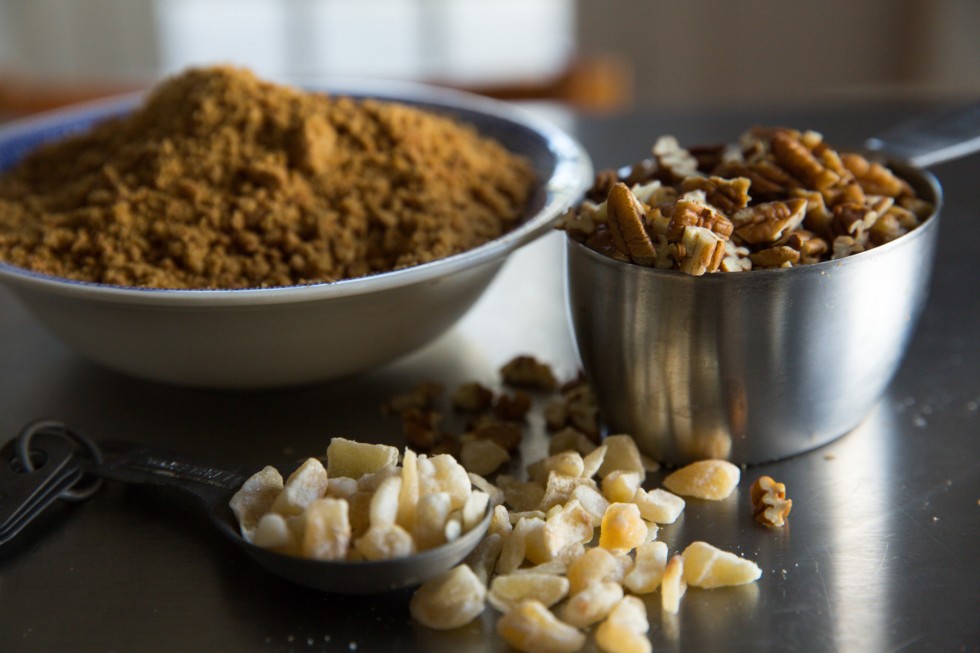
  • 2 cups gingersnap cookie crumbs (about 9 ounces)
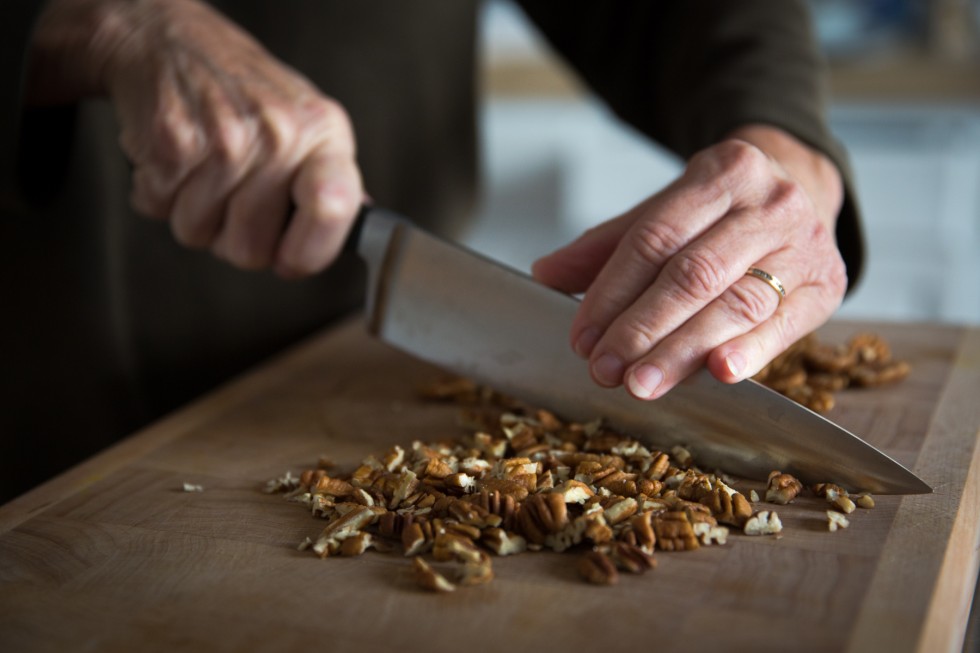
  • 1 cup pecans (about 3 1/2 ounces)
  • 1/4 cup (packed) light brown sugar
  • 2 tablespoons chopped crystallized ginger
  • 1/4 cup (1/2 stick) unsalted butter, melted

For filling:

  • 4 8-ounce packages cream cheese, room temperature
  • 2 cups sugar
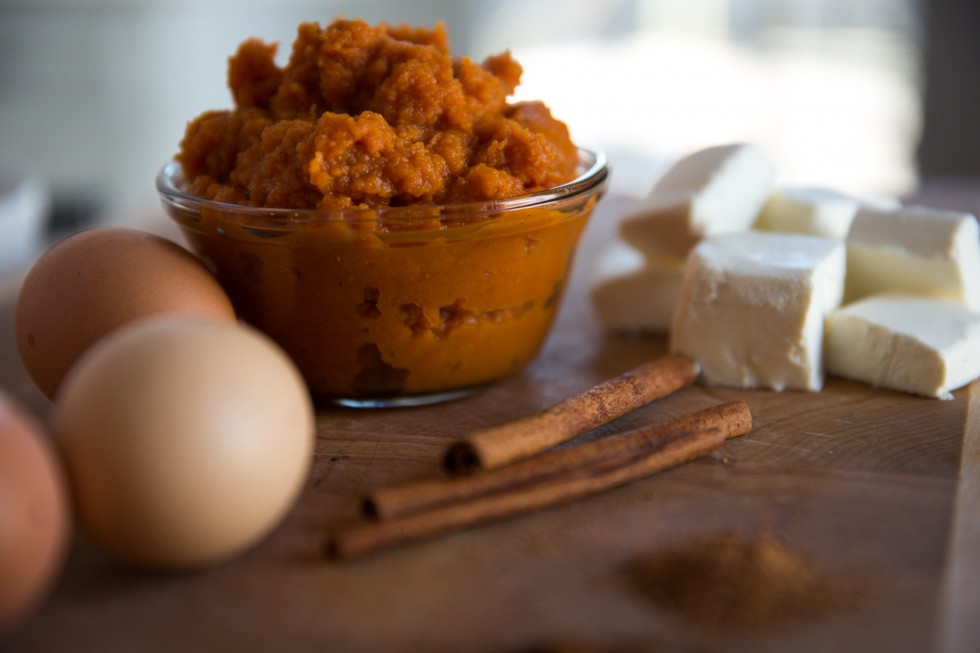
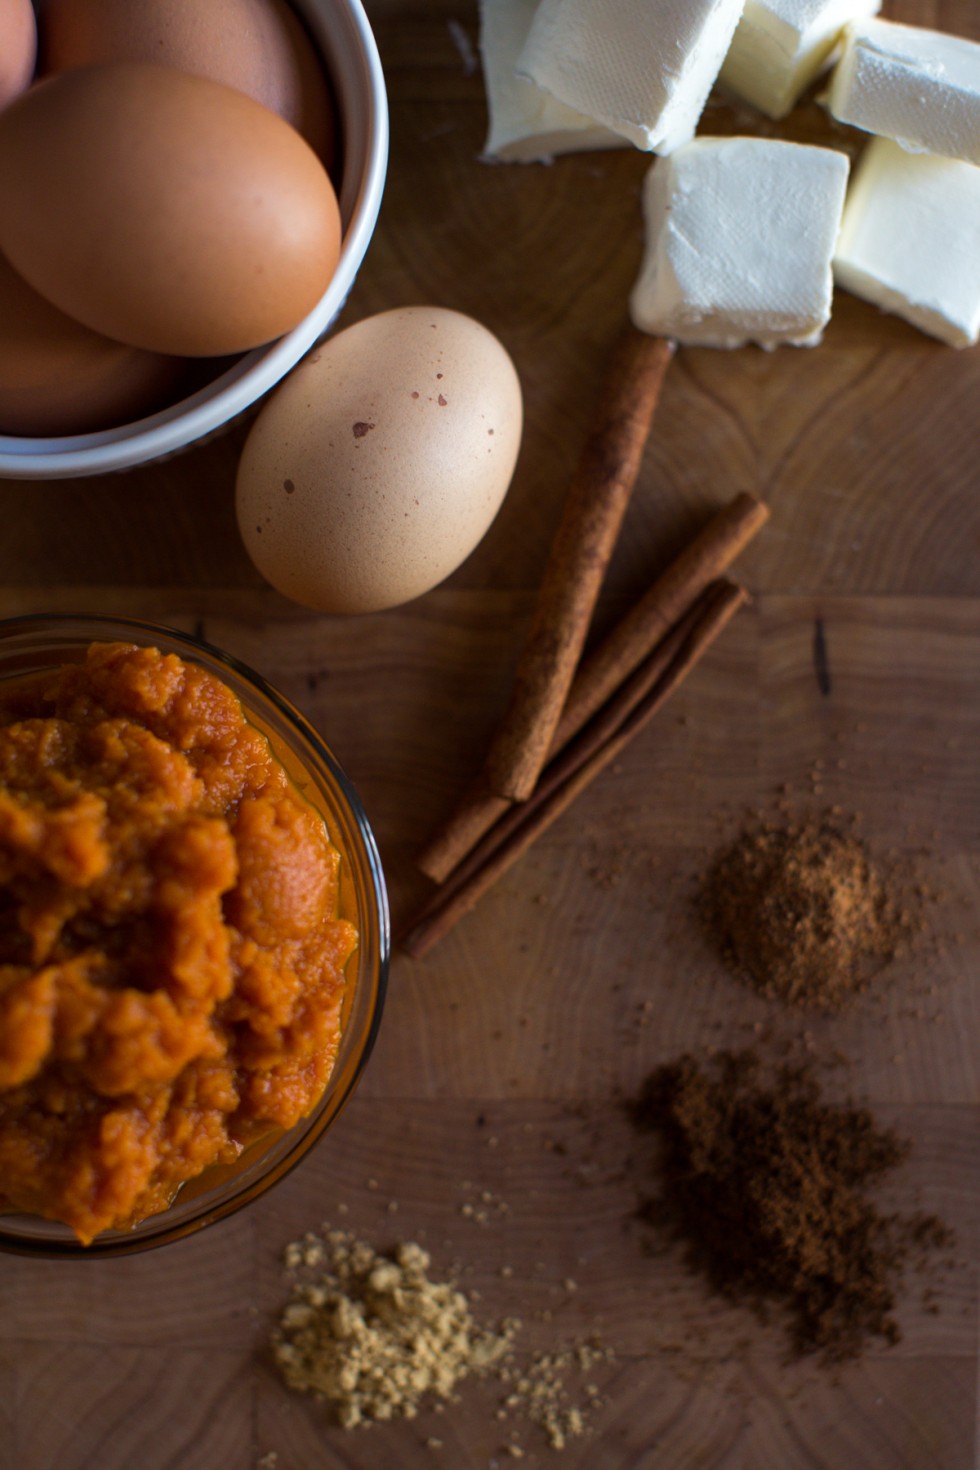
  • 1 15-ounce can pure pumpkin
  • 5 large eggs
  • 3 tablespoons all purpose flour
  • 1 teaspoon ground cinnamon
  • 1/2 teaspoon ground ginger
  • 1/4 teaspoon freshly grated nutmeg
  • 1/4 teaspoon ground allspice
  • 1/4 teaspoon ground clove
  • 1/4 teaspoon salt
  • 1 tablespoons vanilla extract
  • 1 tablespoon bourbon

For topping:

  • 2 cups mini marshmallows or large marshmallows cut into 1/2-inch cubes
  • 1/4 cup whole milk
  • 1 teaspoon vanilla extract
  • 1/8 teaspoon salt
  • 1 cup sour cream

Crust:
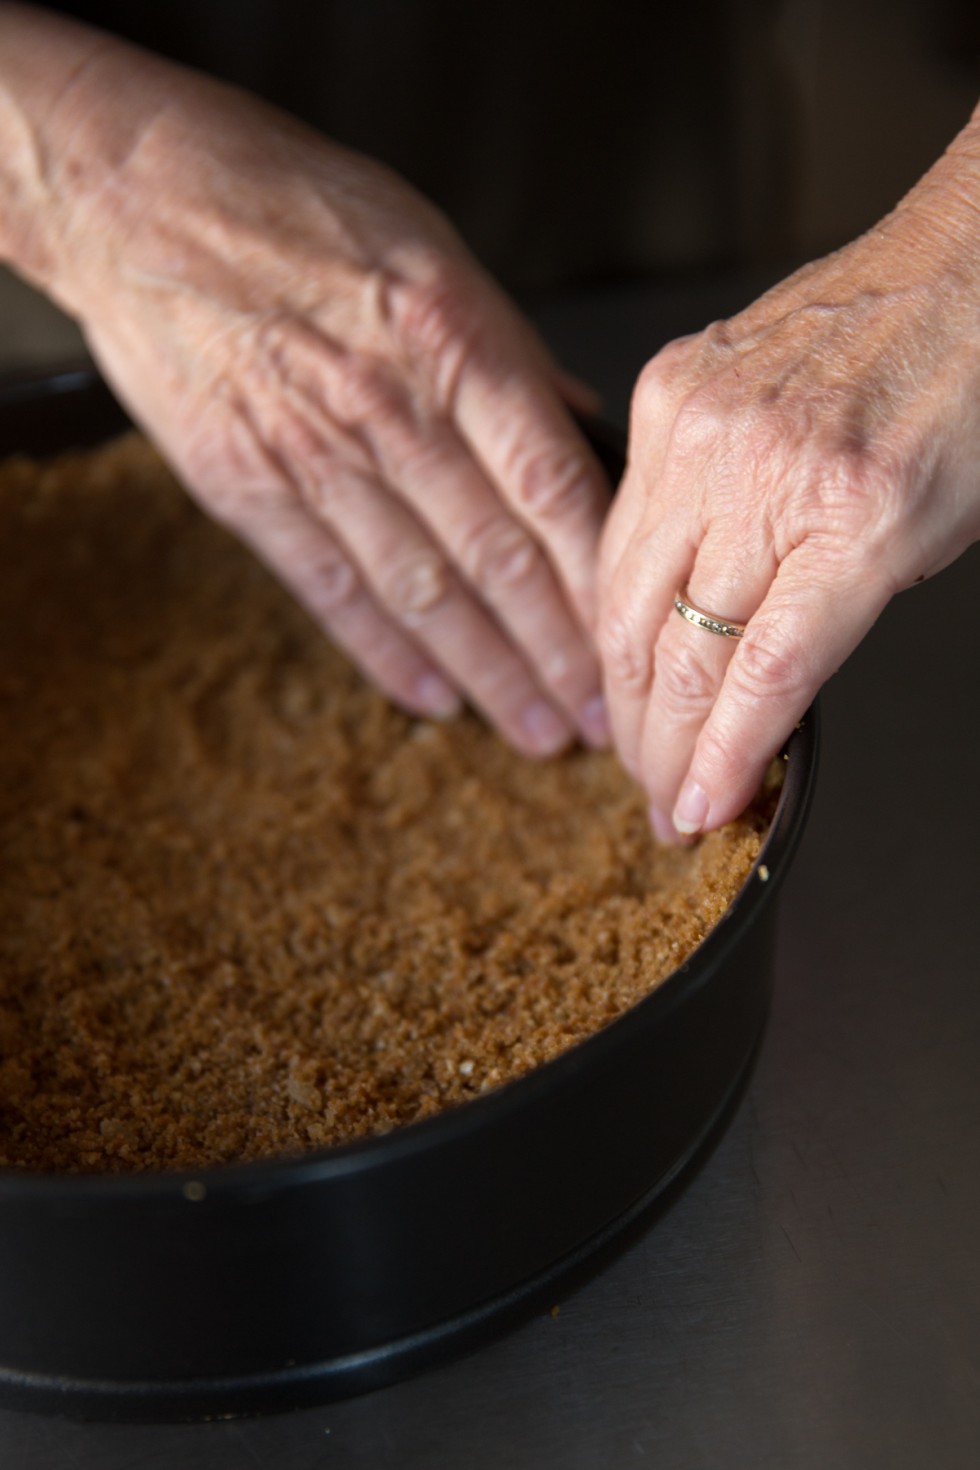
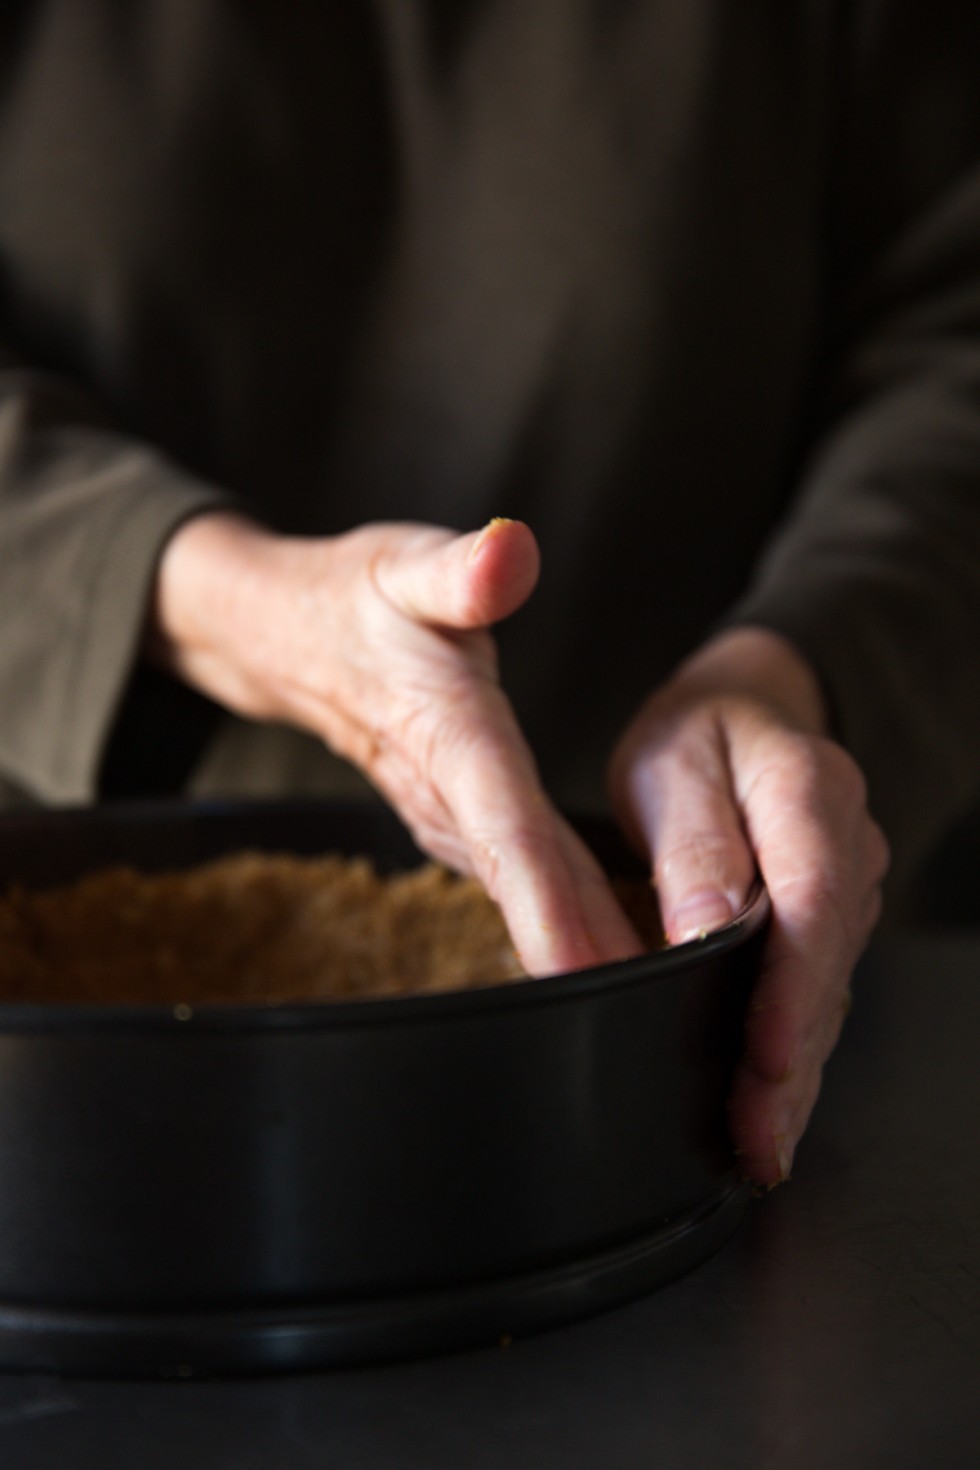
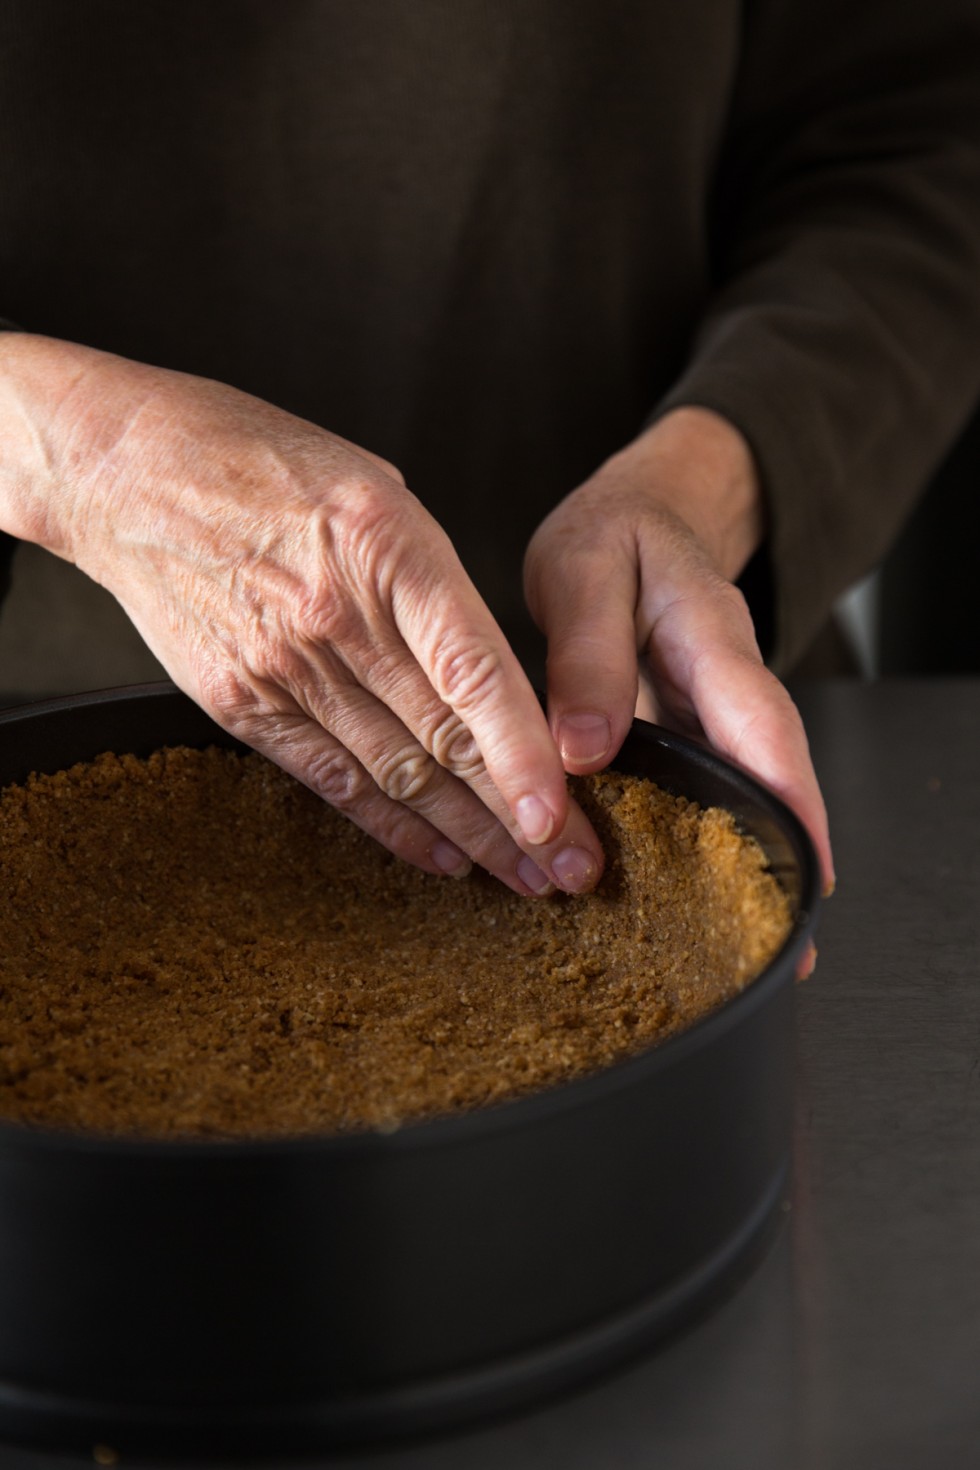
Preheat oven to 350°F. Spray 9-inch-diameter springform pan with 2 3/4-inch-high sides with nonstick spray. Grind cookie crumbs, pecans, brown sugar, and ginger in processor until nuts are finely ground. Add butter; using on/off turns, process to blend. Transfer mixture to prepared pan; press onto bottom and 2 inches up sides of pan. Bake crust until set and lightly browned, about 10 minutes. Cool completely.

Filling:
Preheat oven to 350°F. Using electric mixer, beat cream cheese and sugar in large bowl until light and fluffy, about 2 minutes. Beat in pumpkin. Add eggs 1 at a time, beating on low speed to incorporate each addition. Add flour, spices, and salt; beat just to blend. Beat in vanilla and bourbon. Transfer filling to cooled crust. Bake until filling is just set in center and edges begin to crack (filling will move slightly when pan is gently shaken), about 1 hour 20 minutes. Cool 1 hour. Run knife around sides of pan to release crust. Chill cheesecake uncovered in pan overnight.

Topping:
Stir marshmallows and milk in medium saucepan over low heat until marshmallows are melted. Remove from heat and stir in vanilla and salt. Cool marshmallow mixture to room temperature, stirring occasionally.

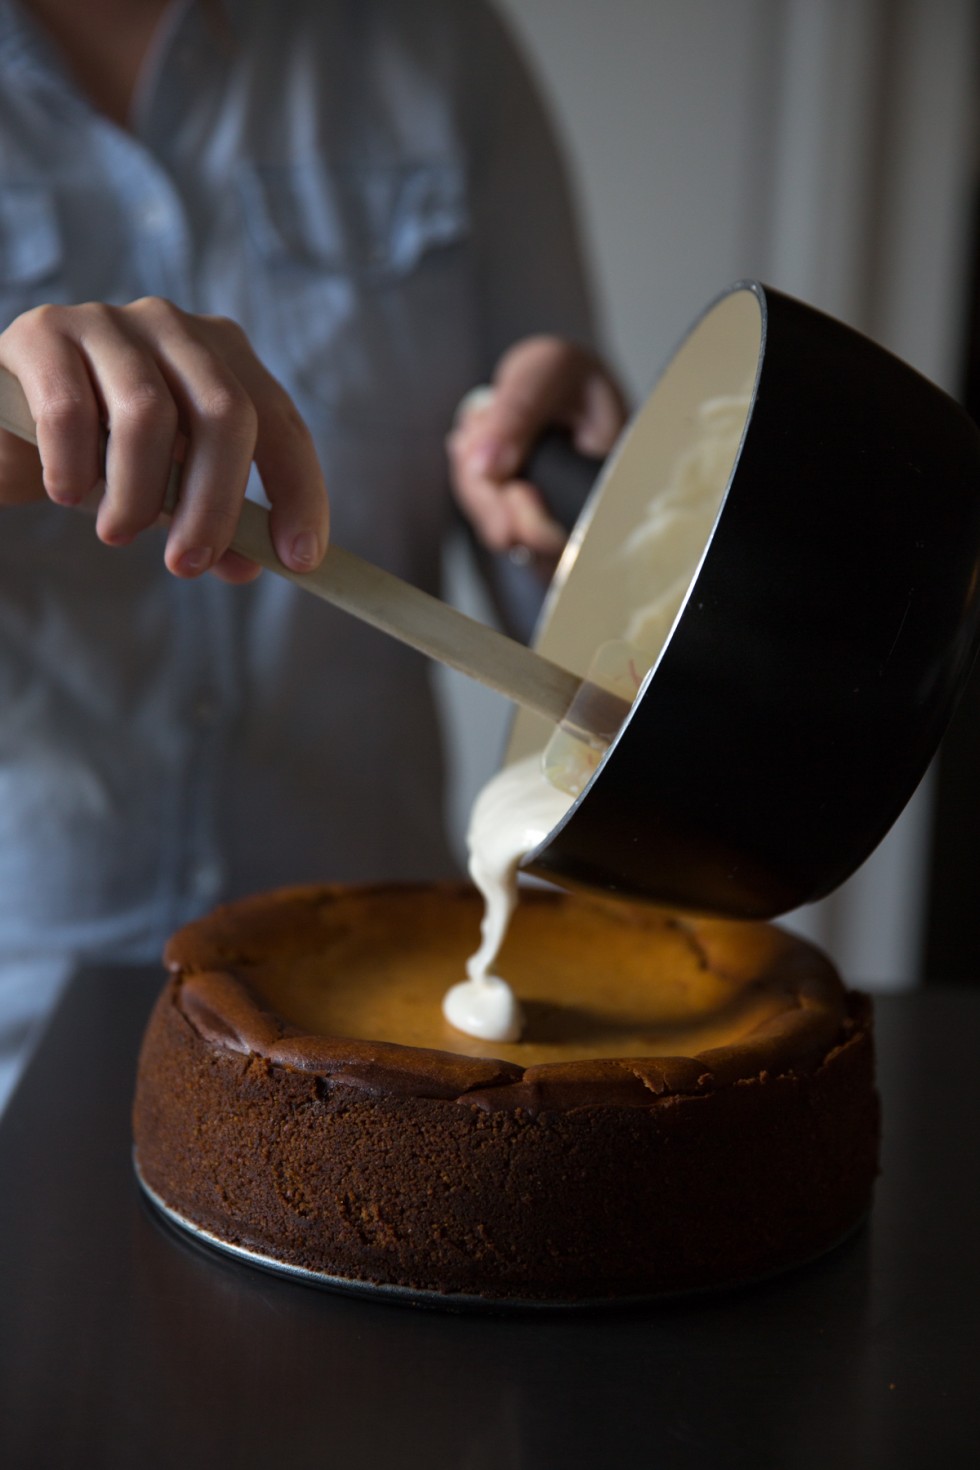
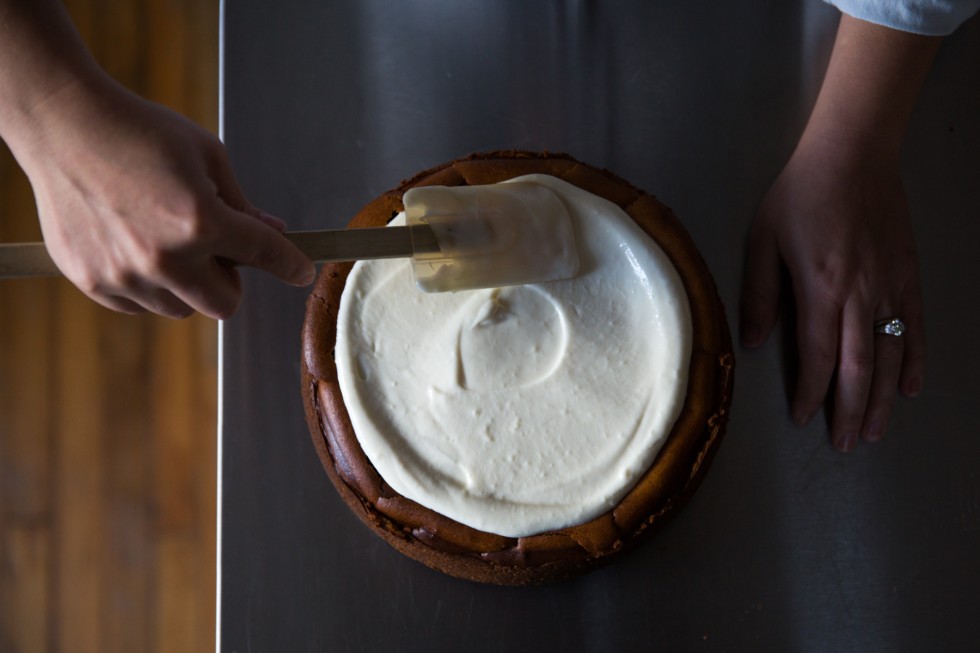
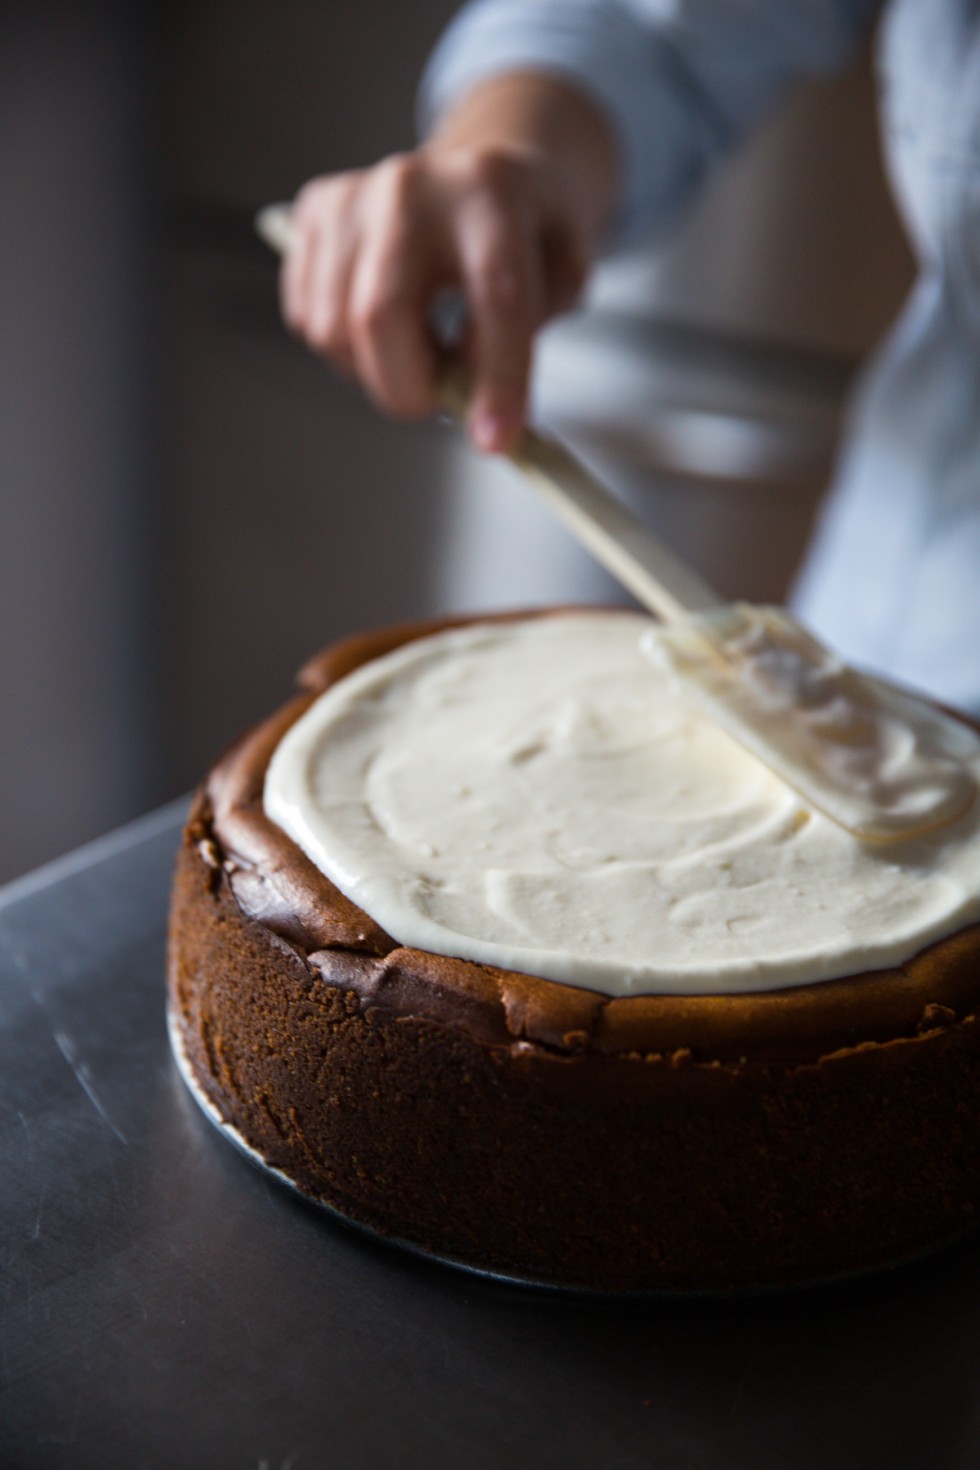
Add sour cream to marshmallow mixture; fold gently just to blend. Pour topping over cheesecake and spread evenly, leaving 1/2 inch uncovered around edges. Chill to set topping, at least 1 hour. DO AHEAD: Cheesecake can be made 1 day ahead. Keep chilled.

pumpkincheesecake-blog-24

Second Creek Blackberry Pie

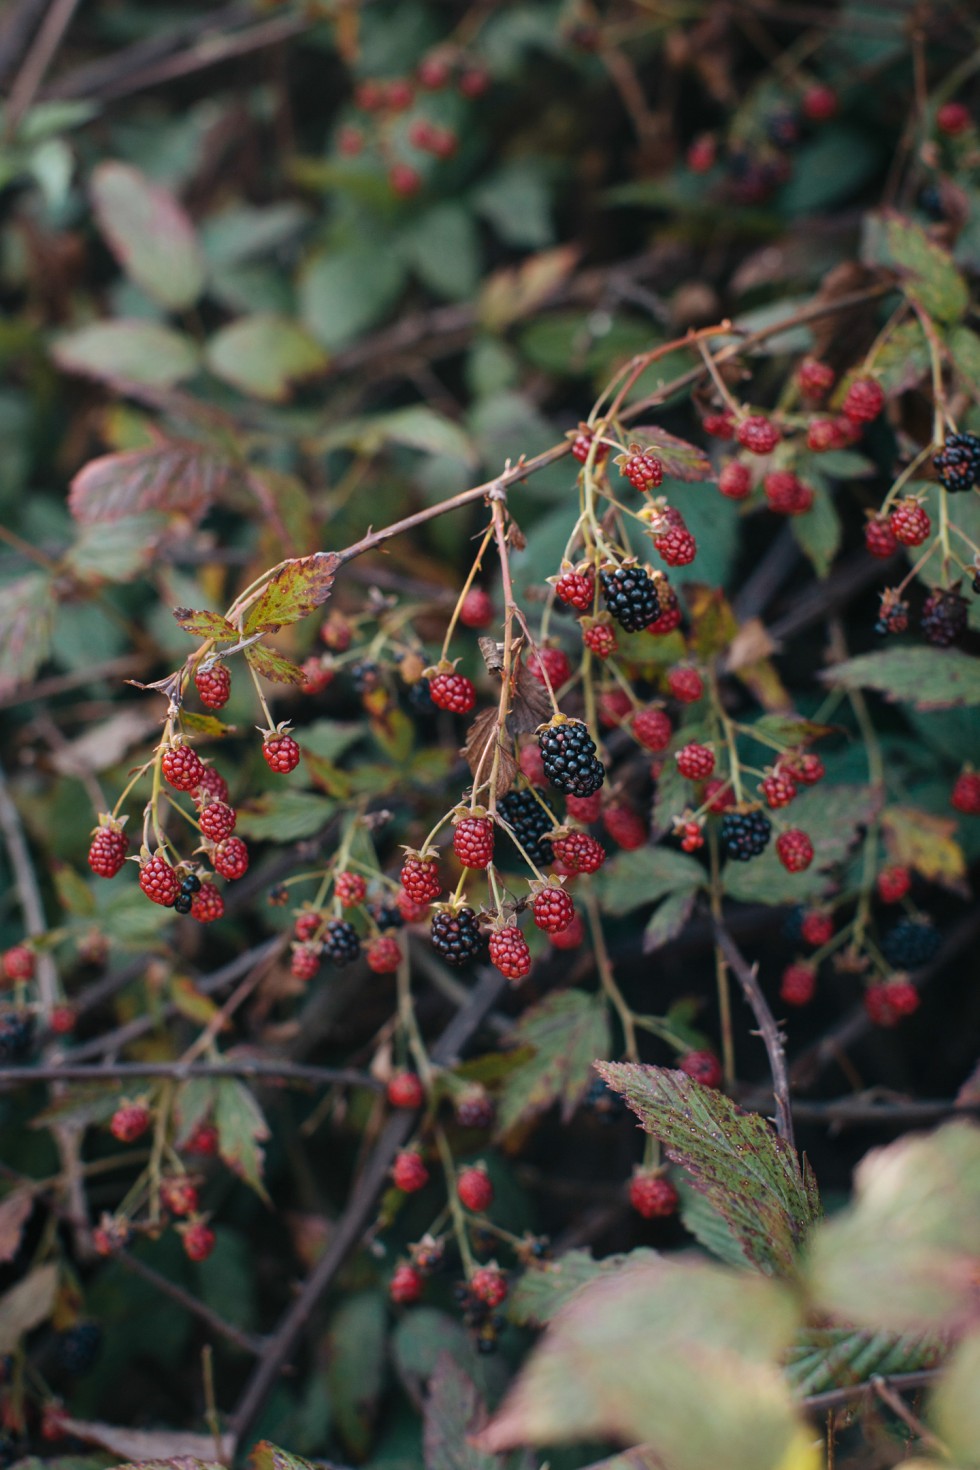
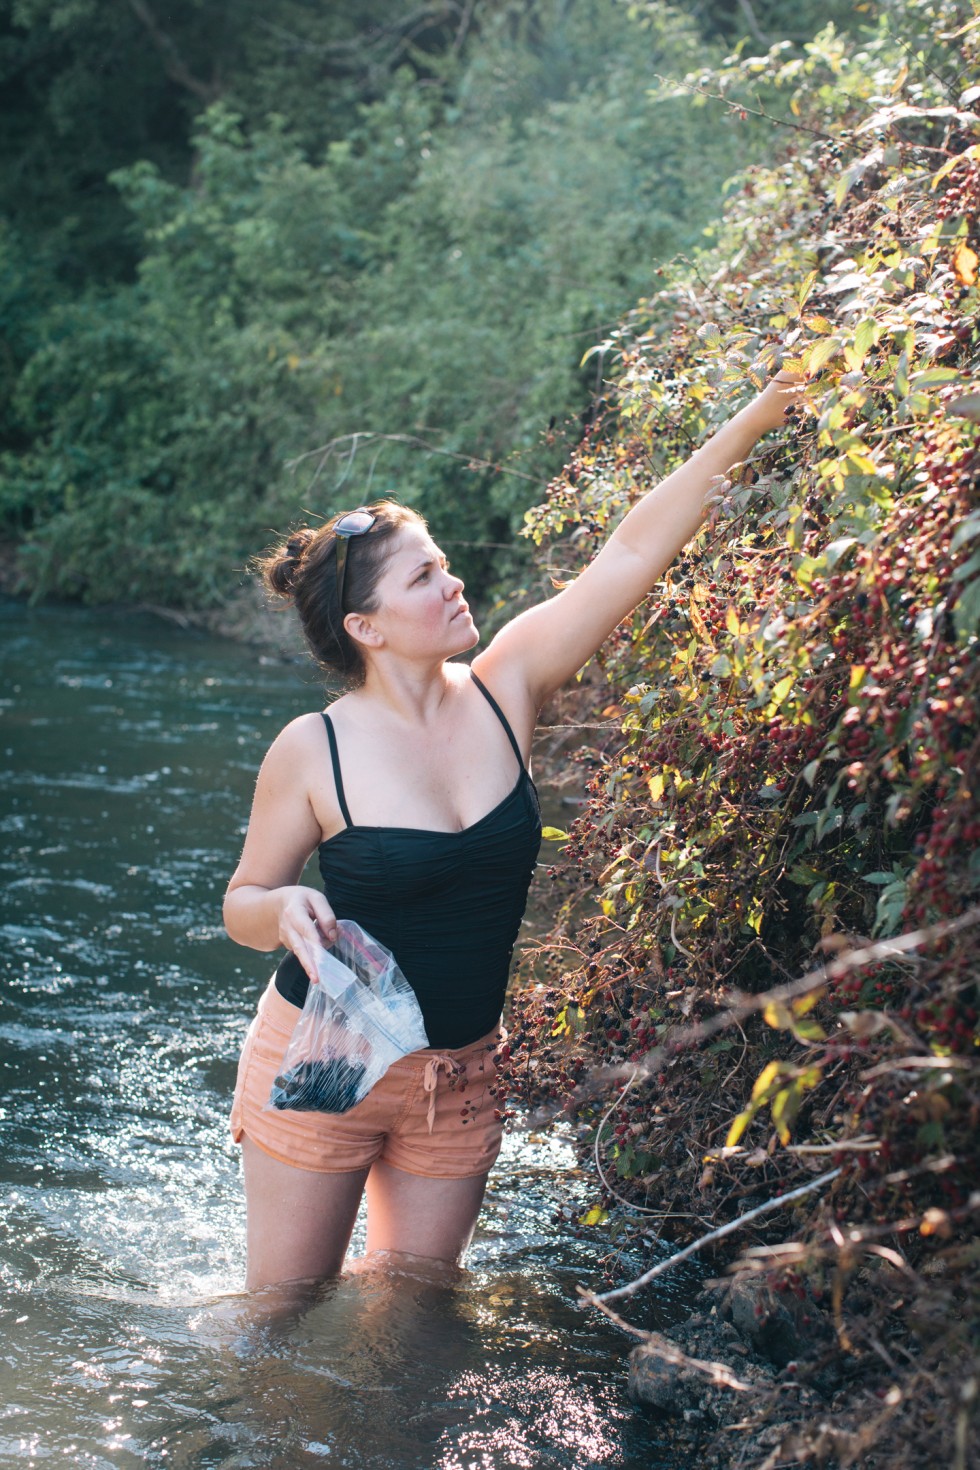
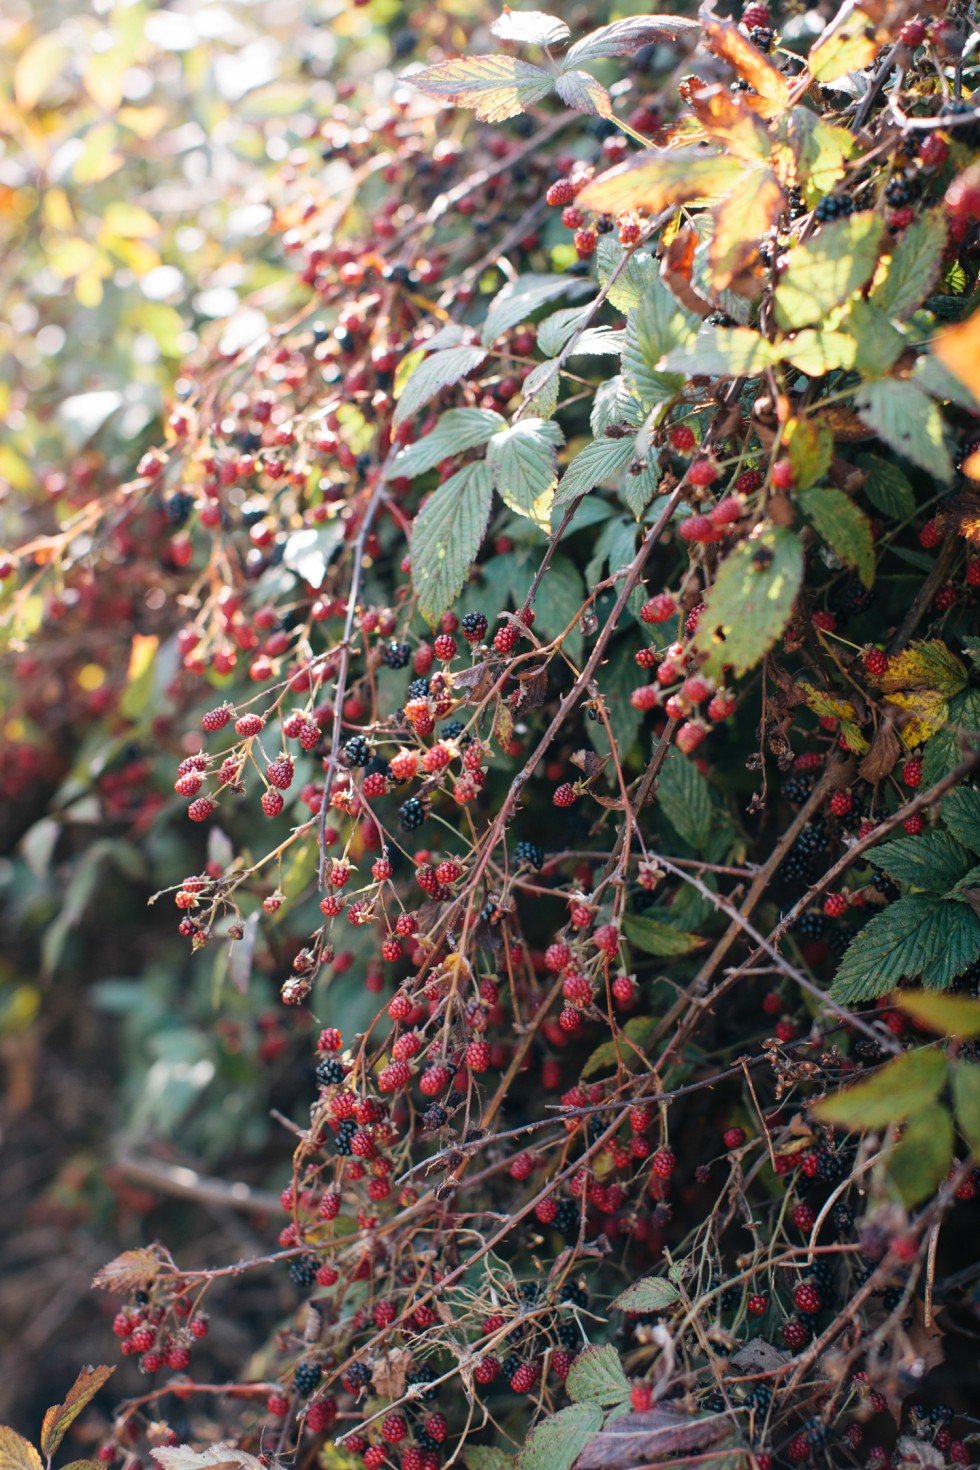
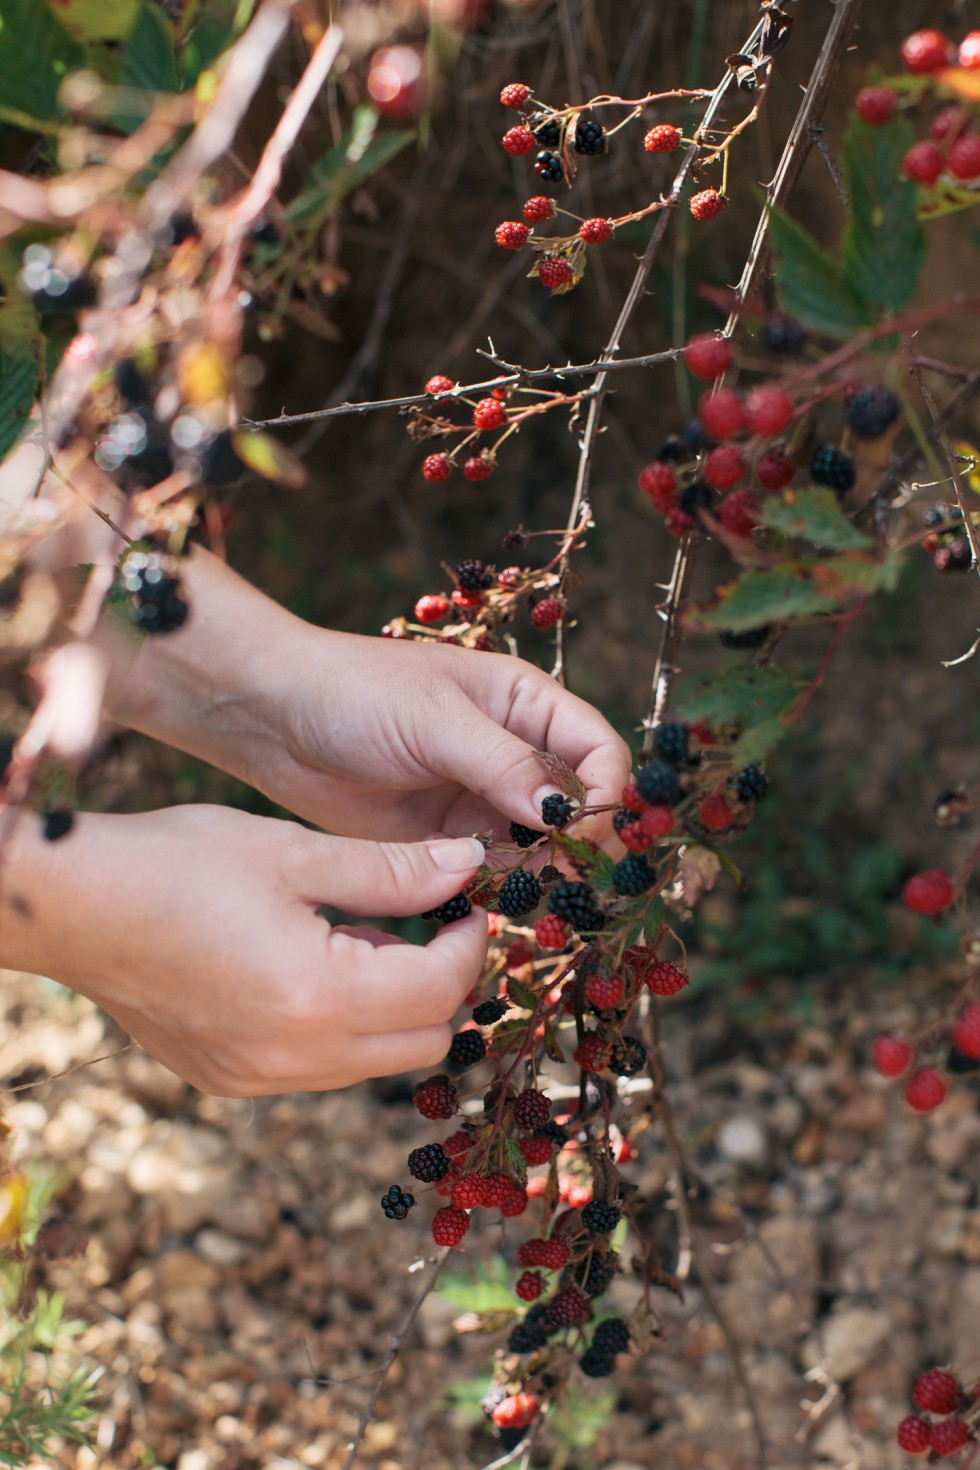
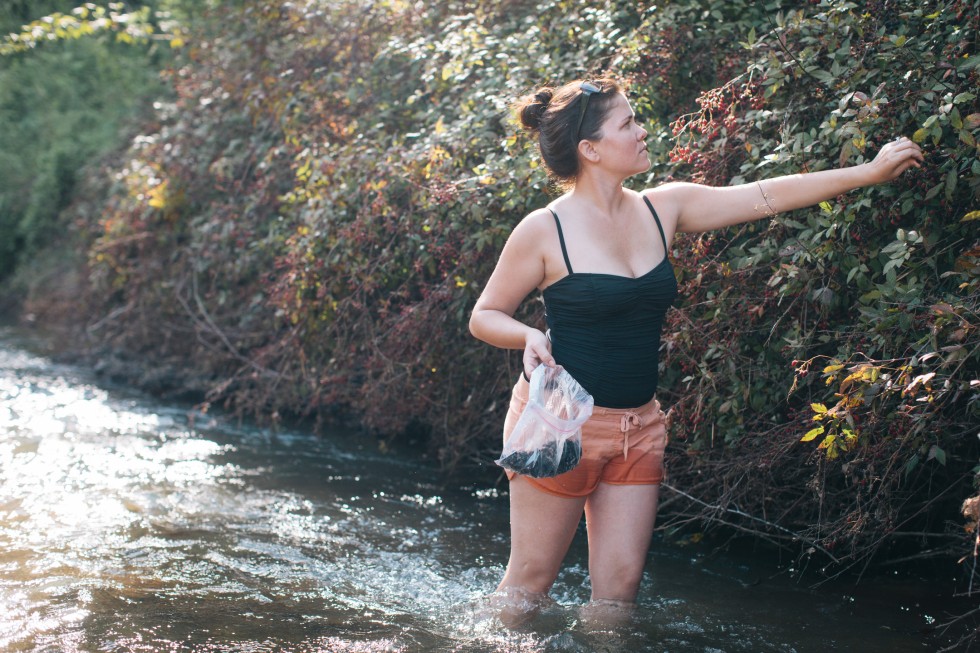
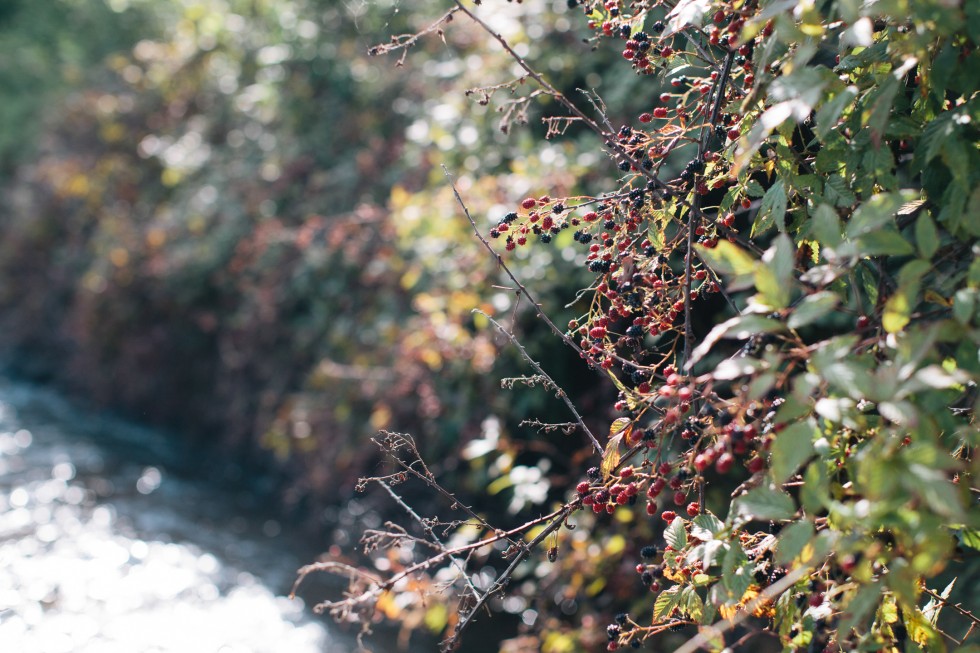
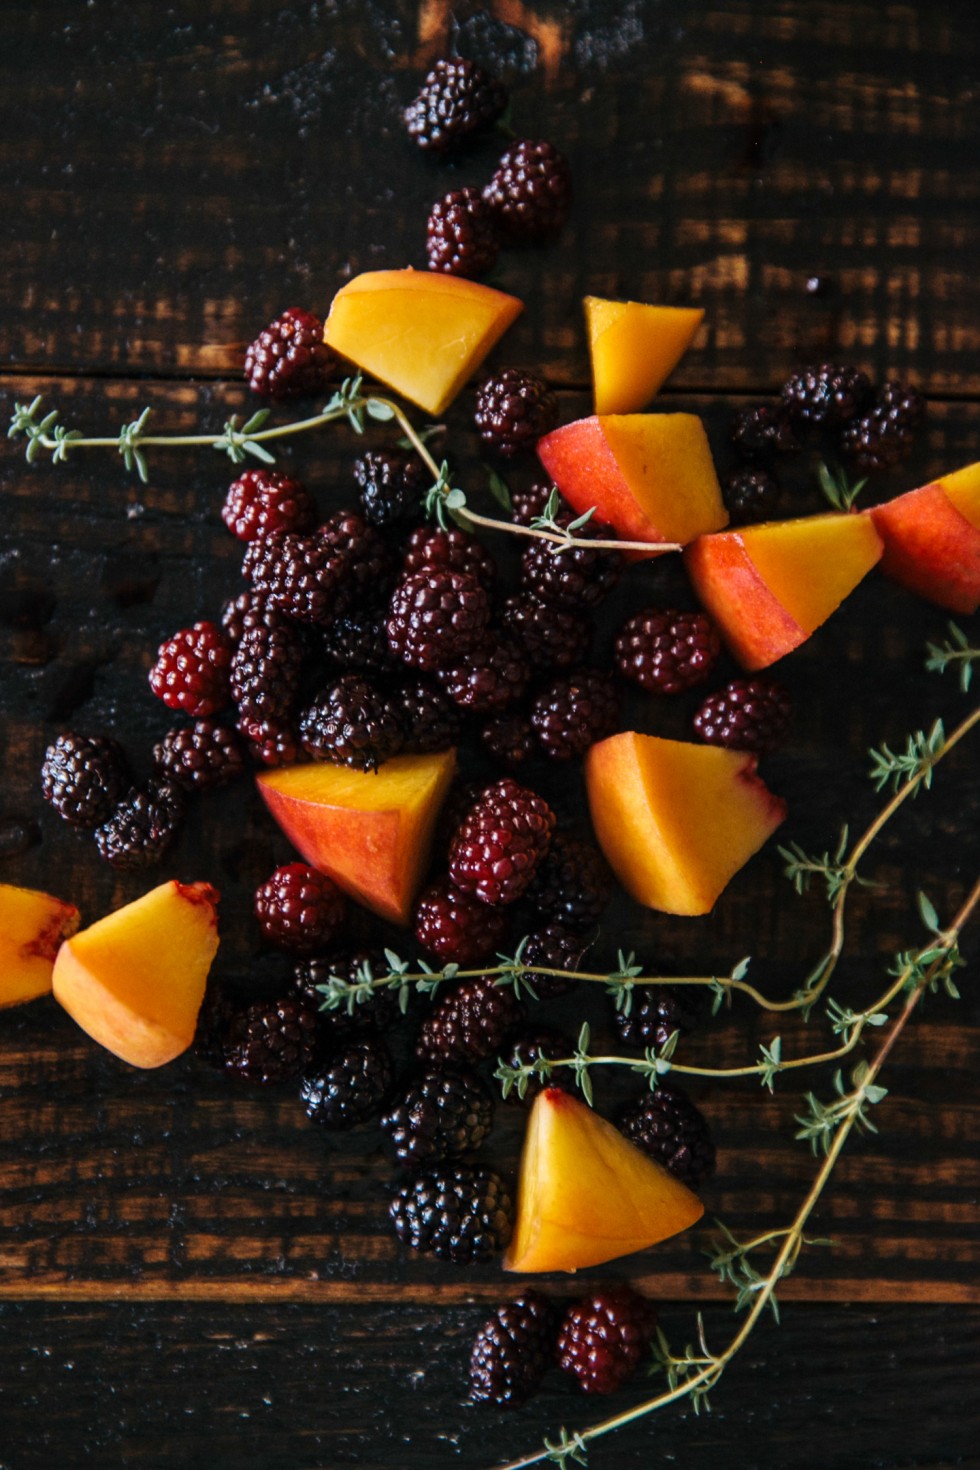
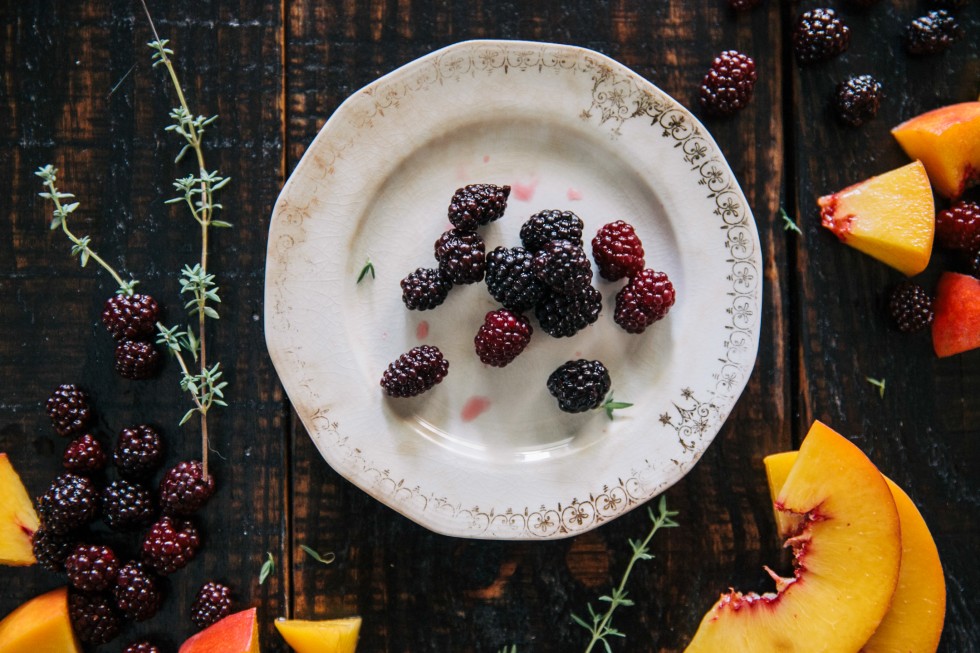
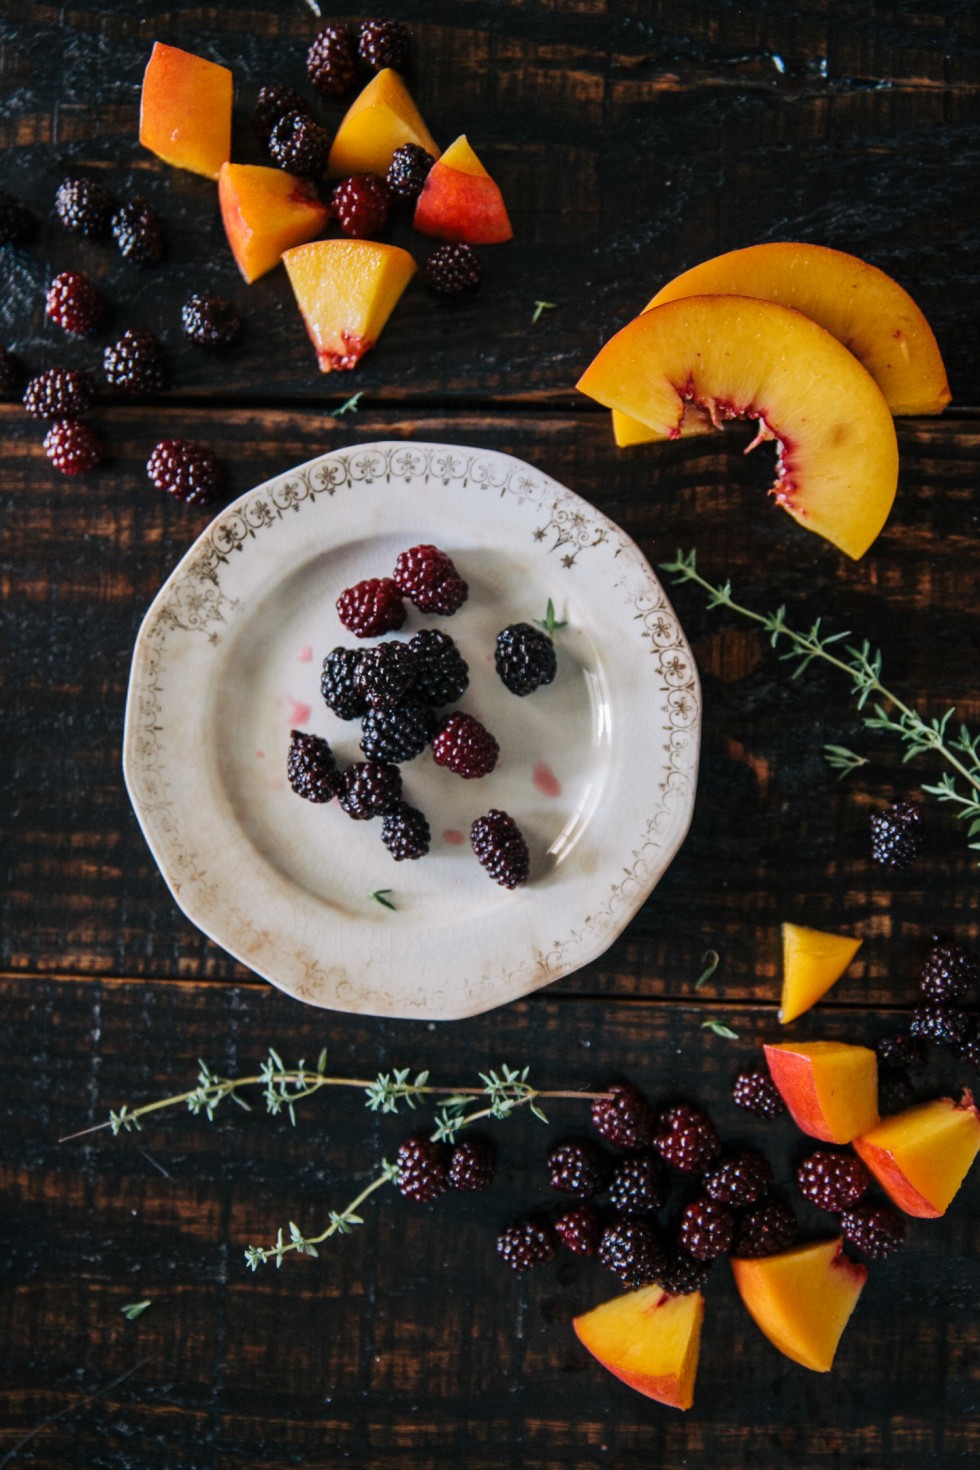
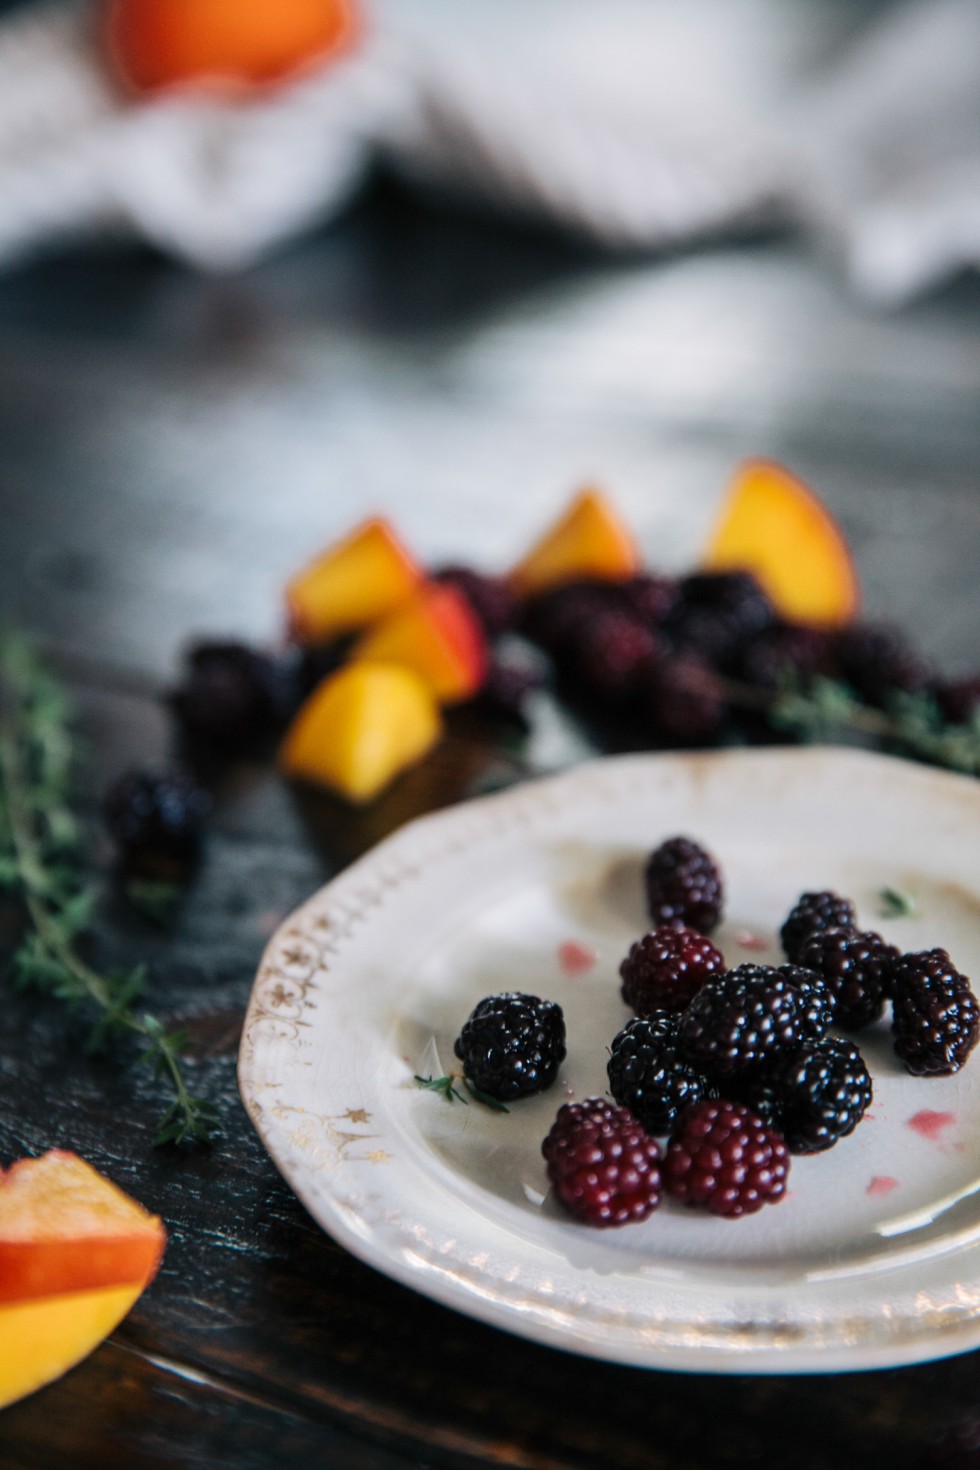
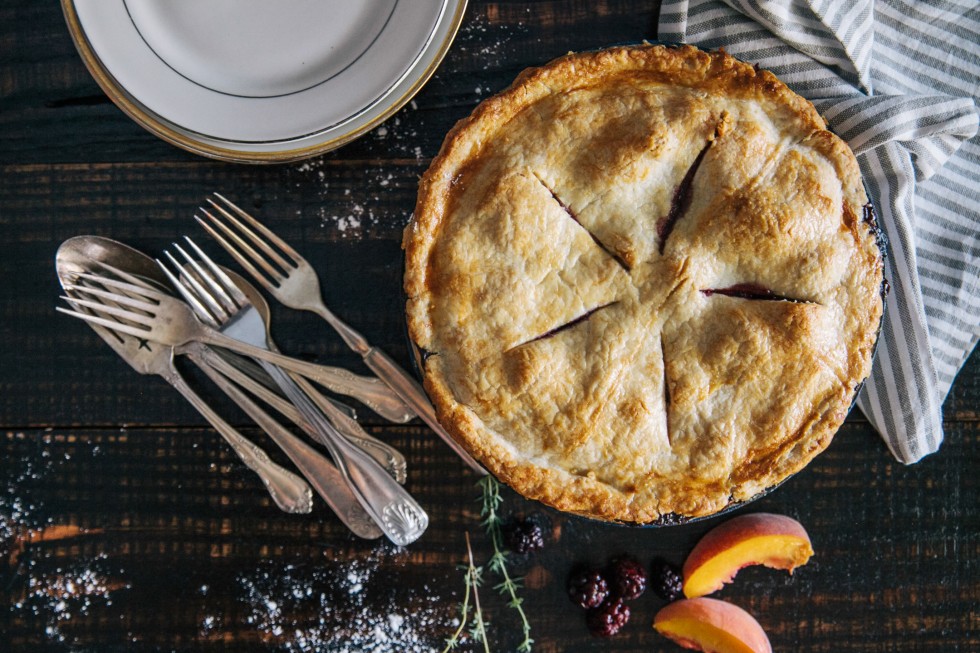
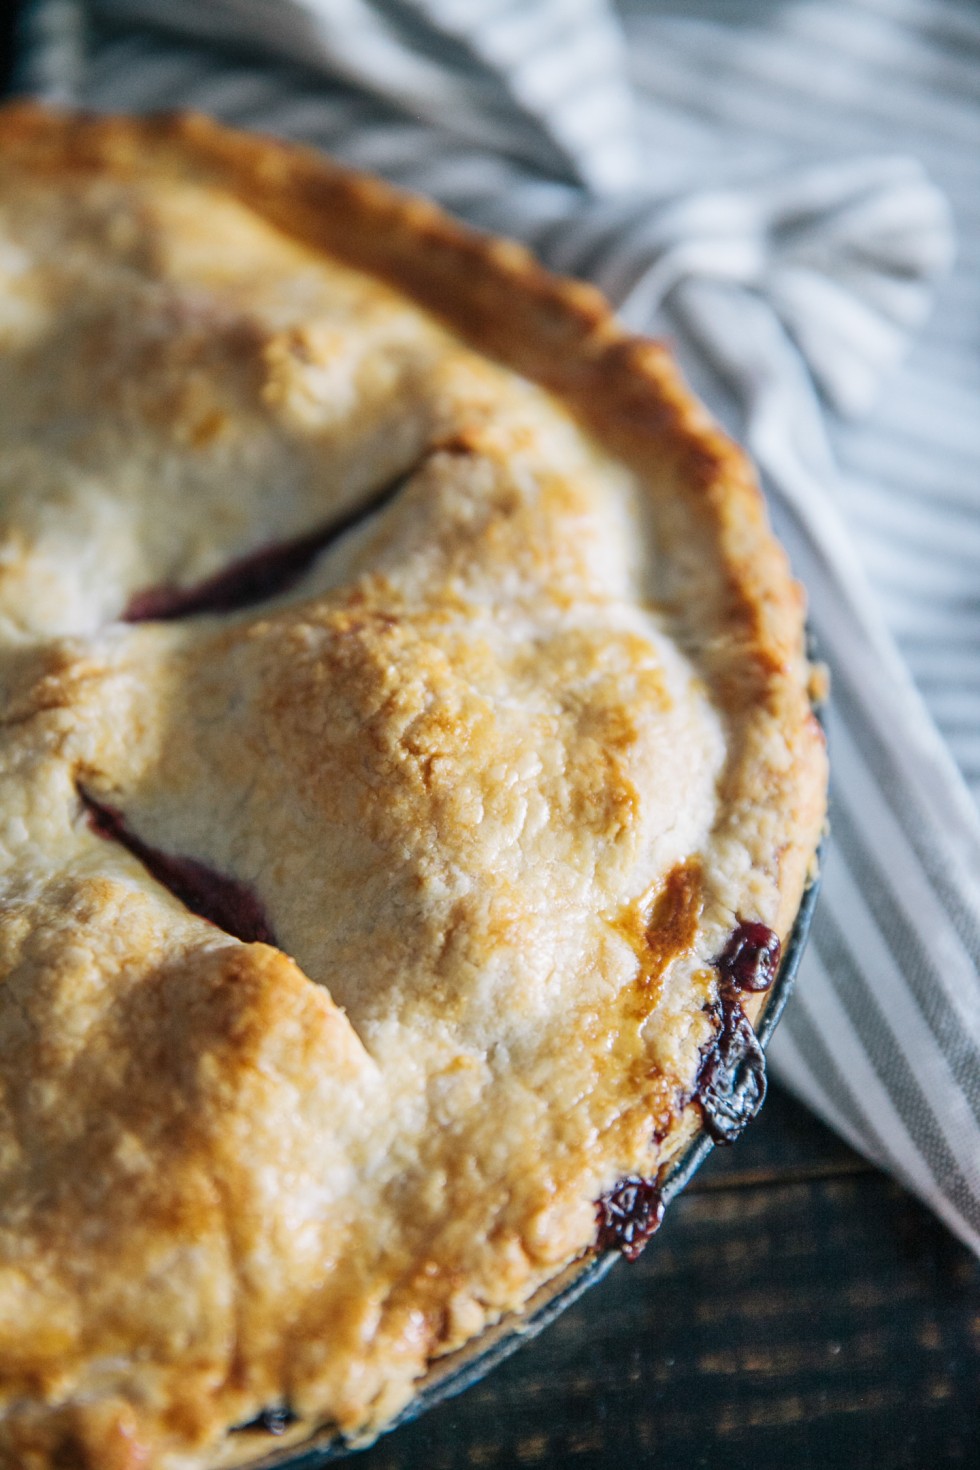
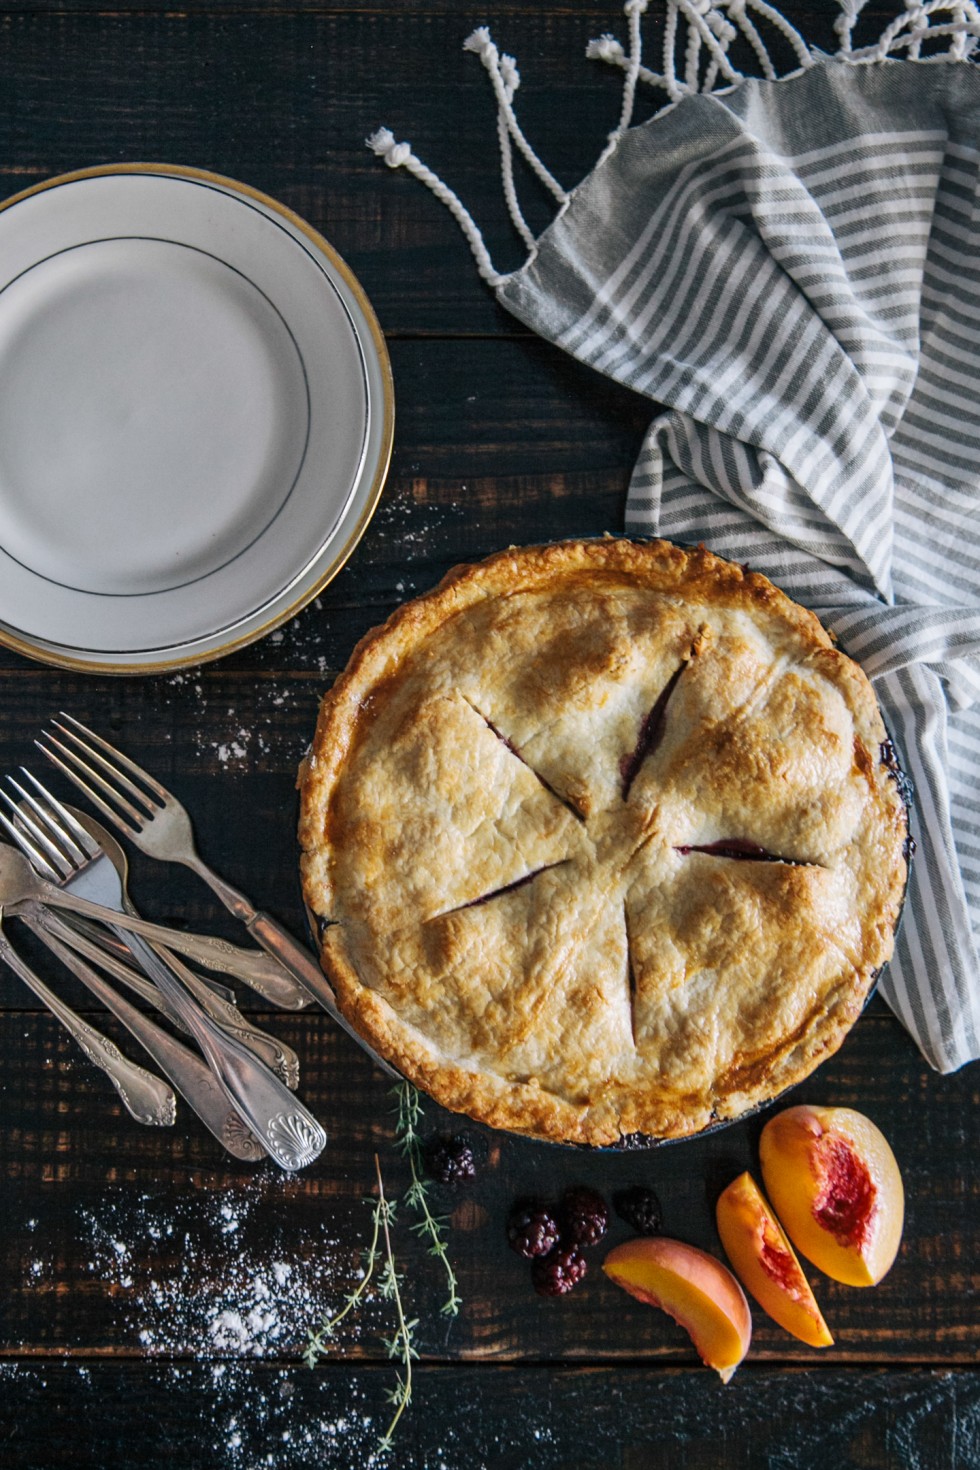
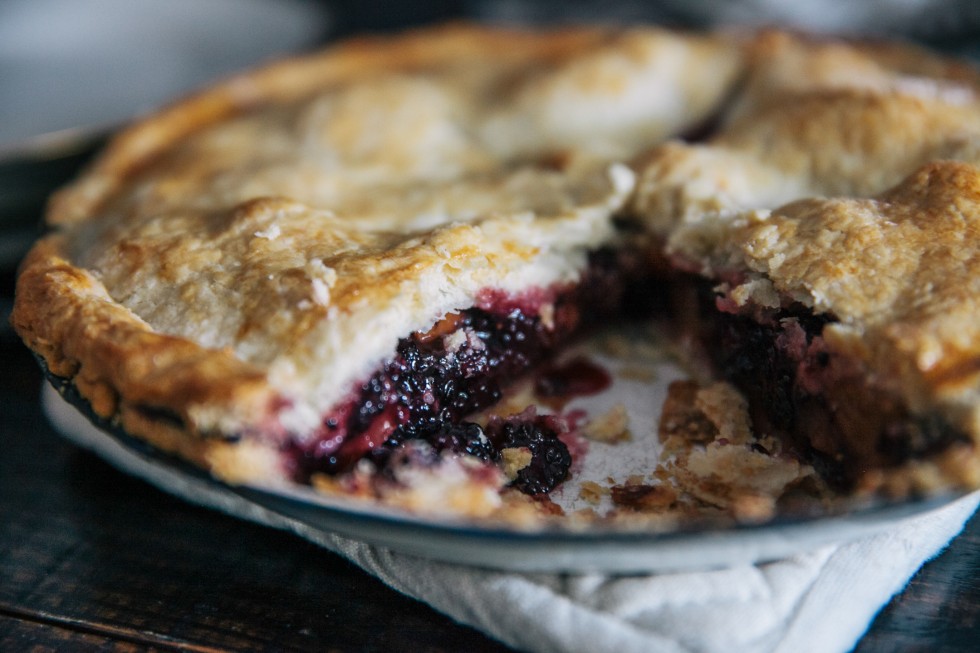
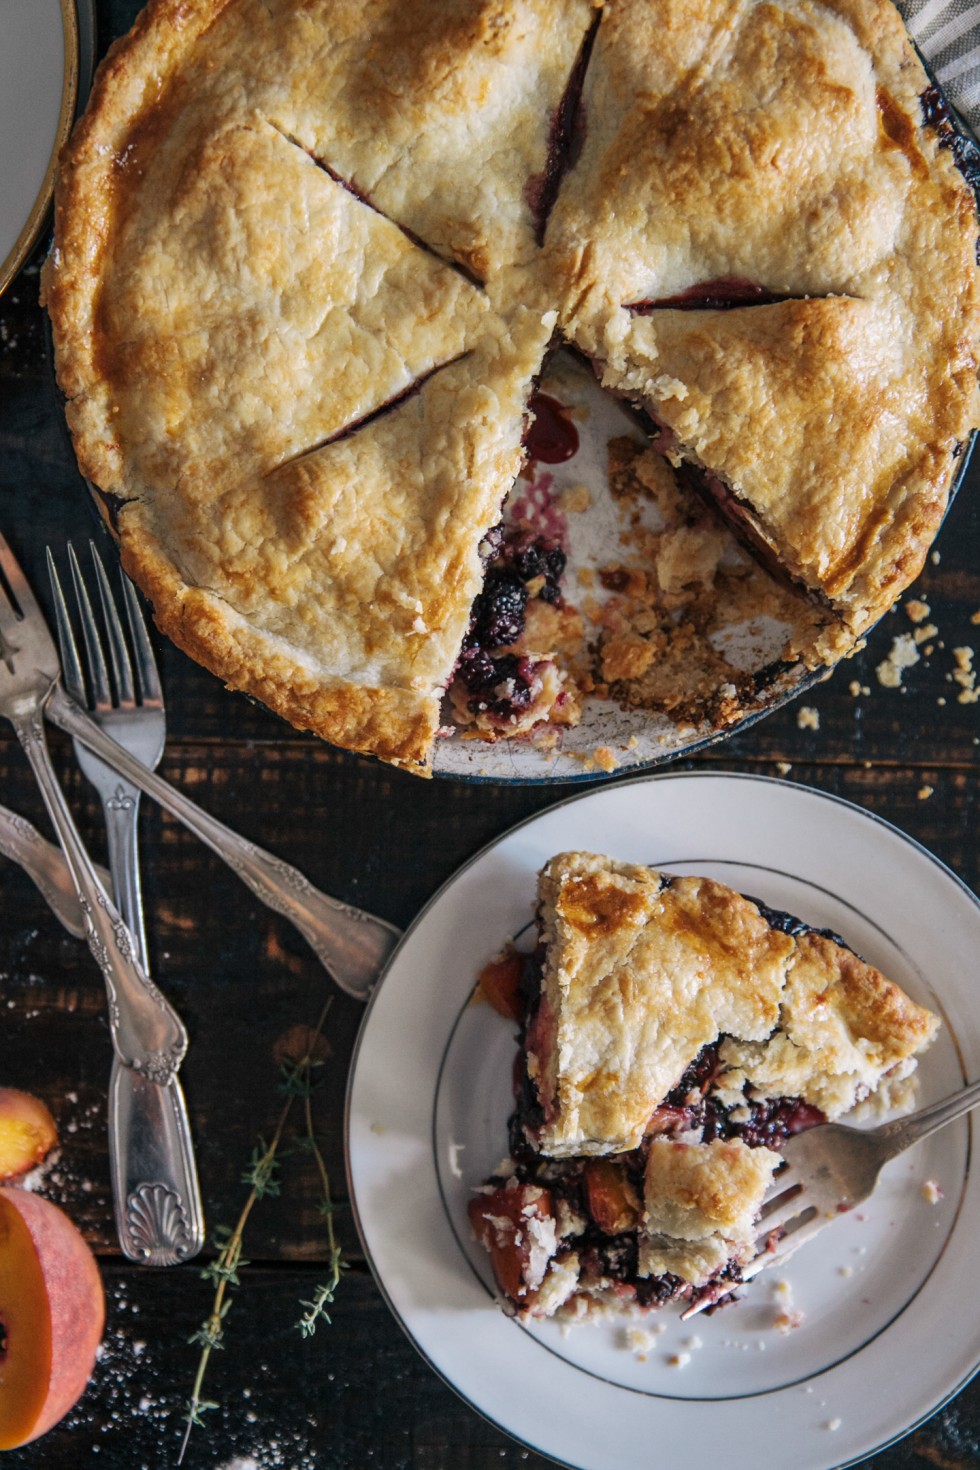
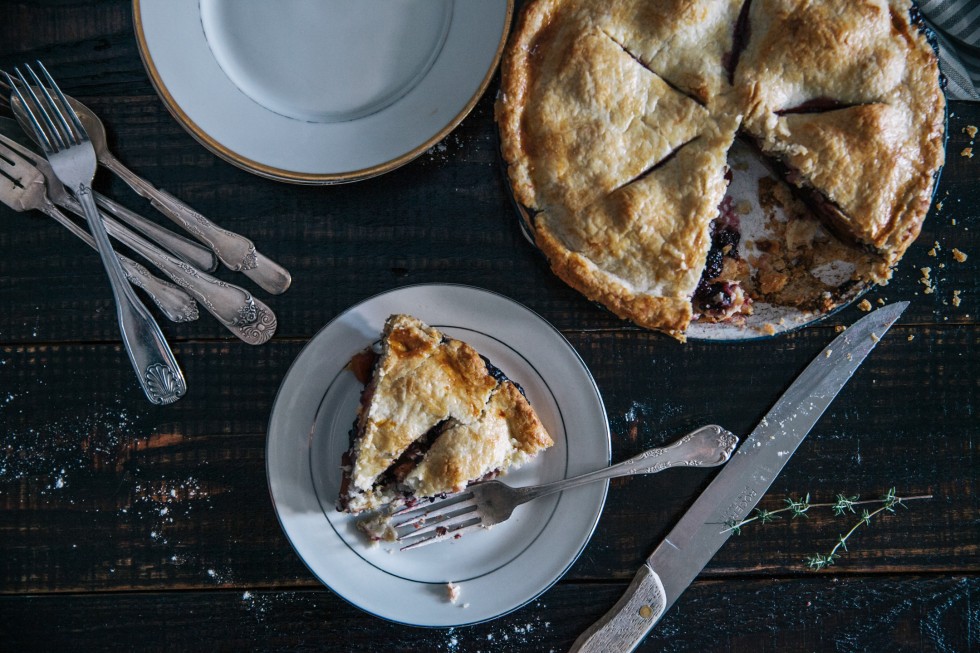
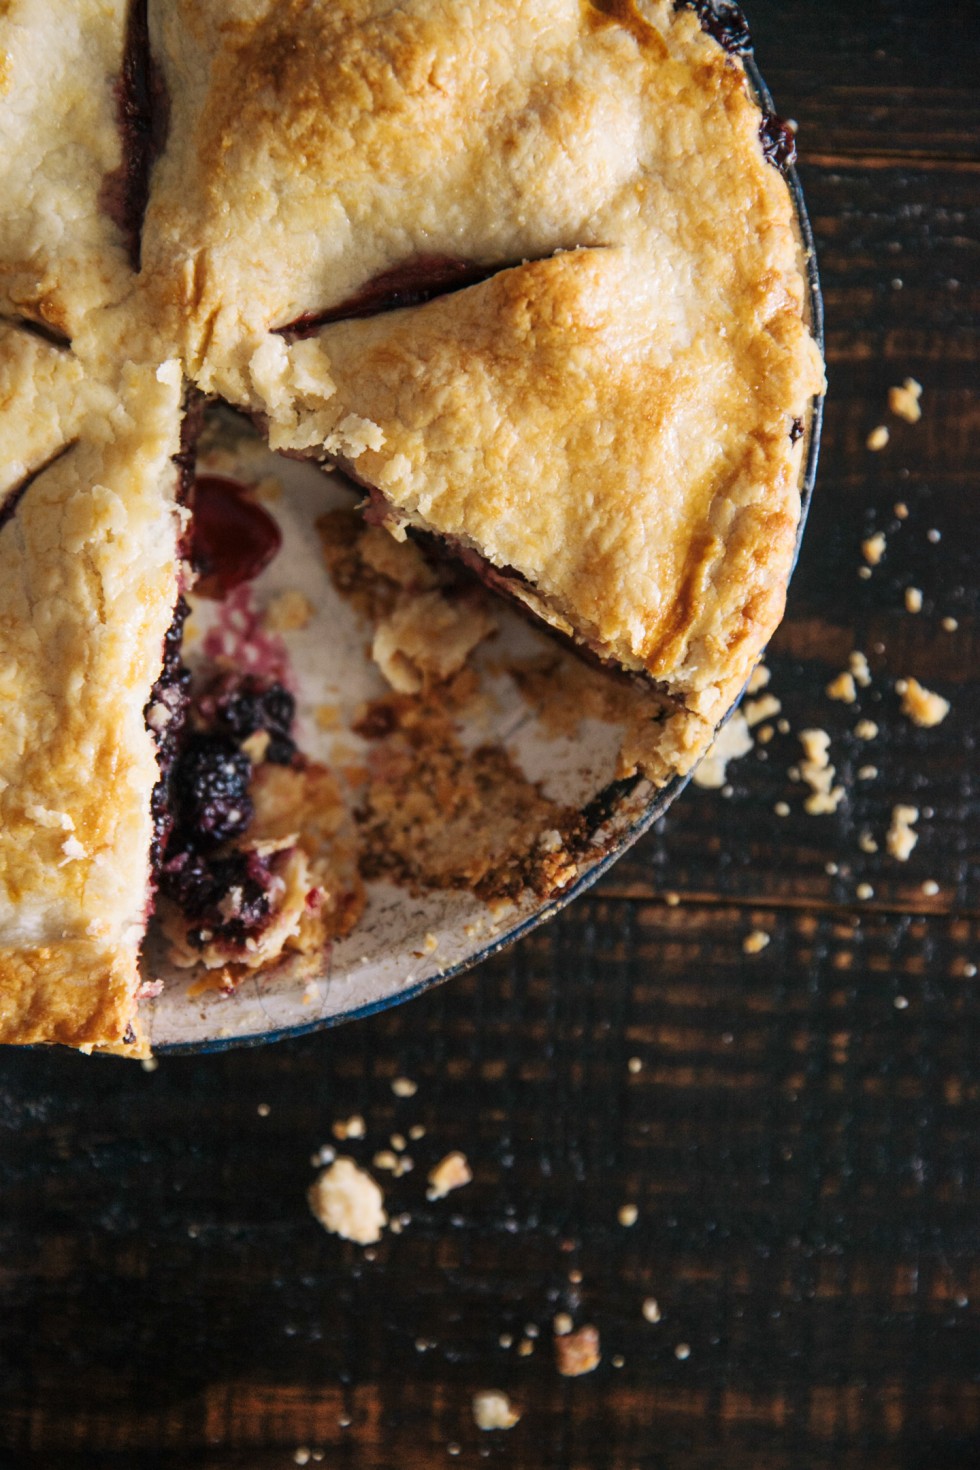
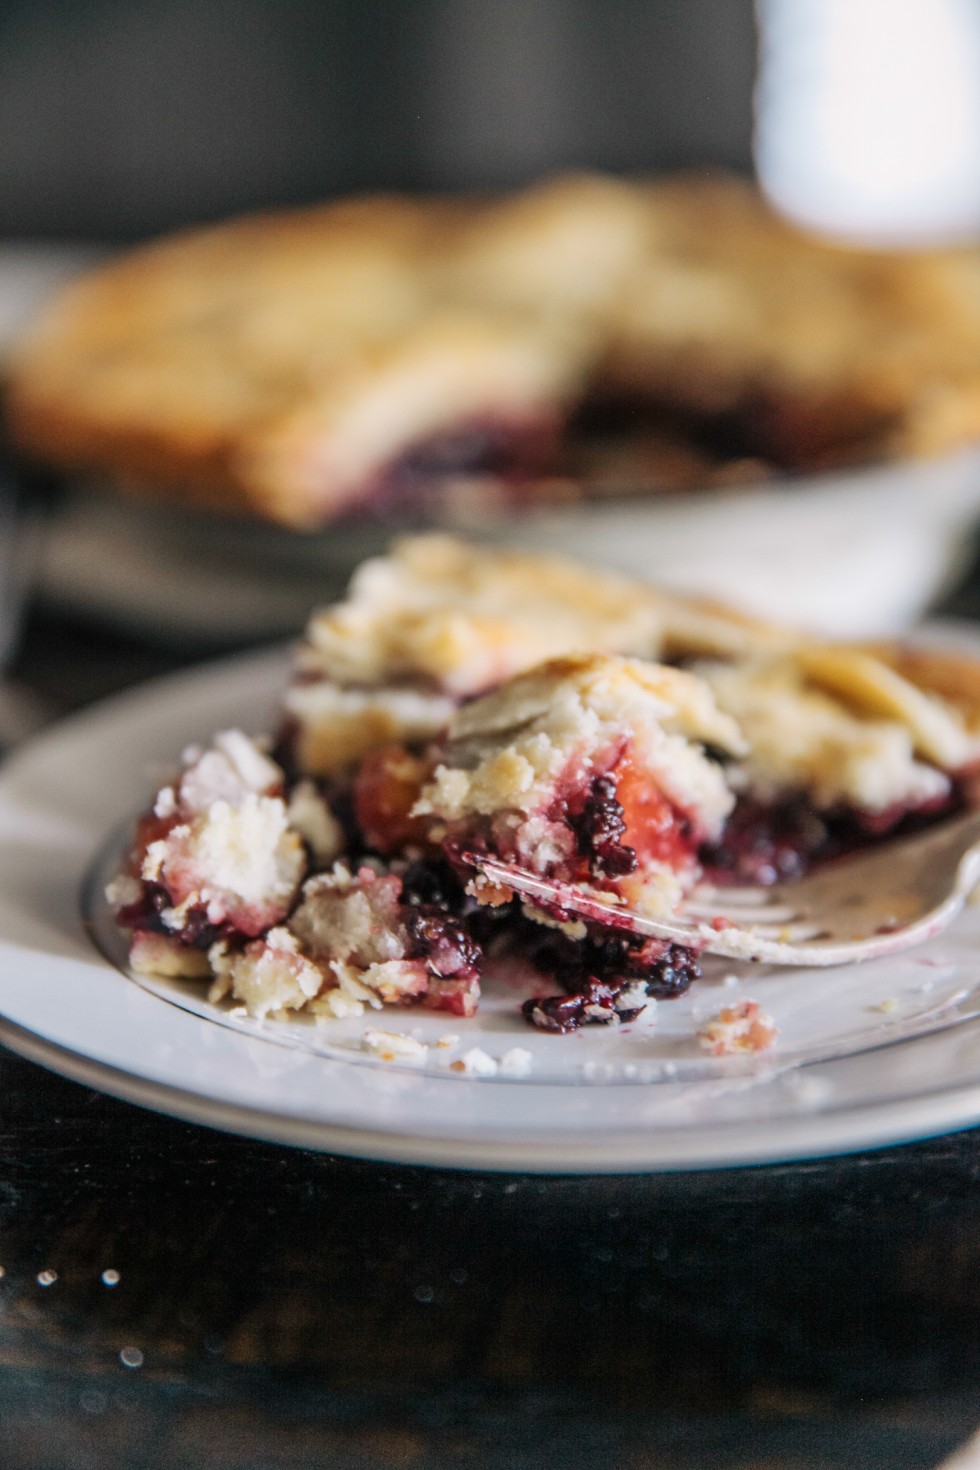
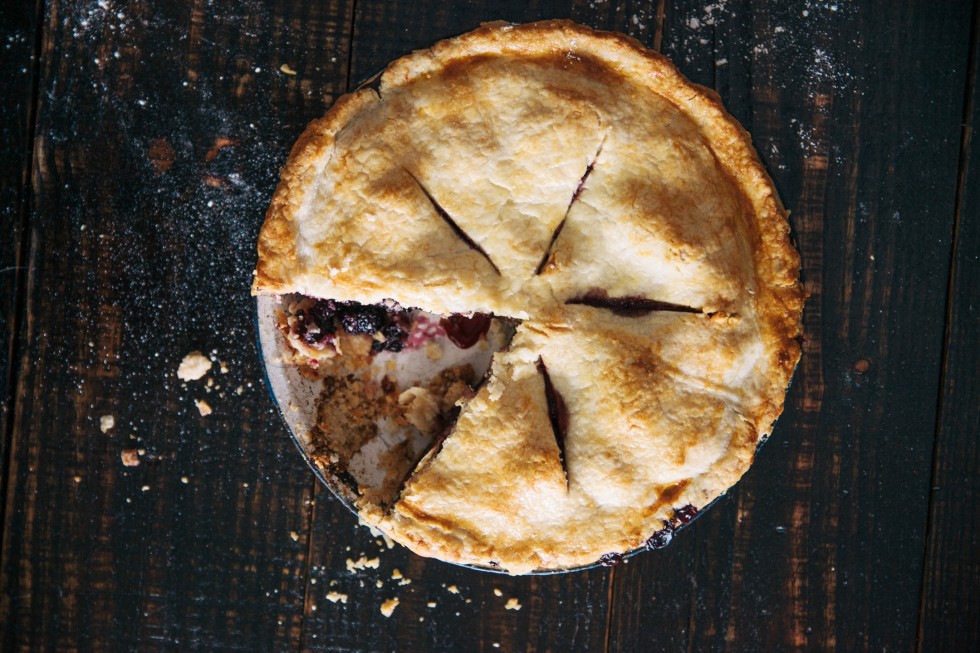
Over the summer some friends invited us to the creek. This was a special creek that had caves, giant boulders, and a deep swimming hole. As if this wasn’t enough, we also discovered wild blackberry bushes that were accessible only from the creek. So while the kids played, we picked! This experience inspired Susan to photograph and make and a delicious summer pie with thyme from our garden, peaches from Chilton County, and blackberries from Second Creek.

blackberrypie-1blackberrypie-3 blackberrypie-2 blackberrypie-4

blackberrypie-8blackberrypie-5blackberrypie-7blackberrypie-14 blackberrypie-9 blackberrypie-10 blackberrypie-12

blackberrypie-19blackberrypie-20 blackberrypie-17
blackberrypie-23blackberrypie-26blackberrypie-22blackberrypie-30blackberrypie-29 blackberrypie-32